

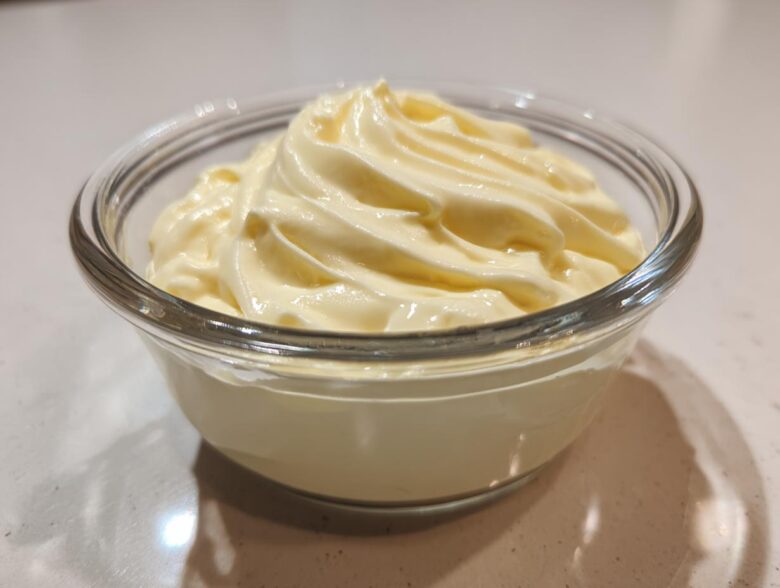
Okay, friends, let’s have a little talk about condiments. When Chloe and I first started our disastrous culinary adventures, we bought mayonnaise in jars like everyone else. But honestly? That stuff sits on the shelf for months, and you can taste it! Learning to make homemade mayonnaise from scratch—and trust me, after things like microwaving a whole chicken, which you can read about on our About Us page—was one of our biggest cooking victories. It tastes unbelievably better, and the simple truth is, this is the best mayonnaise recipe because it’s so ridiculously quick and creamy. We’re talking about a 5-ingredient wonder that comes together faster than I can decide what sandwich spread I want. It’s a staple win straight from our messy lab!
Why This is the Best Mayonnaise Recipe for Beginners
I’m telling you, ditch the jarred stuff! Seriously, once you taste this, you’ll never go back. The main reason this particular recipe is a winner, especially for beginners, is the speed. You can have a gorgeous, creamy mayonnaise recipe ready for lunch in under five minutes—it’s practically instant gratification, which is what we need when we’re trying to conquer a new kitchen skill!
It tastes so much brighter and richer than anything you buy in the refrigerated section. This truly is the ultimate quick mayo from scratch method, and because the technique uses an immersion blender, it really feels foolproof. That instant texture payoff is what makes you want to keep making homemade mayonnaise forever.
The Magic of 5 Ingredient Mayonnaise
When Chloe and I were first tackling sauces, anything more than five things felt complicated. That’s why I love this setup! We use just a handful of pantry basics—egg yolk, mustard, vinegar, lemon, and oil—plus salt to finish. It keeps things simple, which means less measuring and way fewer chances for chaos to strike. Having a reliable, easy kitchen staple recipe like this in your back pocket is huge for building confidence!
Gathering Ingredients for Your Homemade Mayonnaise
Alright, time to get organized! With this quick method, ingredient prep is super fast, but paying attention to temperature is everything. If the ingredients are cold, they will argue with each other, and we do *not* want that in our kitchen! We’re aiming for a perfect emulsion, which means our star player, the one large egg yolk, needs to be at room temperature along with everything else.
Since this is our famous 5 ingredient mayonnaise approach, you probably have most of this stuff on hand already. Here is what you need for about one cup of glorious, thick goodness:
- 1 large egg yolk, room temperature (Seriously, warm that thing up slightly if it just came from the fridge!)
- 1 teaspoon Dijon mustard
- 1 teaspoon fresh lemon juice
- 1/2 teaspoon white wine vinegar
- 3/4 cup neutral oil (like canola or light olive oil)
- Pinch of salt
See? So simple! Having everything ready to go means we can move fast before anything cools down.
Crucial Ingredient Notes and Substitutions
Let’s talk oil because this is where people get nervous. You *can* use extra virgin olive oil, but full EVOO can sometimes make your mayo taste a little grassy or bitter, especially if you’re a beginner. I stick to a neutral oil like canola or grapeseed oil for the best, most classic flavor. If you must use olive oil, mix it half-and-half with a neutral one!
The other big deal is that egg yolk. Cold yolks are stubborn and won’t emulsify properly, leading to a runny mess. If you forget to take it out early, just place the whole egg in a bowl of warm tap water for about three minutes—it warms up fast. And don’t skimp on the Dijon mustard! It’s not just for flavor; it contains emulsifiers that help hold everything together, adding that lovely zip perfect for a tangy homemade dip base later on.
DIY Mayonnaise Instructions: The Blender Mayonnaise Tutorial
Okay, now for the fun part! This is where we turn five simple things into magic. Because we are using an immersion blender (or a small, narrow jar blender), this whole process becomes less about wrist-straining whisking and more about patience with the pour. This whole blender mayonnaise tutorial takes up maybe 3 minutes of your time, so stay focused!
First, everything goes in the bottom of the jar: your room-temperature egg yolk, the mustard, the lemon juice, and the vinegar. We let the blender do its thing for about ten seconds until those wet ingredients look unified and a little bit lighter in color. That’s it for phase one!
Now, listen up, because this next part is the secret handshake for how to make mayo without separating. You have to drizzle that neutral oil in SO SLOWLY at first. I remember the first time I tried making this, Chloe was doing the pouring and she got impatient after about two tablespoons. It immediately looked thin and sad, like oily soup. I panicked! But that’s the lesson, right? You start by trickling the oil in—we’re talking drop by drop, almost. You should see the mixture start to grab onto the oil and thicken up immediately beneath the blade.
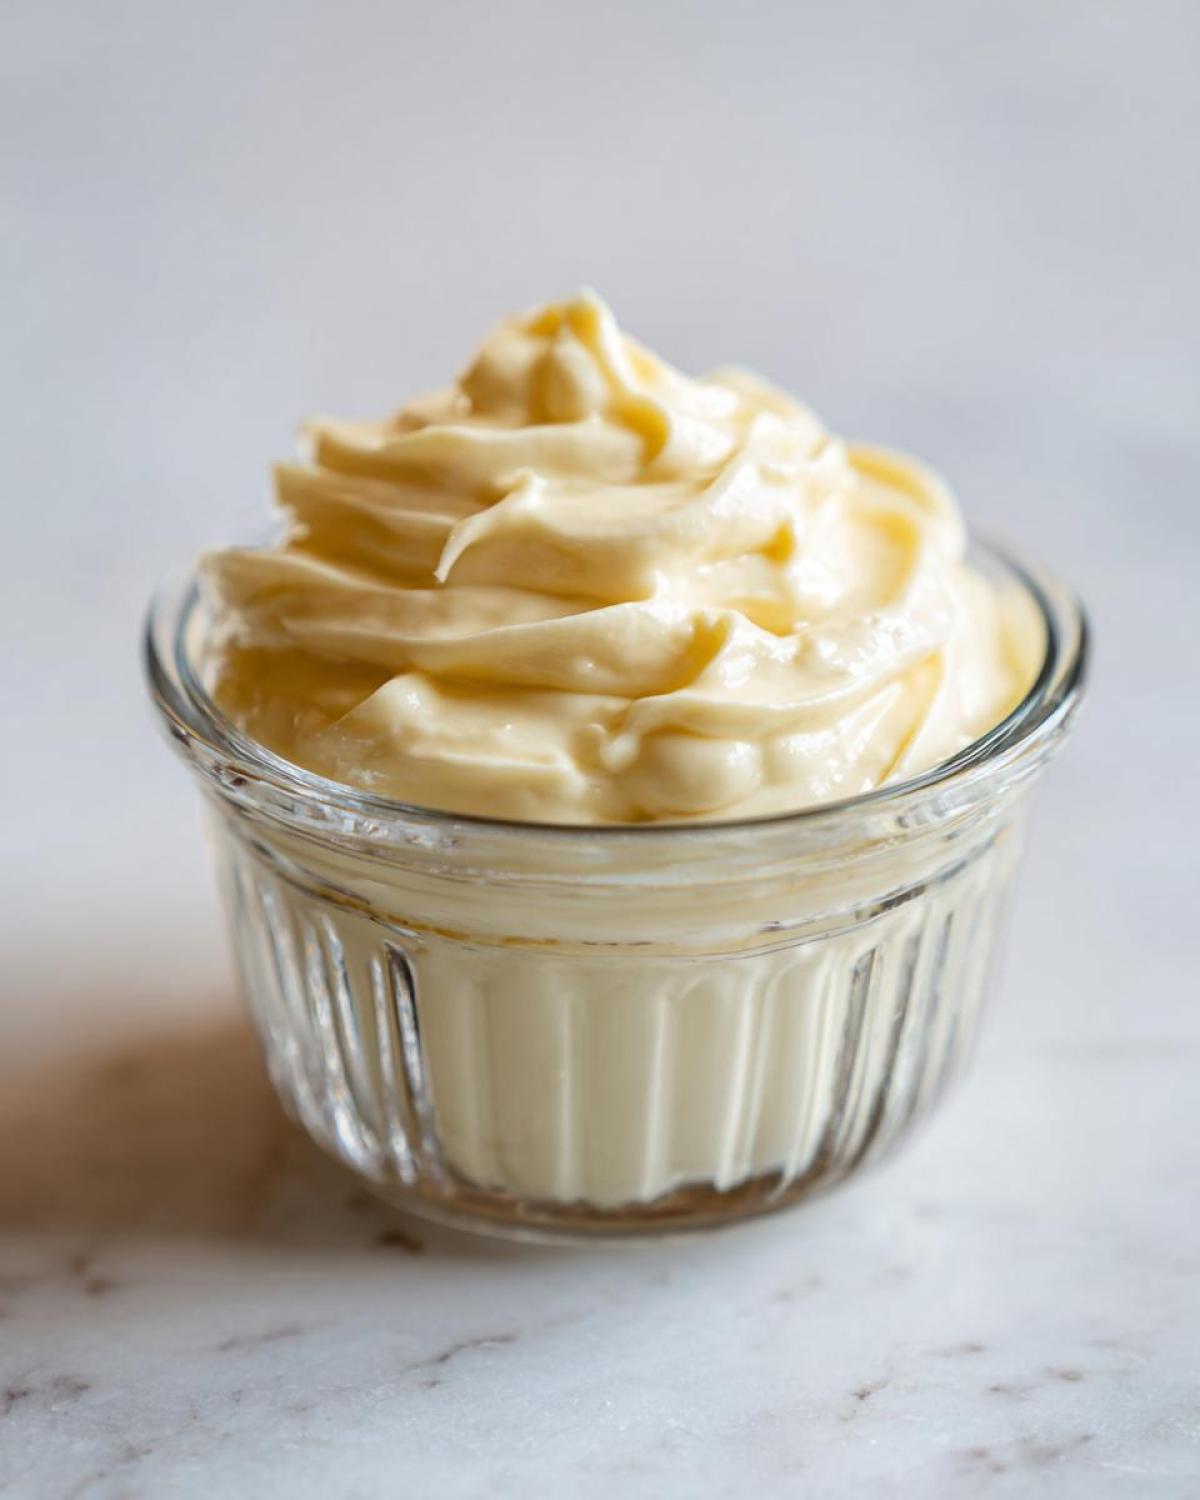
Once that mixture starts looking like actual, thick, pale yellow homemade mayonnaise—usually after about half the oil is in—you can relax your pouring wrist a tiny bit. You can speed up the oil stream slightly, but you *must* keep the blender moving continuously on medium speed. If you stop the blender while adding oil, it will definitely separate. Keep going until all the oil is blended in and you’ve got that gorgeous, thick texture that makes store-bought look like dishwater. I’m linking a great guide from The Spanish Apron here if you want to see another angle!
Finally, stop blending, taste it, and stir in that pinch of salt. If it’s somehow too thick, just whiz in a tiny drop of water until it’s perfect. Don’t forget to check out my guide on caramelized onions—this mayo would be amazing smeared on future toast!
Mastering the Emulsion for Rich and Smooth Mayo
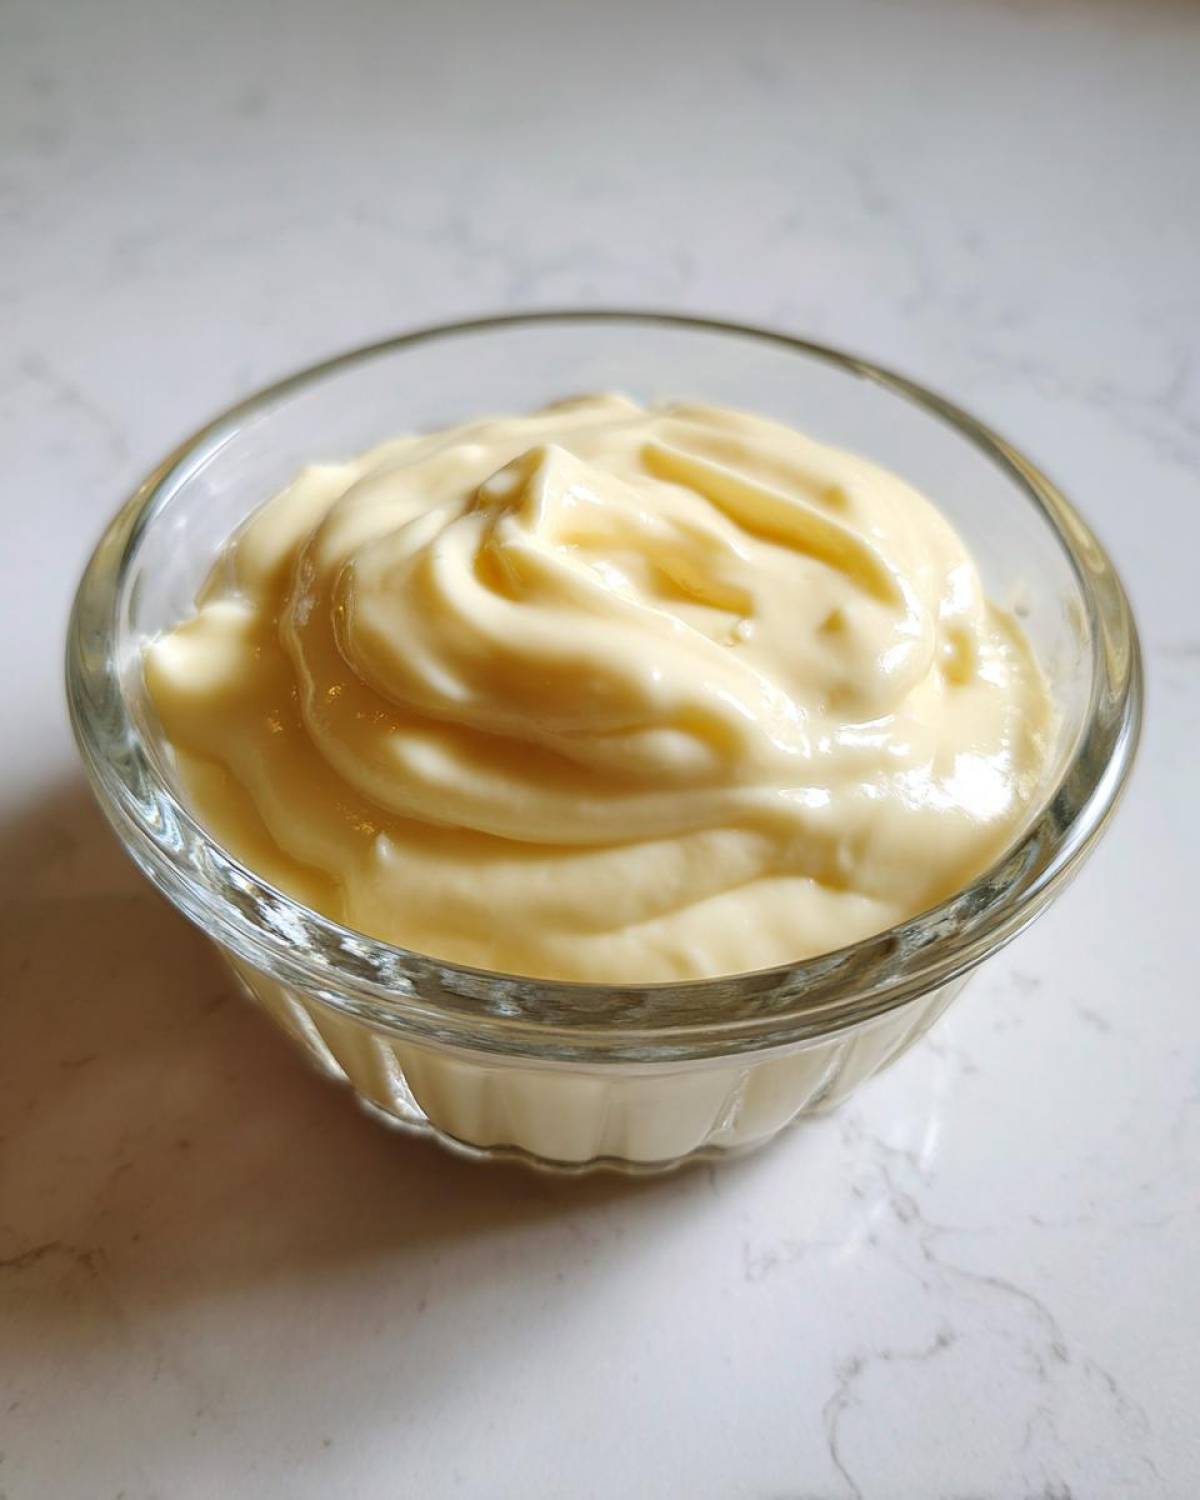
The emulsion is just a fancy word for getting oil and water (or in our case, oil and egg yolk/vinegar) to hold hands happily. Oil and water normally push each other away, right? But the lecithin in the egg yolk acts like a tiny matchmaker that traps the oil droplets in the water base, creating that stable, thick chain we want. That’s why temperature matters so much—cold ingredients don’t let the matchmakers work efficiently!
The slow stream during the initial addition is non-negotiable. You are giving the egg yolk time to surround every single drop of oil as it enters the vortex of the blender. If you dump too much oil in too fast, the egg yolk gets overwhelmed. It can’t wrap around all the new oil before the next splash arrives, and boom, we end up with broken, greasy liquid instead of that desired rich and smooth mayo texture.
Keep that drizzle slow and steady until you see the mixture fighting back against the oil stream. Once you feel that resistance, you know you’ve built the base successfully, and you can proceed with a little more confidence!
Troubleshooting Common Issues When Making Homemade Mayonnaise
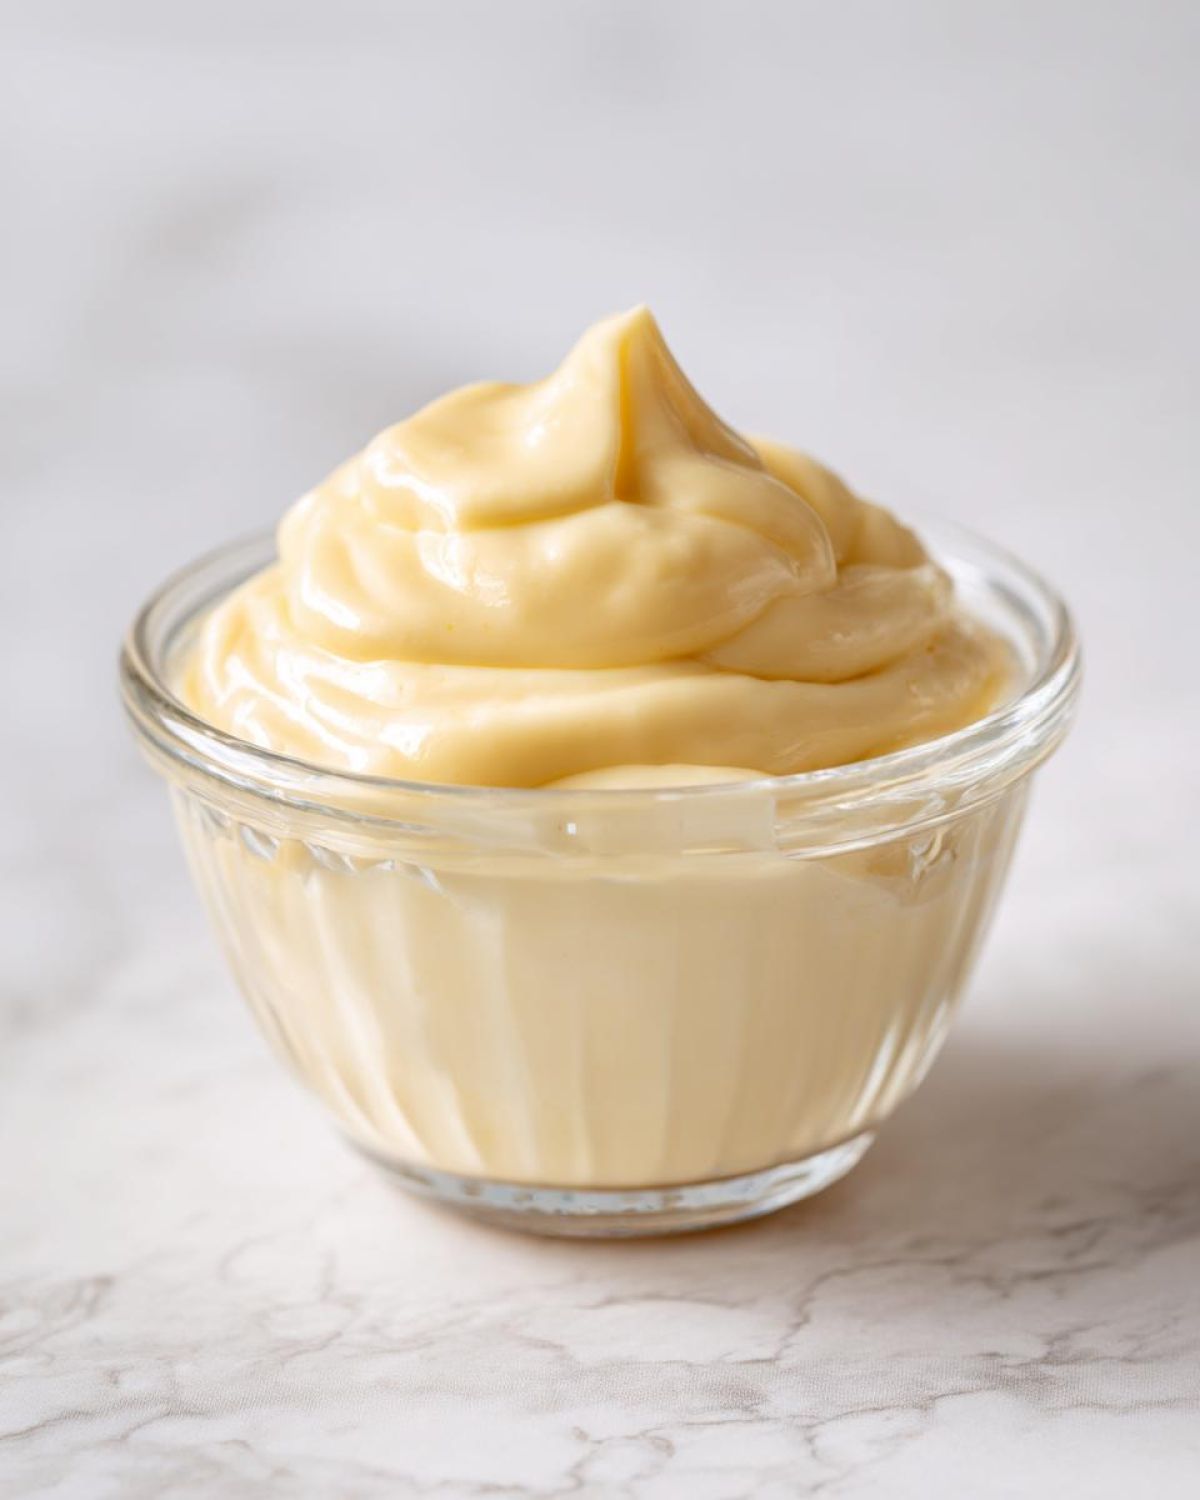
Okay, deep breaths! If you followed every step perfectly, your homemade mayonnaise is probably perfect right now—thick, glossy, and absolutely delicious. But if you looked down and saw a runny, separated, oily mess instead of creamy perfection, please don’t panic or throw it away! This happens to literally everyone, even people who claim they never mess up a recipe. Chloe definitely panicked the first time this happened to us, but I dug through the old family recipe files, and there is a super easy fix.
Separation (when the oil and egg decide they don’t like each other anymore) usually means we added the oil too fast during the initial phase, which overwhelmed the poor egg yolk. But don’t worry, we can bring it back from the brink!
Fixing Separated Mayo: Making Mayo Foolproof
This little trick is the secret to making mayo foolproof. You are essentially using a brand new, tiny base to coax the broken mixture back into an emulsion. It’s like starting over, but you get to rescue the oil you already added!
Here’s exactly what you need to do:
- Grab a completely clean, dry bowl. You need a fresh start!
- Put one tiny safety net in the bowl. You can use either one teaspoon of fresh, room-temperature water OR one fresh egg yolk. I usually grab the yolk because it’s readily available, but water works in a pinch!
- Start whisking that new yolk (or water) vigorously.
- Now, take your sad, separated mayonnaise mixture. You are going to drizzle it into your new base *drop by drop*. Yes, seriously, like you are teasing it. Whisk constantly!
- As soon as you see that runny oil/egg start to grab onto the new base and thicken up (it happens fast!), you can speed up your stream a little bit. Continue slowly incorporating the broken mayo into the new base until it’s all blended back together into one gloriously thick sauce.
It’s amazing how you can save an entire batch of homemade mayonnaise with just one extra teaspoon of something! Next time, just remember that first half-cup of oil needs to go in slower than you think possible. You’ve got this!
Serving Suggestions for Your Fresh Condiment Recipes
Now that you have this incredibly rich, perfectly stable jar of homemade mayonnaise, the possibilities are endless! Honestly, sometimes I just eat a spoonful plain, but Chloe usually glares at me when I do that. The real fun starts when you realize you’ve created the ultimate base for almost any savory treat you can imagine. Forget those tired, sugary store-bought sauces; your fresh condiment is ready to shine!
If we are talking pure convenience, you’ve just created the best healthy sandwich spread ever. A proper layer of this mayo on your bread makes simple roast turkey taste like a gourmet deli sandwich. It’s amazing how much better flavor you get when you control the ingredients yourself.
But honestly, I use it most often as a core dressing base recipe. A little extra lemon juice and pepper, and you’ve got a beautiful, vibrant salad dressing that clings perfectly to crisp lettuce leaves. If you’re looking for inspiration on how to use it up fast, check out our recipe for BLT Chicken Salad—it needs a good dollop of homemade mayo!
Creating a Tangy Homemade Dip Base
This is my absolute favorite extension of the creamy mayonnaise recipe. Because the base mayo is so pure, it takes on other flavors beautifully. Want a quick onion dip for potato chips? Mix in some dried onion soup mix and a splash of milk. Want something zesty for dipping raw veggies? That’s where the magic happens!
To whip up a fantastic tangy homemade dip, just take about half a cup of your fresh mayo and stir in things like smoked paprika, a squeeze of lime, a dash of hot sauce, and maybe some finely minced chives. Seriously, it takes 30 seconds, and you suddenly have a dip that puts any jarred version to shame. You can use this trick to create custom aiolis for fries or homemade tartar sauce—it’s endlessly customizable!
Storage and Shelf Life of Homemade Mayonnaise
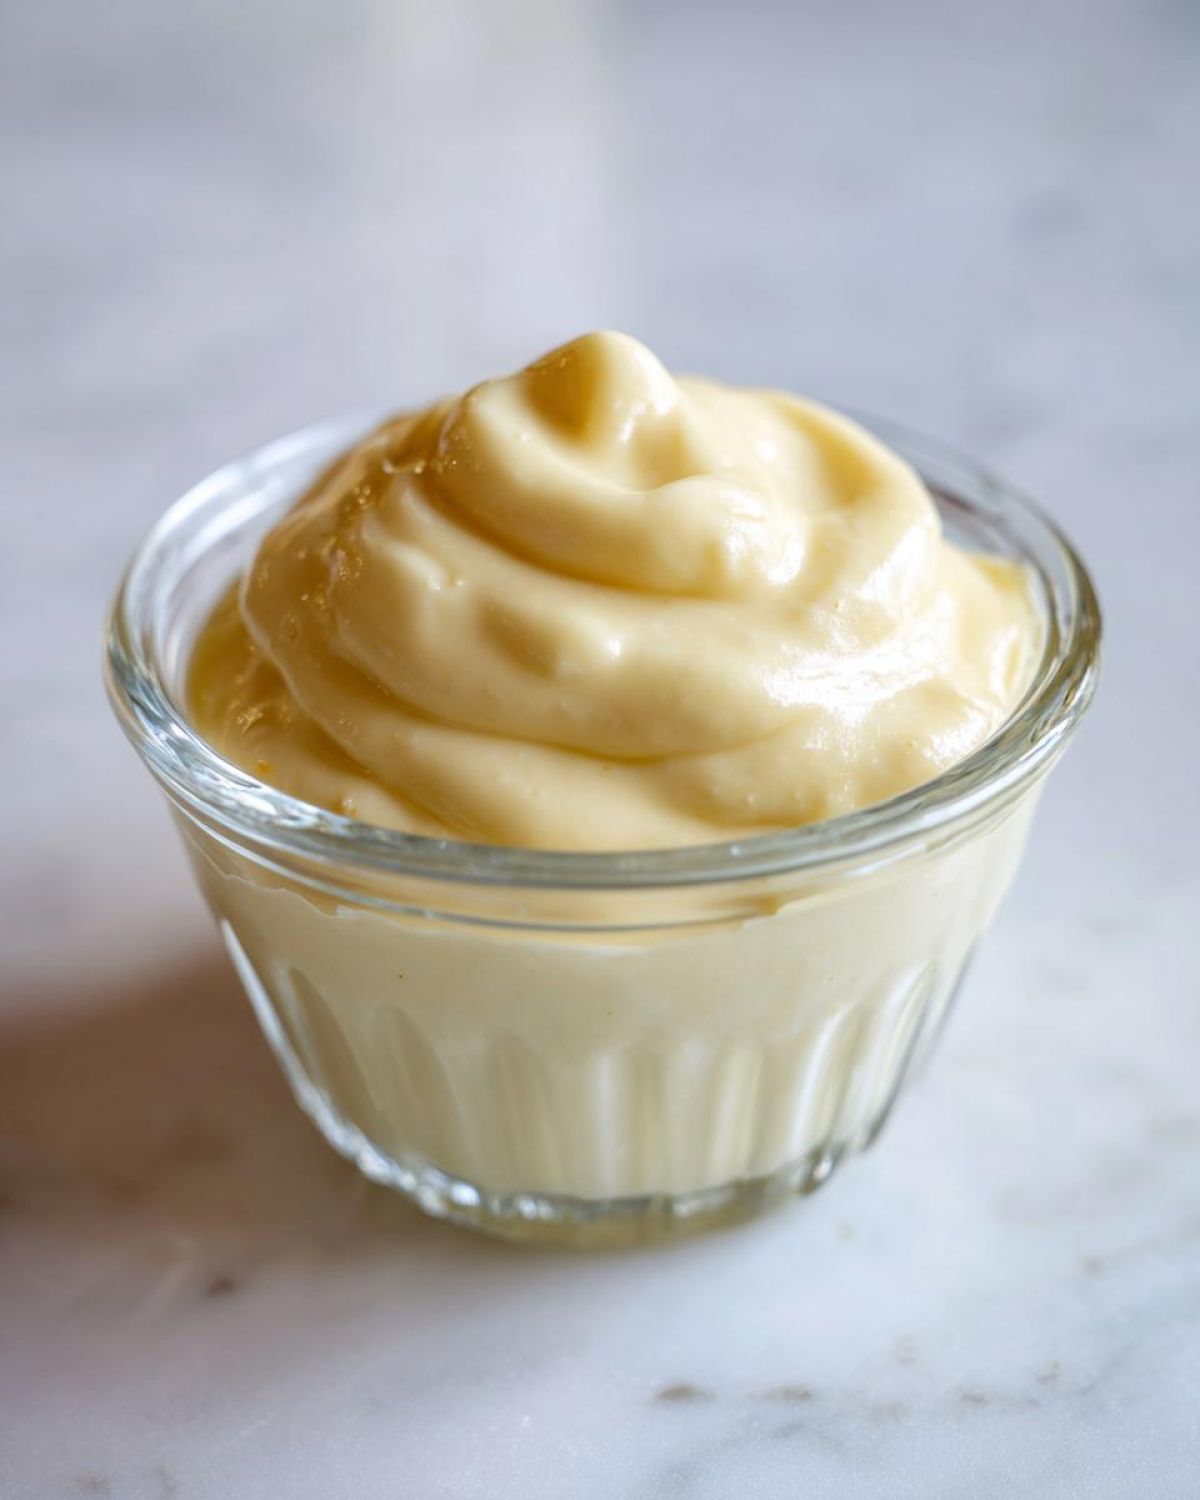
Alright, we’ve made magic! Now we have to treat this beautiful, homemade mayonnaise with the respect it deserves. Unlike the stuff you buy that sits on store shelves for ages, ours is made with fresh, beautiful egg yolk, and that changes things immediately regarding shelf life. We need to be smart about storage, but oh boy, is that one week of freshness worth it!
My biggest rule? Always use an airtight container in the fridge. I used to just put a lid on the blender jar, but if your jar doesn’t seal perfectly, you risk it absorbing other fridge smells. Since Chloe and I learned the hard way that a dill pickle-scented mayo is not an improvement, we transfer it immediately. If you want to get really cute and save it in a jar like they do in farm-to-table restaurants, you can check out some ideas over here about jarring basics.
Here’s the real talk: because we used a raw egg yolk right out of the shell, you need to consume this glorious sauce within about seven days, maximum. Honestly, it tastes best in the first three, when it’s at its silkiest peak. After about five days, you might start noticing a very slight textural change, but in my kitchen, it never lasts that long anyway! If you start tasting anything ‘off,’ please toss it—that’s the safety side of making homemade mayonnaise we can’t ignore.
Don’t even think about freezing it! Freezing ruins the emulsion completely, and when you thaw it, you’ll just have oily sadness. Stick to the fridge, use it up quickly, and then get back to the blender and make another small, fresh batch. That’s the joy of having such a simple, quick mayo from scratch recipe!
Quick Facts About This Creamy Mayonnaise Recipe
I know you’re busy—we’re all busy! That’s why when I put together any recipe in the Cookery Kings kitchen, I make sure it’s fast and efficient. This homemade mayonnaise recipe is truly impressive because of how little time it takes versus how incredible the flavor is. You get that rich, authentic taste without standing over a pot stirring for an hour. It’s perfect for those moments when you realize you’re out of mayo mid-sandwich prep!
Here’s the quick rundown so you can mentally fit this into your day. If you’re looking for a truly quick mayo from scratch solution, this is it. Zero cooking time required, which is my favorite kind of cooking!
- Prep Time: About 5 minutes. Seriously! Gather your five ingredients and grab your blender.
- Cook Time: 0 minutes! We are building an emulsion, not baking or cooking anything here.
- Total Time: Yep, about 5 minutes total. I sometimes spend longer looking for the lid to the blender jar than I do actually making the mayonnaise!
- Yield: You get about 1 cup of glorious sauce. Perfect for several sandwiches or a decent-sized bowl of potato salad.
Estimated Nutritional Data for 5 Ingredient Mayonnaise
Now, I have to give you the usual disclaimer here: since we are making something fresh and using varying types of oil, these numbers are just an estimate based on the base recipe I included. Treat this as a general guide for your creamy mayonnaise recipe, especially compared to the mystery ingredients in store brands!
Here are the approximate numbers per 1 tablespoon serving of this homemade mayonnaise:
- Calories: Around 90
- Total Fat: About 10 grams (mostly the good fats from your oil choice!)
- Carbohydrates: 0 grams
- Protein: Just about 0.5 grams
- Sodium: Moderate—around 35mg, depending on your salt preference.
It’s fascinating, isn’t it? Almost entirely fat and flavor! That’s why we keep the portions sensible, but boy, is it worth every calorie spread on a toasted slice of bread.
Frequently Asked Questions About Homemade Mayonnaise
I love getting questions from you guys; it means you’re actually out there making things! When you start diving into homemade mayonnaise, you always have a few lingering doubts. I’ve pulled together the most common ones I get asked below, including how to make sure you get that super-thick result we talked about.
Can I make homemade mayonnaise in a jar without an immersion blender?
Oh, definitely! The immersion blender is my personal favorite because it’s so fast—we’re talking 3 minutes flat—but yes, you absolutely can make this work using a very small jar (like a baby food jar!) and a regular whisk or even a tight lid. This is the classic ‘mayonnaise in a jar’ method that people have used forever. The trick is patience, my friend. You have to whisk like you mean it, and when you add that oil? It needs to be *painfully* slow at the beginning. Start with just a few drops, whisk like crazy until it looks cloudy, then continue with that slow stream. It requires more elbow grease than the blender, but the results are just as delicious!
What is the best neutral oil for making mayo without separating?
If you are aiming for that rich and smooth mayo that doesn’t have any weird grassy flavors, choosing the right oil matters a lot. I always push people toward canola, grapeseed, or light sunflower oil. These are truly neutral, meaning they let the brightness of the lemon and vinegar shine through, giving you a classic, clean flavor profile that works everywhere. They also have fantastic stability for creating an even emulsion, which really helps when you’re trying to master making mayo foolproof. If you want to try flavored mayo, use a neutral oil as the majority (say, 75%) and swirl in a little bit of extra virgin olive oil at the very end, once it’s already thick!
If you’re looking for more quick-fix tutorials, I did a whole post on 15-minute fried noodles that uses speed and simplicity as its main goal too!
Share Your Homemade Mayonnaise Success
Seriously, I really want to hear how it went! This homemade mayonnaise recipe is just one of those little kitchen magic tricks that feels so rewarding to master, whether you used the blender or you bravely went at it with a whisk in a standard jar. Did you try adding a tiny bit of smoked paprika for fun? Did you use it as a base for a crazy homemade aioli?
Please, head down to the comments section below and tell us your experience! Chloe and I love seeing your successful batches—and don’t worry if yours was a little runny at first; we’ve all been there! Rate the recipe if you loved how quick and creamy it turned out. Hearing from you guys makes this whole adventure worth it, and it keeps our little corner of the internet filled with helpful cooking talk! We’re always trying new things, so share those variations with the rest of the Cookery Kings crew! If you want to see all our latest kitchen experiments, you can browse the main blog here!
PrintEasy 5-Ingredient Creamy Homemade Mayonnaise (Blender Method)
You can make rich, smooth homemade mayonnaise in minutes using just five simple ingredients. This quick blender recipe guarantees creamy results every time, tasting much better than store-bought versions. Use this fresh condiment for sandwiches, salads, and dips.
- Prep Time: 5 min
- Cook Time: 0 min
- Total Time: 5 min
- Yield: About 1 cup
- Category: Condiment
- Method: Blending
- Cuisine: American
- Diet: Gluten Free
Ingredients
- 1 large egg yolk, room temperature
- 1 teaspoon Dijon mustard
- 1 teaspoon fresh lemon juice
- 1/2 teaspoon white wine vinegar
- 3/4 cup neutral oil (like canola or light olive oil)
- Pinch of salt
Instructions
- Place the egg yolk, Dijon mustard, lemon juice, and vinegar into the container of an immersion blender or a small, narrow blender jar.
- Blend these ingredients together for about 10 seconds until they are combined and slightly pale.
- With the blender running continuously on medium speed, slowly drizzle the oil into the mixture in a very thin, steady stream. This slow addition is key to preventing separation.
- Continue blending and slowly adding the oil until about half of the oil is incorporated and the mixture begins to thicken significantly.
- Once it thickens, you can increase the oil stream slightly faster, but still add it slowly while the blender runs.
- Stop blending once all the oil is added and you have thick, creamy homemade mayonnaise.
- Stir in the salt to taste. If the mayo is too thick, you can blend in a few drops of water until you reach your desired consistency.
Notes
- Use room temperature ingredients, especially the egg yolk, to help the emulsion form correctly.
- If your mayonnaise separates (looks runny), place one teaspoon of water or another egg yolk in a clean bowl and slowly whisk the broken mixture into it, drop by drop, until it re-emulsifies.
- This fresh condiment is best used within one week when stored in an airtight container in the refrigerator.
Nutrition
- Serving Size: 1 tablespoon
- Calories: 90
- Sugar: 0
- Sodium: 35
- Fat: 10
- Saturated Fat: 1.5
- Unsaturated Fat: 8.5
- Trans Fat: 0
- Carbohydrates: 0
- Fiber: 0
- Protein: 0.5
- Cholesterol: 30