

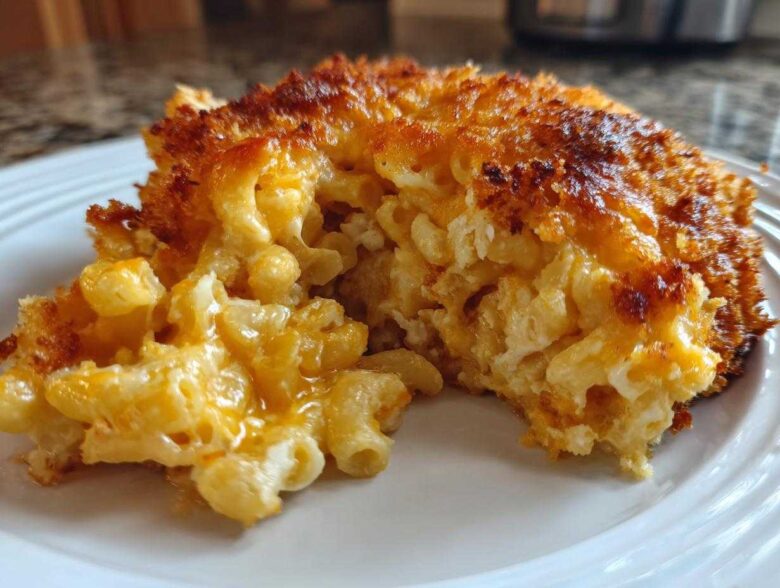
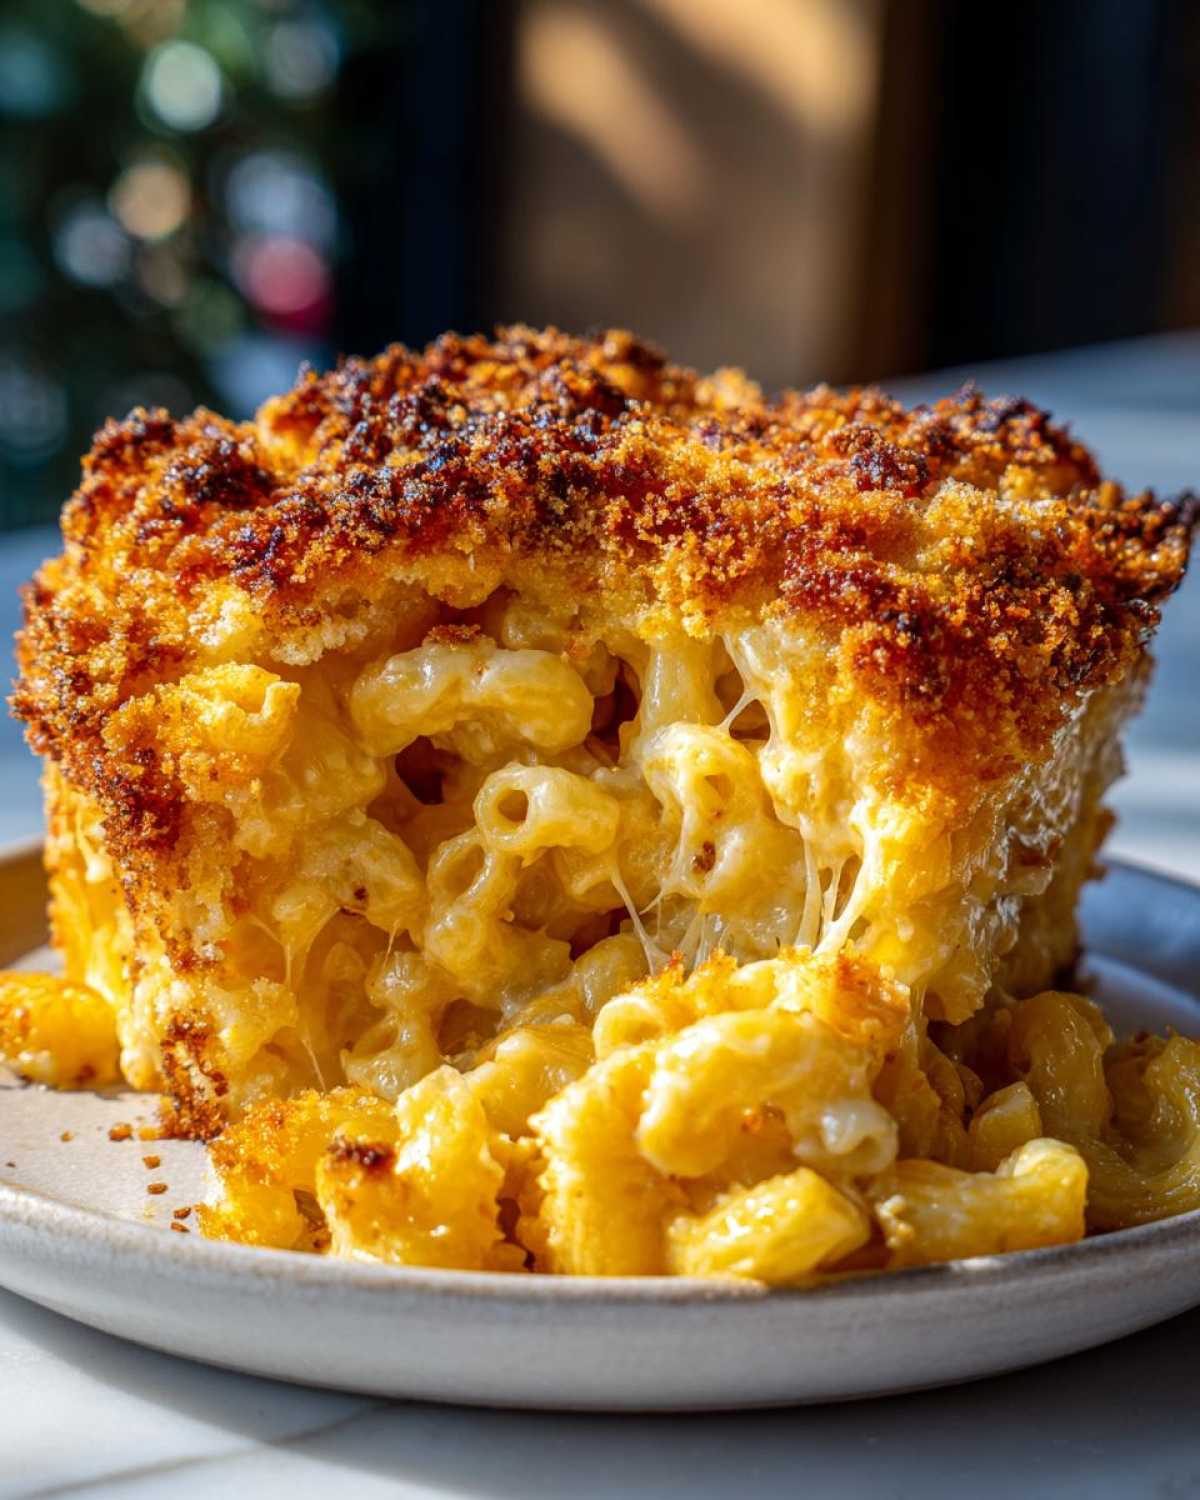
When I say comfort food, I mean the kind of hug-in-a-bowl dish that makes everything okay: the ultimate, show-stopping **Cheesy Baked Mac and Cheese with Crispy Top**. I spent years trying to nail this because honestly, those sad, watery mac and cheese casseroles you get at potlucks just won’t cut it for me. My breakthrough finally happened when I started treating the cheese sauce like a true béchamel, focusing on a perfect roux first. But the real game-changer? That crunchy, salty, buttery blanket on top. Trust me, once you master the technique for that golden crust, you’ll never go back to just sprinkling loose breadcrumbs on top. This definitive recipe needs three cheeses for the perfect balance of sharpness and melt, and I’ll show you exactly how to handle the sauce so it stays rich and never, ever separates on you.
If you’re planning a holiday meal or just need to fix a rough week, this baked pasta dish is your answer. We even take an extra step and sometimes toss in some additions, like bacon bits on the side for those who want them! You can check out my recipe for creamy Sour Cream Beef Noodle Casserole if you need another crowd-pleaser, but today, we focus on cheese dreams.
Why This Cheesy Baked Mac and Cheese with Crispy Top Works
You need to know *why* this recipe is the one you should trust when you’re making a big, impressive mac and cheese bake. It’s not just about throwing cheese at pasta, oh no. We are building structure here! This works because we respect the science of the sauce and the crunch of the topping. It’s the best of both worlds, really.
- Our three-cheese blend—heavy on the sharp cheddar and balanced with Gruyère—guarantees that deep flavor without getting oily.
- The careful 6-tablespoon roux provides the necessary body to cling instantly to every single piece of macaroni.
- We use panko breadcrumbs, but we treat them right by tossing them in melted butter separately so they toast instead of steam in the oven.
Achieving the Ultimate Creamy Mac and Cheese Bake
If your sauce is lumpy or grainy, you’ve failed the primary mission! The secret here is creating a beautiful roux—that cooked mix of butter and flour. You cook it for just a minute to get rid of that raw flour taste. Then, and this is vital, you must gradually whisk in *warm* milk. Cold milk hitting hot fat equals instant lumps. Warming the milk first shocks the roux less, resulting in that velvety sauce that coats the pasta perfectly. Remember, always take the whole pot OFF the heat before you start adding handfuls of shredded cheese!
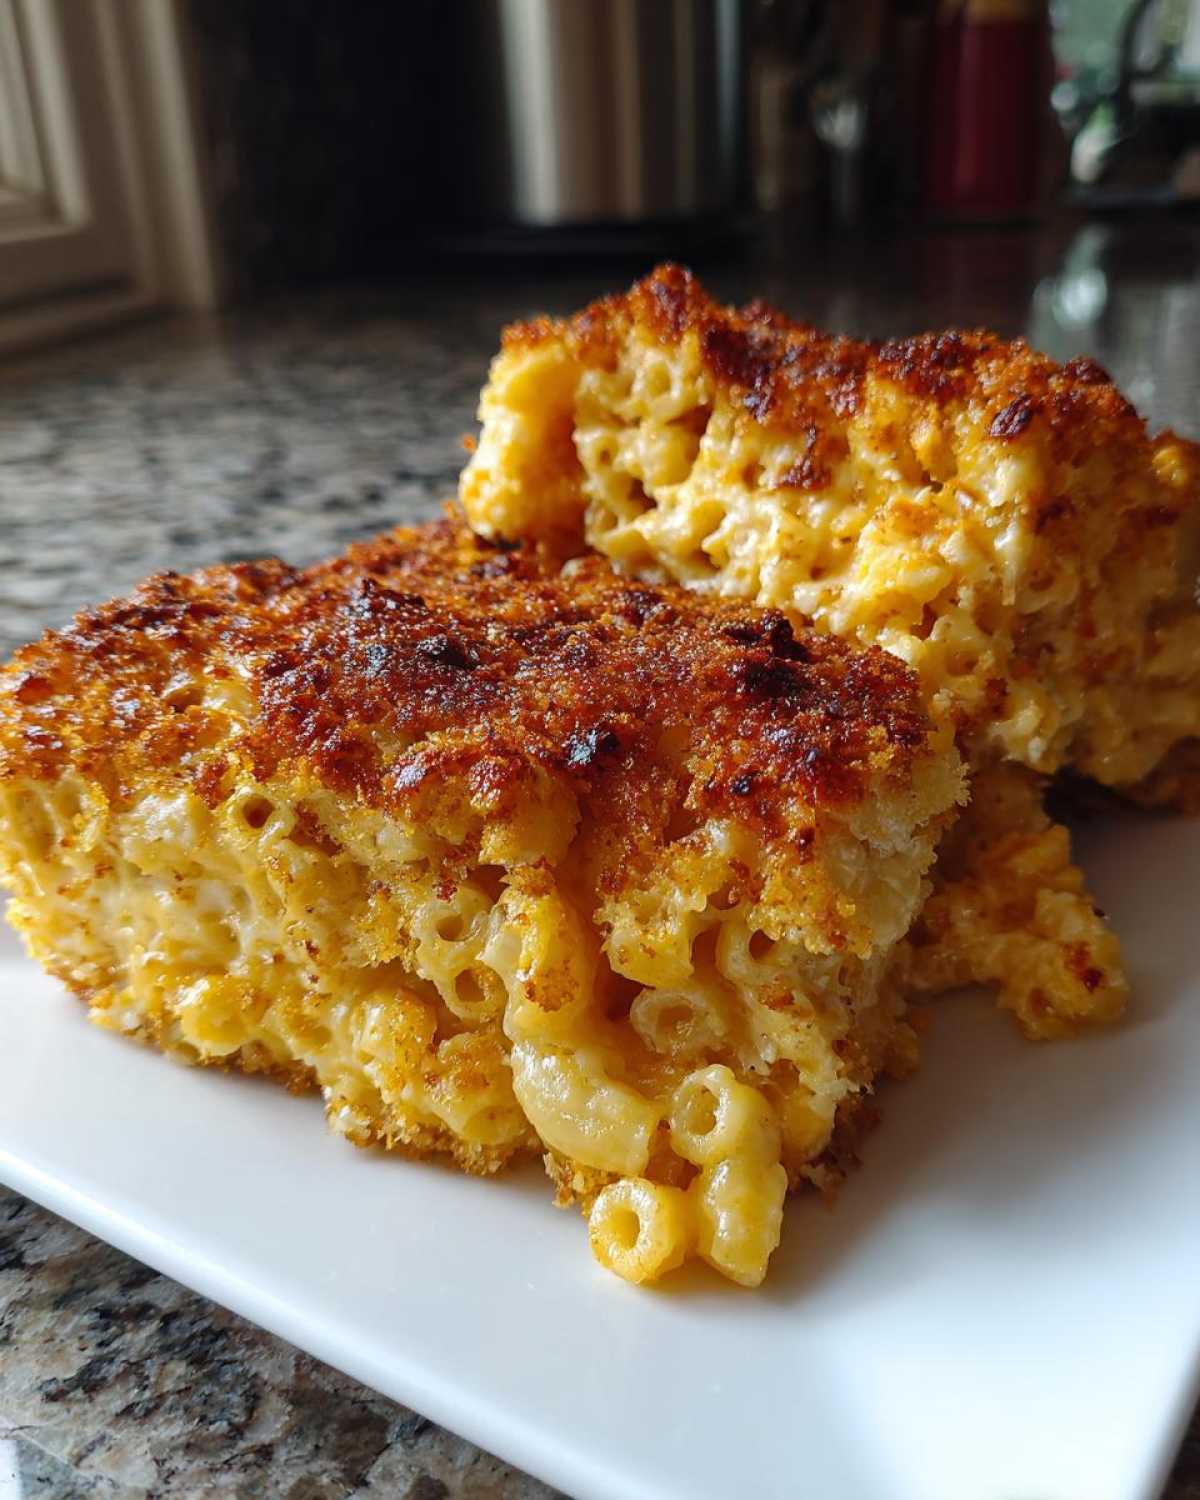
Secrets to a Homemade Crispy Topping for Mac and Cheese
Texture is everything when you’re going for that perfect oven baked macaroni and cheese. We’re skipping dry breadcrumbs tossed on top randomly. Instead, we melt the remaining butter separately—just 2 tablespoons—and toss the panko breadcrumbs in it until every strand is glistening. This pre-coating is what guarantees they brown up beautifully and become that shatteringly crisp topping instead of just getting soggy under the steam. It’s a small step, but it makes the difference between a casserole and a *gourmet baked mac and cheese*!
Ingredients for Your Cheesy Baked Macaroni and Cheese with Crispy Top
Okay, let’s talk about what you need to gather to make this showstopper. Remember what I said earlier? The quality of your base ingredients, especially the cheese, makes or breaks this whole **creamy mac and cheese bake**. Don’t cut corners here—it’s comfort food, so go for the good stuff! I always lay everything out before I even start the stove, because once that roux gets going, you don’t have time to hunt for the nutmeg.
You’ll notice the butter is divided. This is key! We use 4 tablespoons for building the sauce’s foundation, and the final 2 tablespoons are totally dedicated to making that topping sing. Also, please, please, please see Recipe Notes about shredding your own cheese! It’s the difference between heaven and gritty sadness.
Here is exactly what you need for this ultimate meal, which yields about 8 generous servings. If you want to add some depth later on, maybe check out my guide on Onion Caramelization, but for now, stick to the list!
- 1 pound elbow macaroni (Cooked until just al dente—a little bite left!)
- 6 tablespoons unsalted butter, divided (4 tbsp for the sauce, 2 tbsp for the topping)
- 1/2 cup all-purpose flour (The backbone of our thick sauce)
- 4 cups whole milk, warmed (Warm milk is non-negotiable for smoothness!)
- 1 teaspoon salt
- 1/2 teaspoon black pepper
- 1/4 teaspoon ground nutmeg (Don’t skip this; it wakes up the cheddar!)
- 1/4 teaspoon cayenne pepper (Just a hint of warmth, not actual heat)
- 4 cups shredded sharp cheddar cheese (Sharp, baby, sharp!)
- 2 cups shredded Gruyère cheese (For that nutty, luxurious melt)
- 1 cup shredded Monterey Jack cheese (Our secret weapon for stretchiness)
- 1 cup panko breadcrumbs (Makes that **homemade crispy topping for mac and cheese** possible)
Step-by-Step: How to Prepare Cheesy Baked Mac and Cheese with Crispy Top
Alright, now that we have our gorgeous pile of ingredients ready, it’s time to put this masterpiece together! This is where technique matters more than just dumping things in a pot. We need to control those temperatures so our sauce stays velvety smooth—think of it like making a beautiful homemade alfredo sauce, but heartier. Follow these steps precisely, and you’ll have the richest, creamiest casserole guaranteed to disappear fast.
Preparing the Pasta and Oven Setup
First things first, get that oven heated up to 375 degrees Fahrenheit right away, and lightly grease your 9×13 inch baking dish. Next, tackle the macaroni. This is critical: cook those noodles until they are just al dente. I mean *just* shy of done. They need to have a little structural integrity left because they are going to cook more in the oven while soaking up that rich sauce. Once drained, set them aside immediately and make sure they aren’t sitting in any standing water—we want dry pasta going into our sauce!
Making the Rich and Creamy Mac and Cheese Bake Sauce
Grab your biggest saucepan! Melt 4 tablespoons of butter over medium heat. Whisk in the flour quickly to form that roux—keep stirring for a full minute! Now, slowly, gradually whisk in that warm milk. If you dump it all in at once, you’ll get clumps, and we don’t have time for that! Keep whisking until the sauce coats the back of your spoon nicely. As soon as it’s thick enough to do that, pull the entire pan completely off the heat source. Seriously, take it off the stove! Now, toss in your spices, salt, and pepper. Then add your three kinds of cheese in handfuls, stirring until each batch is totally melted and glossy before adding the next. That way, it stays emulsified perfectly.
Assembling and Applying the Panko Crusted Macaroni
Gently fold your cooked pasta into that glorious cheese sauce until every elbow is coated in cheesy goodness. Pour the whole thing into your prepared baking dish. Now for the grand finale topping! In a tiny bowl, melt those final 2 tablespoons of butter. Pour that melted goodness over your cup of panko breadcrumbs and toss them with your fingers until they look like they’re evenly seasoned. Sprinkle this buttered layer evenly across the top of the macaroni. This is what gives you that stunning, golden, crispy top when it comes out of the oven after about 25 to 30 minutes!
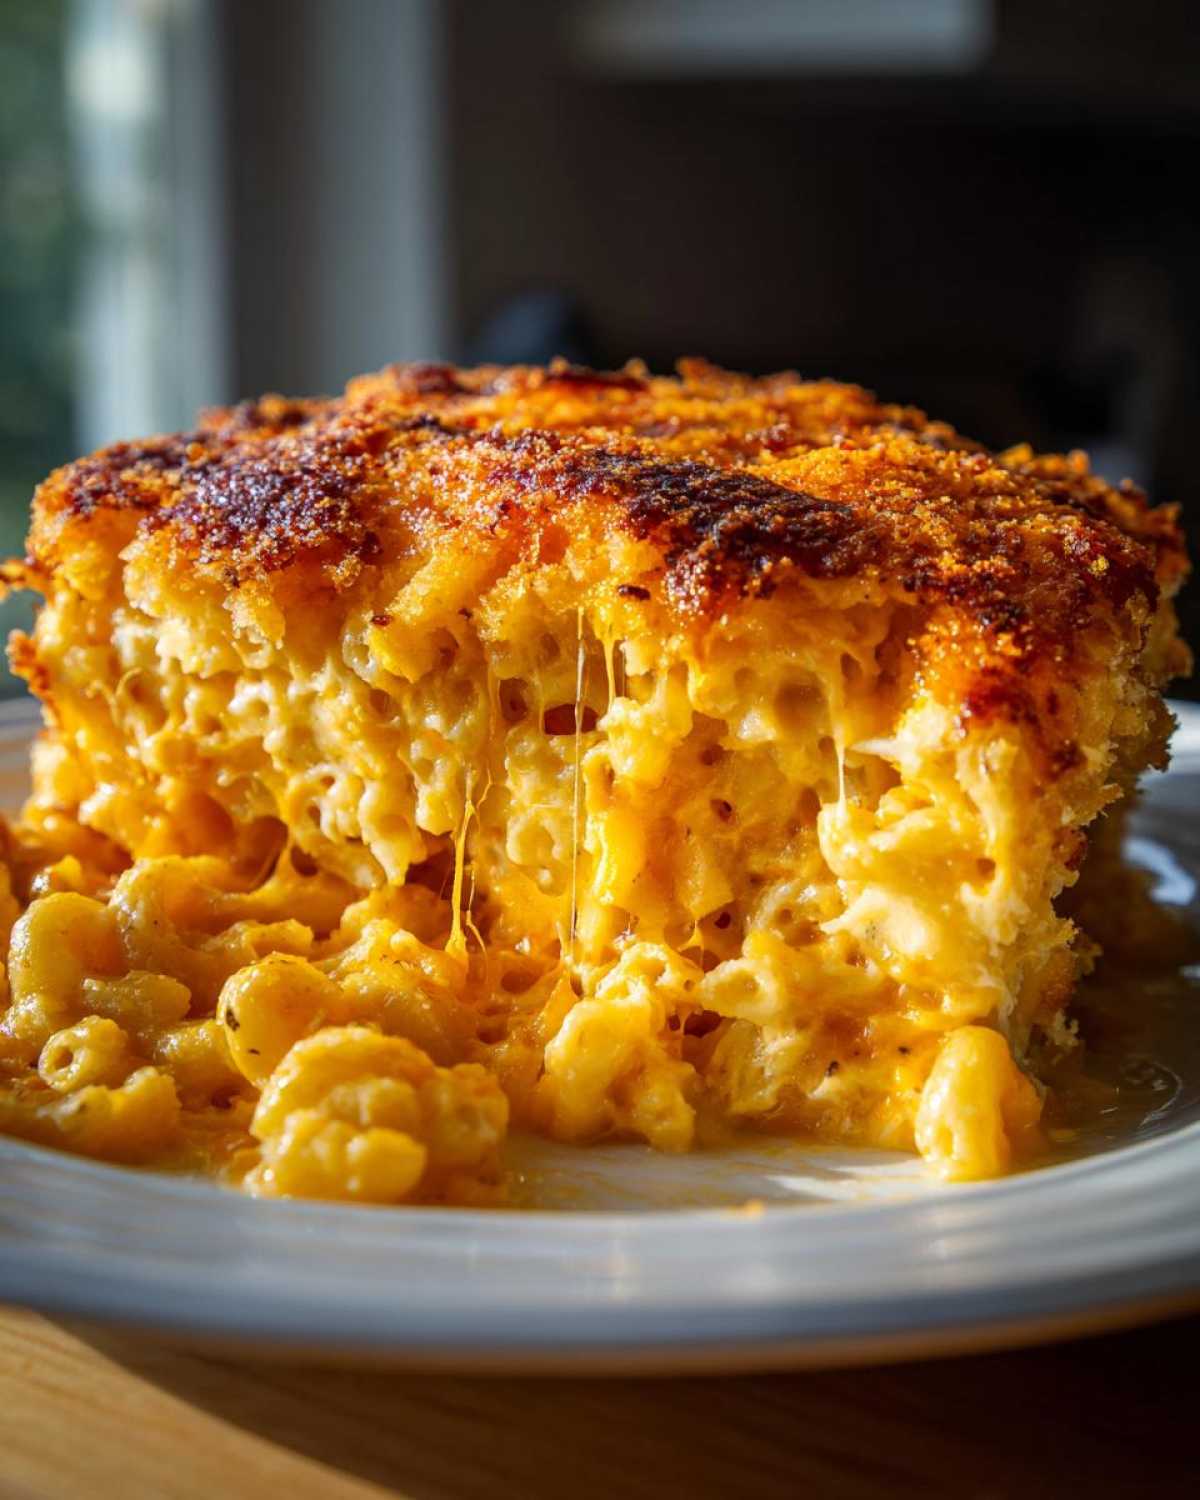
Expert Tips for the Perfect Oven Baked Macaroni and Cheese
I’ve made batches of this **cheesy mac and cheese bake** that turned out oily, and batches that were too stiff. Learning the nuances is how you turn this into a family favorite instead of just a regular casserole. My best advice comes straight from the notes my mom always scribbled on her cards—little warnings about things that seem minor but aren’t.
First, if you take away only one thing, let it be the cheese. Please, please buy blocks of cheddar, Gruyère, and Jack and shred them yourself! Pre-shredded cheese has starches like cellulose added to keep it from clumping in the bag. But those starches absorb liquid and prevent your dairy from melting evenly, which is exactly what causes that grainy or gritty texture we desperately want to avoid.
Also, remember the foil trick for the topping. I learned early on that if your oven runs a little hot, that beautiful panko crust can go from golden brown to burnt black in under three minutes! If you see the top getting too dark but the sauce isn’t bubbly around the sides yet, just loosely drape some foil over the dish. It protects the crunch while letting the inside finish cooking. It’s a simple fix that saved many a holiday side dish for me, much like ensuring my sugar cookies bake evenly!
Making Variations of Your Cheesy Baked Mac and Cheese with Crispy Top
Now that you’ve mastered the gold standard—the perfect blend of sharp cheddar and that crunchy panko—you’re ready to start experimenting! That’s what makes cooking fun, right? You already have the foundation for the ultimate **family favorite baked pasta**, so switching up a flavor here or there is incredibly easy.
My kids are always begging for me to add some kind of heat, so that’s usually my first deviation. But feel free to swap out cheeses or add some savory mix-ins based on what you have in the fridge! If you’re looking for another type of casserole that really packs a punch, you should definitely check out my recipe for Green Chile Chicken Enchiladas; it’s got that same spirit of taking a classic and boosting the flavor.
Here are a couple of ways I usually change things up when I get bored with perfection:
- Go Smoky and Spicy: Swap out half of that Gruyère for smoked Gouda—it brings this incredible depth! To match that, I’ll replace the cayenne pepper in the sauce with a pinch of smoked paprika and add 1/2 cup of diced, cooked bacon right before it goes into the pan.
- The Spicy Veggie Boost: If you want to sneak in some other flavors, throw in 1/2 cup of finely diced roasted red peppers or some pickled jalapeños (drained really well!). Make sure these get mixed right into the sauce with the pasta—they add moisture and a little kick.
- Fancy Up the Crunch: If you run out of panko, or just want a deeper, nuttier crunch, I sometimes substitute half the panko with crushed Ritz crackers or even some toasted, crushed pretzel pieces. Just remember to toss them with the remaining 2 tablespoons of melted butter first! It makes for a unique texture in the **panko crusted macaroni** experience.
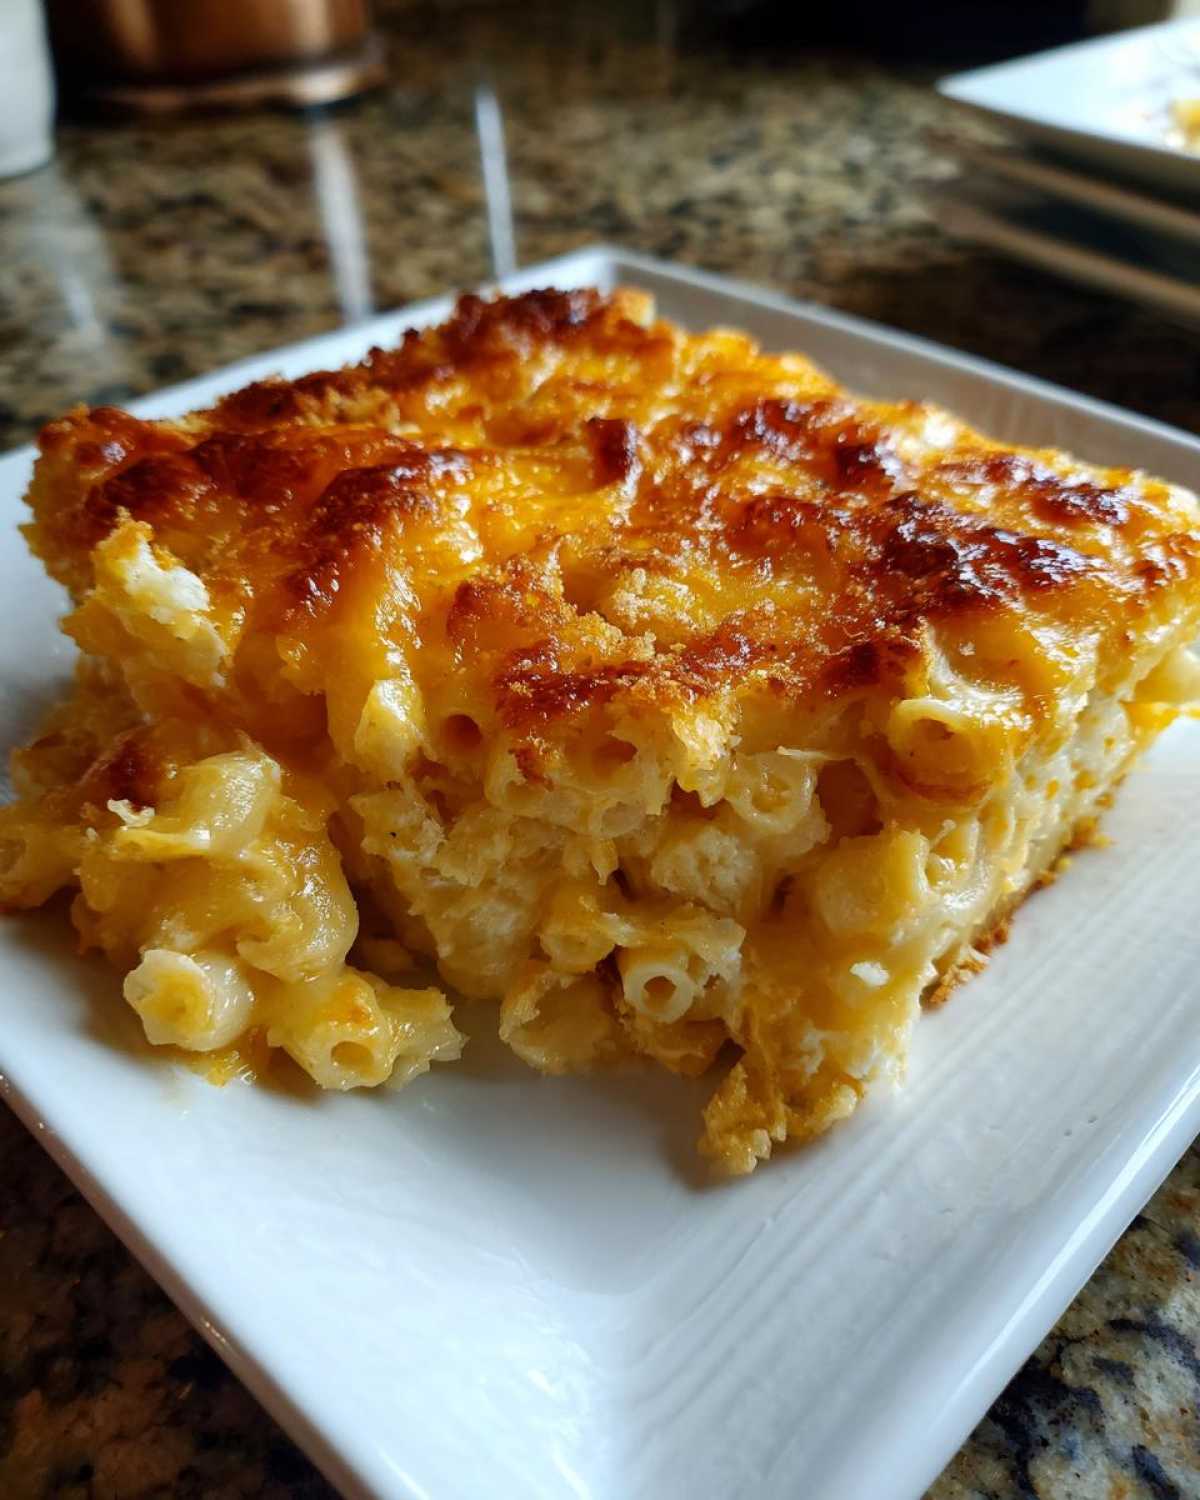
The beauty is that the sharp cheddar/Gruyère base is so strong, even if you venture off the path a little, you’re still going to end up with something truly delicious!
Serving Suggestions for This Comfort Food Casserole
This **rich and creamy baked pasta dish** is so satisfying it can absolutely stand alone as a main meal, especially when you need that ultimate comfort food fix. But let’s be real; it’s also the undisputed champion of holiday side dishes! Because this mac is so decadently rich with all that butter and three kinds of cheese, you want to serve it with something bright and fresh to cut through the richness.
My first pick is something acidic. A bright, zesty green salad with a sharp vinaigrette works wonders. If you’re feeling cozy, you can’t beat a bowl of my Creamy Roasted Tomato Soup alongside it for dipping. Trust me, dipping that crispy top into the tangy soup? Perfection. It’s hearty enough for Thanksgiving but simple enough for a Tuesday night fix!
Storage and Reheating Instructions for Cheesy Baked Mac and Cheese
I always hope everyone eats this beautiful **oven baked macaroni and cheese** right away, because who doesn’t want that crackly top while it’s fresh? But let’s be real; sometimes you have leftovers, and that’s totally fine! This casserole holds up really well, which is part of why it’s such a great **holiday side dish casserole**.
If you have leftovers, cover the baking dish tightly with foil or plastic wrap, or scoop the mac into an airtight container. I find it stays honestly good and creamy for up to three or four days in the fridge. The texture might change slightly—it will definitely firm up as it chills—but that’s just extra evidence of how much cheese we packed into it!
When it comes time to reheat, you have a couple of paths you can take, but you have to be willing to sacrifice that original crispy top if you choose the microwave. Microwave reheating is quick; you just need to add a splash of milk or a tiny pat of butter to the portion you are reheating to help loosen that sauce up again. It’ll be creamy, but it won’t be crispy.
For the best results, aim for the oven again! Transfer your portion to a smaller, oven-safe dish, cover it loosely with foil, and bake at about 350 degrees until it’s heated through. If you happen to have saved a few extra buttered panko crumbs from the original bake, this is when you sprinkle those fresh ones on top for the last five minutes of reheating—it brings back that wonderful texture!
If you want to try a quick side flavor boost next time you reheat, you could consider whipping up a small batch of my Easy Garlic Butter Recipe and swirling a little through the portion before baking. It adds a nice layer of flavor when you bring it back to life!
Frequently Asked Questions About Cheesy Baked Macaroni and Cheese
I know you might have some burning questions, especially if you’re trying to nail that perfect balance between creamy inside and crunchy outside. When I first started making this, I had a million questions too! It’s such a classic, but getting it *just* right takes a little know-how. Here are the things I get asked the most about ensuring your **oven baked macaroni and cheese** comes out like a dream every time.
Why is my cheese sauce grainy?
Oh, trust me, I’ve been there! Graininess is usually one of two things, and both relate to temperature control. First, if you added the cheese while the sauce was still simmering or boiling, the proteins in the cheese tighten up and squeeze out the fat, leaving you with a grainy mess. Always take the sauce completely off the heat! Second, and I can’t stress this enough, if you used pre-shredded cheese, those anti-caking agents prevent it from melting smoothly into your sauce. For the **best baked macaroni and cheese recipe**, use blocks and shred them yourself!
What is the best cheese blend for baked mac and cheese?
For a truly **gourmet baked mac and cheese**, you need a mix of flavor and stretch! I love the 4:2:1 ratio we used here: Sharp Cheddar for that unmistakable tangy flavor; Gruyère because it melts like a dream and adds a nutty complexity; and Monterey Jack which provides incredible stretch and creaminess. You need bold flavors because the pasta and the baking process can sometimes mute things down. Cheddar is non-negotiable for me!
Can I make this ahead of time?
Yes, you absolutely can! This is fantastic for holiday prep. You can mix everything—pasta, sauce, everything—put it in your baking dish, cover it tightly, and refrigerate it for up to 24 hours. When you’re ready to bake, let it sit on the counter for about 30 minutes while the oven preheats to 375°F. You will need to add about 10 to 15 minutes to the total bake time since it’s going into the oven cold, but it works beautifully. Just remember, the topping might not be as crispy as it would be if baked fresh, so keep an eye on that!
How to Prevent the Topping from Burning on the Cheesy Baked Mac and Cheese with Crispy Top
This is the most common panic attack moment when making a perfect casserole! Usually, the sauce is bubbling happily, but the top layer of that beautiful **panko crusted macaroni** is turning dark brown too soon. If you notice that happening, simply take a sheet of aluminum foil—don’t press it down tight, just loosely tent it over the baking dish—and continue baking. This shields the surface from the direct oven heat, allowing the center of the **cheesy mac and cheese casserole** to finish heating through without incinerating your crunchy layer. Then, pull the foil off for the last five minutes if you need a final blast of browning.
If you’re looking for other great comfort food ideas once you’ve mastered this one, don’t forget to check out my recipe for Cheeseburger Soup—it hits all those creamy, savory notes in a completely different way!
Nutritional Estimates for This Rich and Creamy Baked Pasta Dish
Now, let’s talk numbers. I know when I’m making something this decadent—a serious slice of **rich and creamy baked pasta dish**—I’m not exactly thinking about counting macros, but it’s good to have a general idea of what you’re diving into! This is serious comfort food, so be ready for a satisfying meal.
These numbers are based on serving 8 people as described in the recipe. Remember, this is an estimate based on the ingredients called for, like the whole milk and all that wonderful sharp cheddar. If you make substitutions—maybe using low-fat milk instead of whole milk, or using cheaper store-brand cheddar—the final counts will shift a bit. Always take these as a guideline, not scientific fact!
For the full legal breakdown and context on how we calculate these things here at the kitchen, you can always reference our official statement on Nutritional Disclaimers.
Based on an 8-serving yield, here’s what we’re looking at per slice:
- Calories: Approximately 550
- Fat: Around 35 grams (Yes, most of that is that glorious cheese and butter!)
- Saturated Fat: Closer to 20 grams
- Trans Fat: About 1 gram
- Carbohydrates: Roughly 40 grams
- Fiber: About 2 grams
- Sugar: In the neighborhood of 5 grams
- Protein: A solid 30 grams from the milk and cheese!
- Sodium: Around 550 mg
It’s a powerhouse of flavor, that’s for sure! Enjoy every single bite of your incredibly cheesy, perfectly crusted portion!
PrintCheesy Baked Macaroni and Cheese with Crispy Top
A recipe for rich, creamy baked macaroni and cheese featuring a sharp cheese blend and a crunchy, buttery panko topping.
- Prep Time: 15 min
- Cook Time: 35 min
- Total Time: 50 min
- Yield: 8 servings
- Category: Main Dish
- Method: Baking
- Cuisine: American
- Diet: Vegetarian
Ingredients
- 1 pound elbow macaroni
- 6 tablespoons unsalted butter, divided
- 1/2 cup all-purpose flour
- 4 cups whole milk, warmed
- 1 teaspoon salt
- 1/2 teaspoon black pepper
- 1/4 teaspoon ground nutmeg
- 1/4 teaspoon cayenne pepper
- 4 cups shredded sharp cheddar cheese
- 2 cups shredded Gruyère cheese
- 1 cup shredded Monterey Jack cheese
- 1 cup panko breadcrumbs
Instructions
- Preheat your oven to 375 degrees Fahrenheit. Grease a 9×13 inch baking dish.
- Cook the macaroni according to package directions until al dente. Drain well and set aside. Do not overcook the pasta.
- In a large saucepan, melt 4 tablespoons of butter over medium heat. Whisk in the flour and cook for 1 minute, stirring constantly to create a roux.
- Gradually whisk in the warm milk until the mixture is smooth. Continue cooking, stirring often, until the sauce thickens enough to coat the back of a spoon, about 5 to 7 minutes. Do not let it boil rapidly.
- Remove the sauce from the heat. Stir in the salt, pepper, nutmeg, and cayenne pepper.
- Add the cheddar, Gruyère, and Monterey Jack cheeses to the sauce in handfuls, stirring until completely melted and smooth before adding the next batch. Taste the sauce and adjust seasoning if needed. This sauce should be thick.
- Fold the cooked, drained macaroni into the cheese sauce until everything is evenly coated. Pour the mixture into the prepared baking dish.
- In a small bowl, melt the remaining 2 tablespoons of butter. Toss the panko breadcrumbs with the melted butter until evenly coated. Sprinkle the buttered panko evenly over the top of the macaroni and cheese.
- Bake for 25 to 30 minutes, or until the sauce is bubbly around the edges and the topping is golden brown and crisp.
- Let the casserole rest for 10 minutes before serving.
Notes
- For the creamiest sauce, warm your milk slightly before adding it to the roux.
- Use freshly shredded cheese; pre-shredded cheese contains anti-caking agents that can make your sauce grainy.
- If the topping browns too quickly, loosely cover the dish with foil for the last 10 minutes of baking.
Nutrition
- Serving Size: 1 serving
- Calories: 550
- Sugar: 5
- Sodium: 550
- Fat: 35
- Saturated Fat: 20
- Unsaturated Fat: 15
- Trans Fat: 1
- Carbohydrates: 40
- Fiber: 2
- Protein: 30
- Cholesterol: 100