

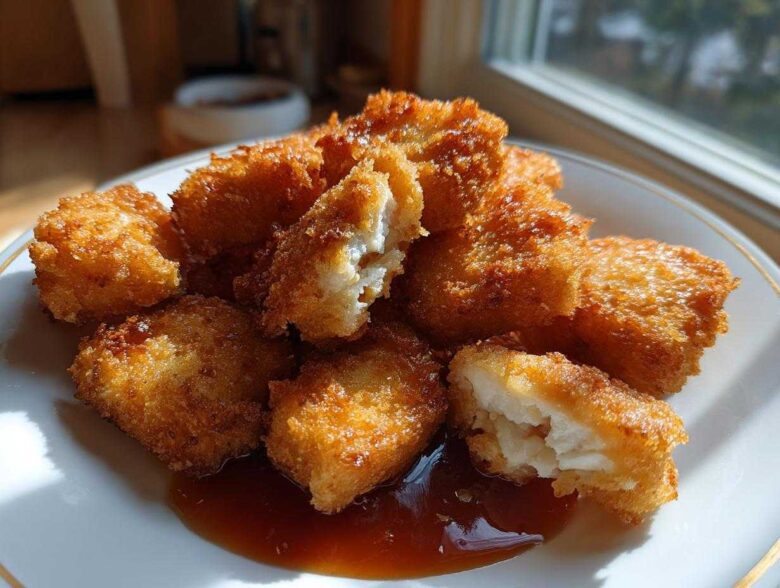
Oh, listen, I know the siren song of the drive-thru nugget—that perfect crunch, that quick bite. But honestly, every time I tried to replicate it perfectly at home, I ended up with sad, soggy mounds of chicken. Not anymore! After what felt like a thousand attempts testing out panko versus regular breadcrumbs and fiddling with oven spray versus air fryer baskets, I finally cracked the code. I figured out how to get that incredible texture without drowning the kitchen in hot oil. We are talking about the ultimate homemade **Crispy Chicken Nuggets with Honey Garlic Dip**, and trust me, this duo is going to change your dinner routine forever. This recipe shows you exactly how to get that **Perfectly Crunchy Chicken** every single time, paired with a sauce that is sweet, savory, and utterly addictive. You’ve got to trust me on the double-dip!
If you want to see how I usually tackle **Homemade Chicken Nuggets Recipe** from scratch, be sure to check out my main guide over at that dedicated post! But for now, let’s focus on the crunch and that killer dip.
Why You Will Love This Crispy Chicken Nuggets with Honey Garlic Dip Recipe
Honestly, the best part is ditching the deep fryer! Here’s why I think you’ll be making these weekly:
- They deliver incredible texture—truly **Extra Crispy Chicken Bites** whether you bake or air fry them.
- The sweet and savory **Best Honey Garlic Dipping Sauce** is so much better than store-bought.
- It’s a guaranteed win for busy weeknights, making it a fantastic **Family Dinner Chicken Idea**.
- Cleanup is surprisingly easy!
Essential Ingredients for Crispy Chicken Nuggets with Honey Garlic Dip
You can’t cut corners here if you want that genuine crunch, but everything is pretty standard pantry stuff! I always measure everything out first because once you start breading, things move fast. The key to achieving those amazing **Extra Crispy Chicken Bites** is absolutely in the Panko—don’t try to substitute regular breadcrumbs unless you plan on double-dipping!
I also keep my eye out for good deals on chicken breast since we are using quite a bit for this meal. For the sauce, freshness matters in the aromatics. If you’re making my garlic butter sometime (you absolutely should try that recipe too, it’s amazing!), you know how much difference fresh garlic makes.
For the Extra Crispy Chicken Bites
- 1.5 lbs boneless, skinless chicken breast, cut into 1-inch pieces. Make sure they are uniform so they cook evenly!
- 1 cup all-purpose flour (for the first dredge).
- 2 large eggs, beaten until slightly frothy.
- 2 cups Panko breadcrumbs! This is non-negotiable for that textbook crunch.
- 1 teaspoon salt
- 1/2 teaspoon black pepper
- 1/2 teaspoon garlic powder
- Cooking spray or oil for baking or air frying—don’t skip spraying the tops!
For the Best Honey Garlic Dipping Sauce
- 1/2 cup honey (real honey, please, it thickens better).
- 1/4 cup soy sauce (low sodium is fine if you watch your salt elsewhere).
- 2 tablespoons apple cider vinegar—it adds a little necessary tang.
- 2 cloves garlic, minced really fine, or grated if you can manage it.
- 1 teaspoon grated fresh ginger—it brightens everything up immediately.
- 1 teaspoon cornstarch mixed with 1 tablespoon cold water (this is your slurry to thicken it perfectly).
Step-by-Step Instructions for Crispy Chicken Nuggets with Honey Garlic Dip
Okay, this is the fun part where the magic happens! Get your three dredging stations set up—flour, eggs, seasoned Panko—and maybe put on some good music. We need to move fairly quickly so the chicken doesn’t get warm, but we also need good, solid coats. I’m walking you through the whole process that results in those beautiful, ready-to-eat **Crispy Chicken Nuggets with Honey Garlic Dip**.
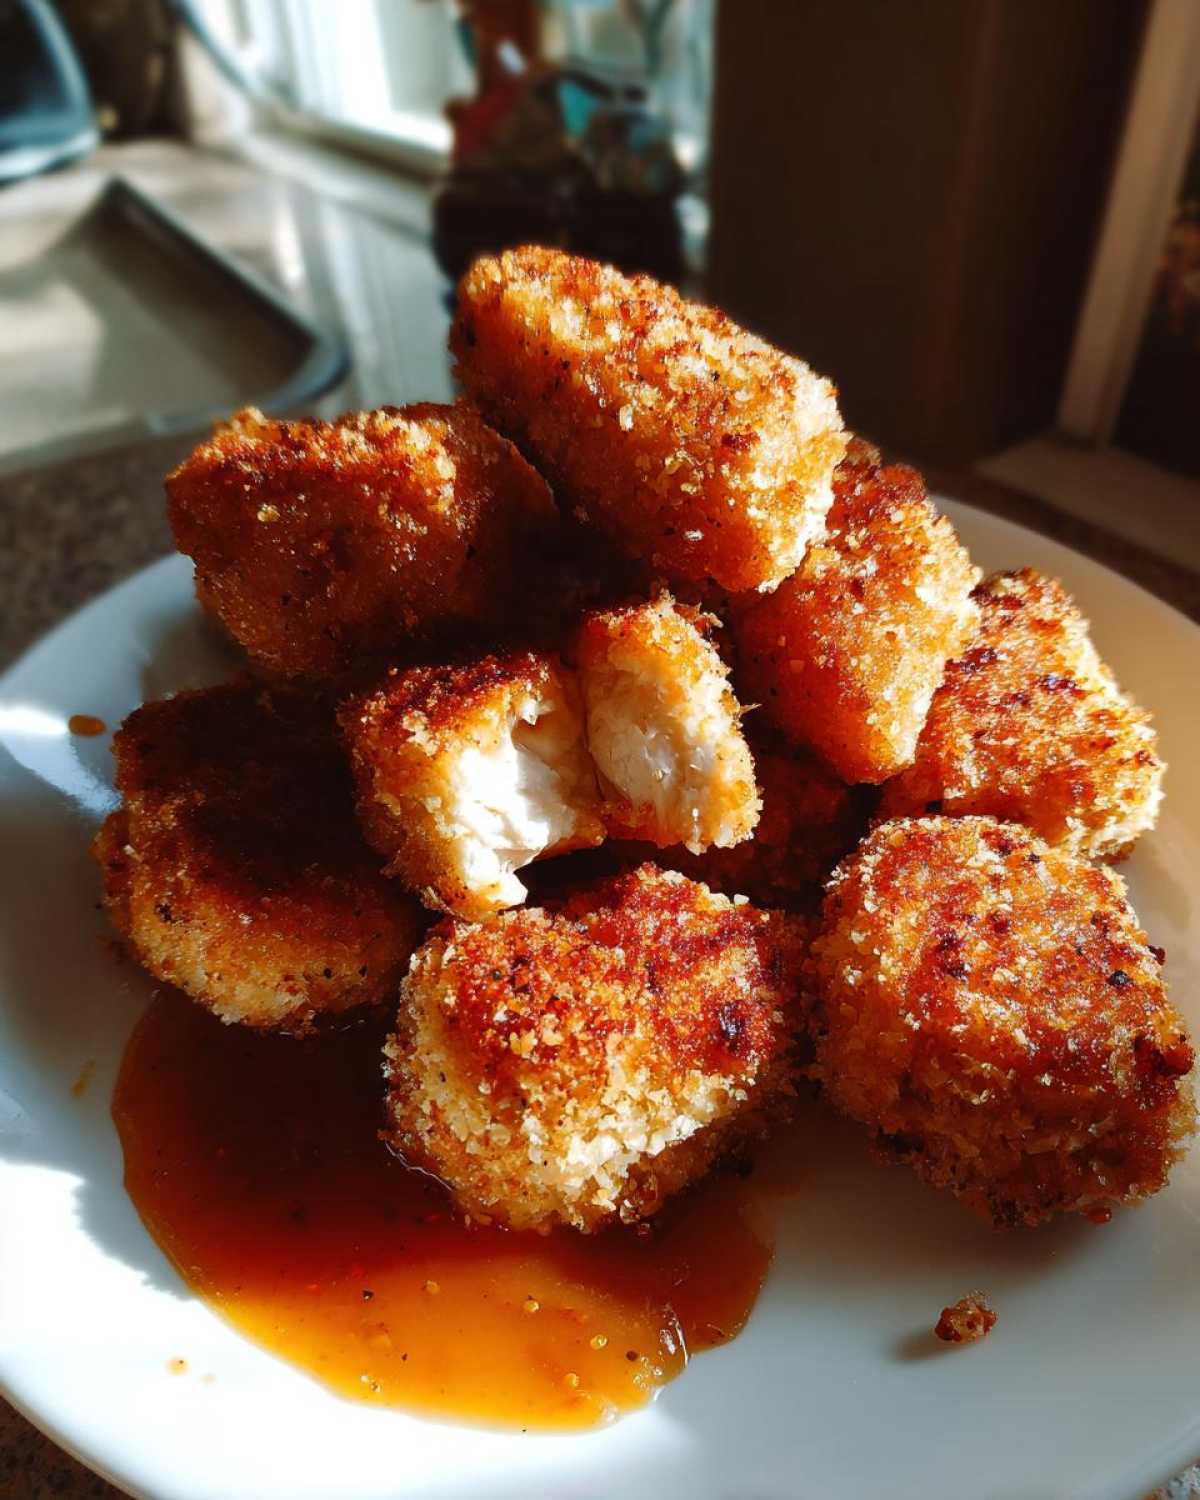
Preparing and Breading the Chicken
First things first, make sure your chicken pieces are uniform—about an inch is perfect. Then, set up your assembly line. The key to a lasting crust is the standard three-step dredge. Dust the chicken gently in the plain flour first; this dries out the surface so the egg sticks. Shake off any big clumps!
Next, dip that floured piece right into the beaten egg, letting the excess drip off back into the bowl. Gravity does half the work for you here. Finally, press it firmly into that seasoned Panko. Really press it in there! If you want that serious, fast-food level crunch, try the double-dip method I mentioned—back into the egg for just a second, and then coated in Panko again. It makes all the difference for those **Perfectly Crunchy Chicken** bites!
Cooking Methods for Perfectly Crunchy Chicken
You have two fantastic options for cooking these, and honestly, both are great. If you’re making a huge batch, the oven is easier, but for that super crisp texture, I usually lean toward my air fryer. Don’t forget to preheat your cooking appliance!
For the Oven Method: You’ll want to preheat your oven to 400°F (200°C). Lay the breaded nuggets out on a wire rack set over a baking sheet—this lets air circulate underneath. Give them a generous spritz of cooking spray or a light brush of oil. Bake for about 18 to 20 minutes total, flipping them gently halfway through until they are gorgeously golden brown and reach that safe internal temp of 165°F.
For the Air Fryer Method: Set your air fryer to 375°F (190°C). Work in single layers, as overcrowding is the enemy of crispiness! You might need to do a couple of batches. Cook them for 10 to 12 minutes, just shaking the basket once halfway through. They get unbelievably golden really fast!
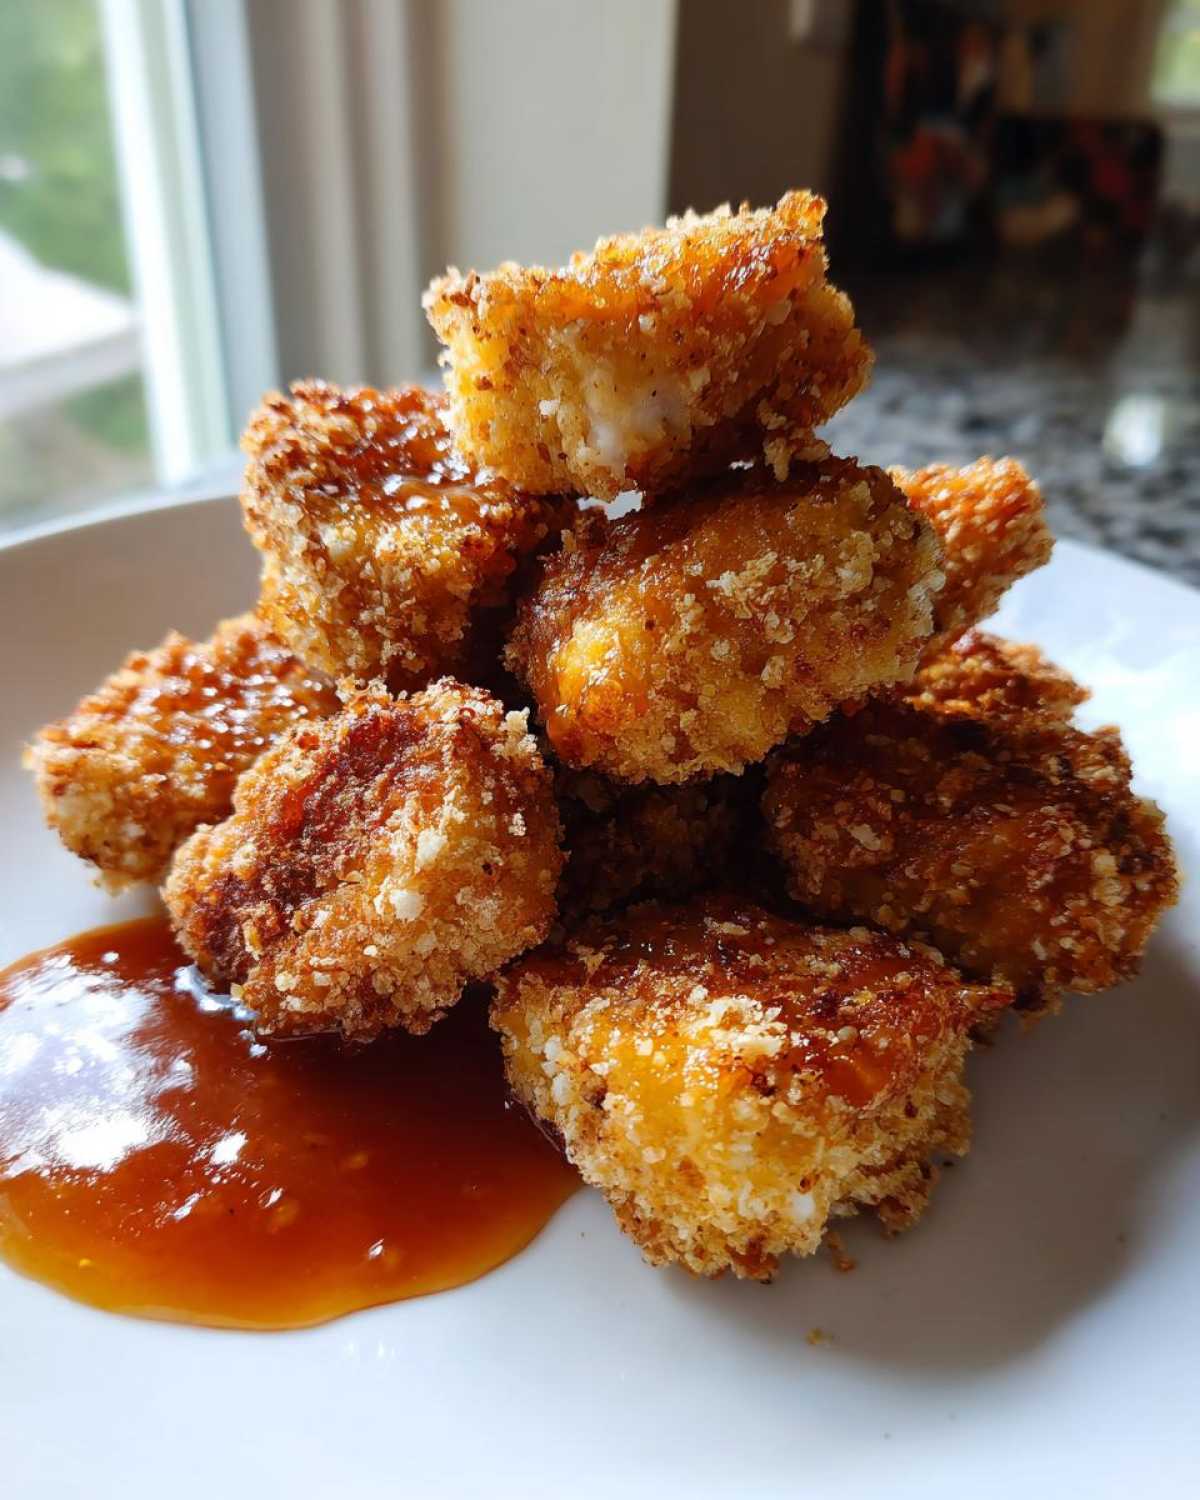
If you want more tips on getting crispy results in your air fryer, I broke down my favorite techniques for gnocchi, and honestly, the principles are the same for chicken: don’t overcrowd the basket!
Creating the Quick Honey Garlic Sauce
While the nuggets are finishing up, pivot immediately to the sauce. In a small saucepan, combine the honey, soy sauce, apple cider vinegar, minced garlic, and ginger. Set the heat to medium and bring that mixture to a gentle simmer. You just want it warm and fragrant.
Now for the thickening step! Whisk in that cornstarch slurry (that cornstarch mixed with cold water) slowly. Keep stirring constantly—don’t walk away! It should only take a minute or two for the sauce to visibly thicken up. The sign it’s done is when it coats the back of your spoon nicely. Pull it off the heat right away! This **Quick Honey Garlic Sauce** is best served when it’s warm alongside your fresh nuggets. For more air frying advice beyond this recipe, check out my tips for an entire crispy chicken!
Expert Tips for Achieving the Ultimate Crispy Chicken Nuggets with Honey Garlic Dip
If you take away just one thing from this whole recipe, let it be this: crispiness takes a tiny bit of extra effort, but it is SO worth it. Forget those soggy leftovers! The absolute main takeaway for getting that **Copycat Crispy Nugget Secret** is embracing the double-dip technique I mentioned earlier. Yes, it uses a bit more egg, but that second layer of Panko adheres beautifully and creates a shield against sogginess.
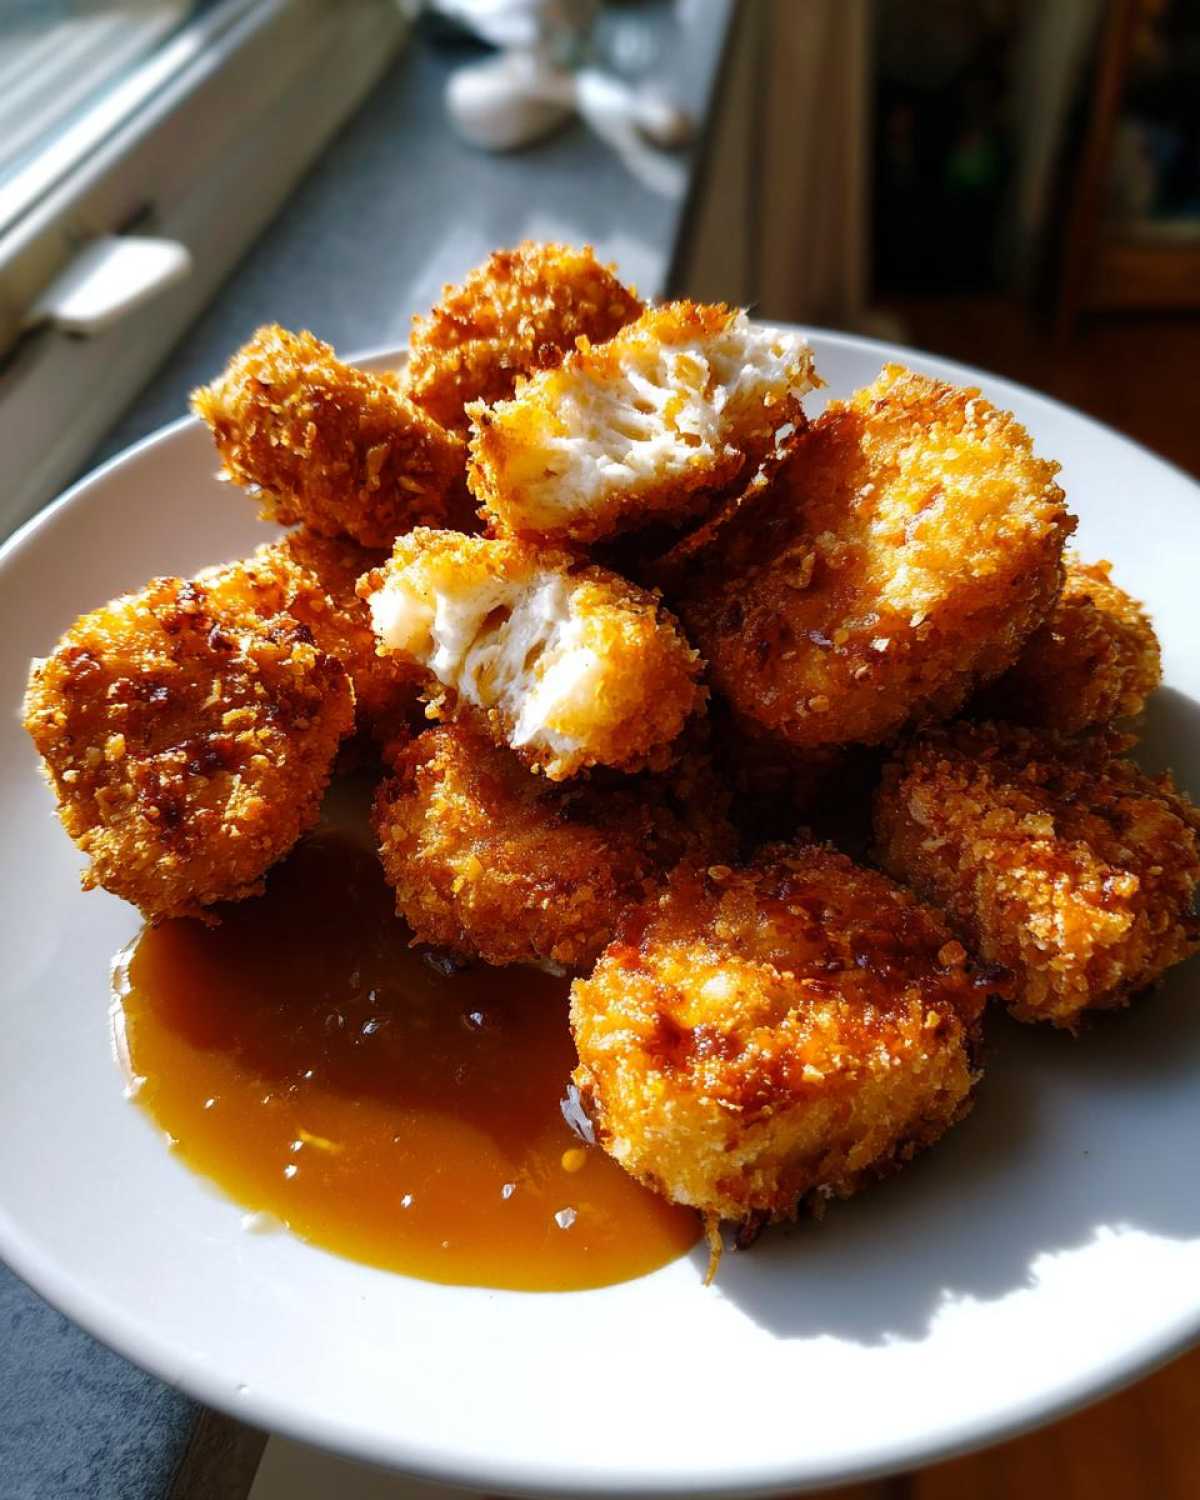
Also, Panko breadcrumbs are your best friend here; their larger, flatter shards create air pockets that fry up lighter and crunchier than any standard crumb. For cooking, remember that airflow is king! You must let the nuggets breathe, whether you’re using parchment paper on a sheet pan or ensuring there’s space between the pieces in your air fryer basket. If you want to marinate your chicken first to keep it juicy while you focus on the outside texture, check out my tips for a secret juicy chicken marinade!
Ingredient Notes and Substitutions for Your Homemade Chicken Nuggets Recipe
When you are diving into a **Homemade Chicken Nuggets Recipe**, sometimes you just don’t have the exact ingredient called for, and that is totally fine! We can play around a bit, especially since we also have to consider allergies or preferences. I’ve made this recipe countless times, fiddling with ingredients when I ran out of something mid-bake. Stick to the ratios, and usually, you’re golden.
The biggest question I always get is about the gluten-free switch. If you need to make these **Oven Baked Crispy Nuggets** gluten-free, the substitution is super easy, especially since we are using Panko! You can buy gluten-free Panko breadcrumbs in most major grocery stores now. Just make sure they are fresh and dry before you start breading!
As for the honey garlic dip, that’s where you can get creative, especially if you are avoiding honey for any reason. I once subbed in maple syrup when I was out during the holidays, and honestly, it made a delicious, slightly warmer-tasting sauce. If you try that out, check out my granola bar recipe—it uses a similar sweet base!
Here are a few quick swaps you can make:
- Chicken Cut: You can absolutely use boneless, skinless chicken thighs instead of breast for a richer flavor, though you might need to cook them a minute or two longer since they have higher fat content.
- Vinegar Swap: If you don’t have apple cider vinegar for the dip, white wine vinegar or even fresh lemon juice will give you that necessary acidic punch to balance the honey.
- Spice Variation: Want a little heat in your nuggets? Add a teaspoon of cayenne pepper right into your seasoned flour mixture.
Remember, the fresher your garlic and ginger for the sauce, the brighter and less acidic that **Sweet and Savory Chicken Dip** will taste!
Make Ahead Freezer Nuggets and Storage for Crispy Chicken Nuggets
Listen up, because this is how we win at meal prep! Having **Make Ahead Freezer Nuggets** ready to go means dinner is literally 15 minutes away on a Tuesday when you’re exhausted. The absolute key here is freezing them *before* they go into the oven or air fryer. If you try to freeze cooked nuggets, they seem to suck up moisture and turn chewy when you reheat them, and that’s just tragic.
When you finish breading all your nuggets, lay them out on a standard baking sheet lined with parchment paper. Make sure none of them are touching! If they are touching, they stick together, and then you have a giant chicken brick instead of individual nuggets, which defeats the whole purpose. Pop this sheet tray straight into the freezer for about an hour or two until those beauties are frozen solid—that’s step one of keeping your **Crispy Chicken Nuggets** perfect.
Once they are rock hard, you can transfer them into a heavy-duty freezer Ziploc bag or an airtight container. I always try to get most of the air out of the bag before sealing it. They last great this way for about three months, provided you’ve kept them sealed tight!
What about leftovers? If you’ve already cooked your nuggets, treat them like you would any leftovers. The honey garlic dip? That sauce is really best enjoyed fresh and warm, but if you have extra, store it in a separate, airtight container in the fridge. If you want to stretch that sauce flavor using slow-cooker methods, check out how I handle pulled chicken because it’s great for using up extra savory dips!
When it’s time to cook those frozen nuggets, just toss them directly from the freezer into your preheated air fryer or oven. You will need to add a little extra time to the cooking process—usually about 4 to 6 extra minutes, depending on your appliance. They will crisp right up, I promise!
Serving Suggestions for Crispy Chicken Nuggets with Honey Garlic Dip
So, you’ve got these golden, crunchy nuggets and a bowl of that sticky, glorious honey garlic sauce. What’s next? Honestly, you could just eat them standing over the sink, but if you’re trying to actually serve this up as a meal—especially if you are making this **Easy Chicken Nugget Recipe for Kids**—you need some solid side dishes!
The great thing about a strong sweet-and-savory main like this is that it pairs well with almost anything fresh or starchy to balance out the richness. If the kids are involved, keeping the sides really simple is always the best approach. But if you’re serving this up for a game night or casual party, you can get a little fancier with your dipping game!
For the little ones, I usually go with simple roasted sweet potato fries—the natural sweetness complements the honey in the dip nicely, doubling down on that cozy flavor profile. Or, keeping it classic, some steamed broccoli or carrot sticks dipped right into the sauce works great, as it helps them eat their veggies!
If you’re looking for something a bit more fun, or maybe you’re planning a party spread, you can treat these nuggets like a protein base for other appetizers. I’ve made these the star of a mini-slider platter before—toss them lightly in a little extra sauce and stick them inside soft Hawaiian rolls with a tiny pickle slice. It’s decadent, but people absolutely love it! You can always find more ideas for creative comfort food over at my slider recipe post, by the way if you’re feeling adventurous.
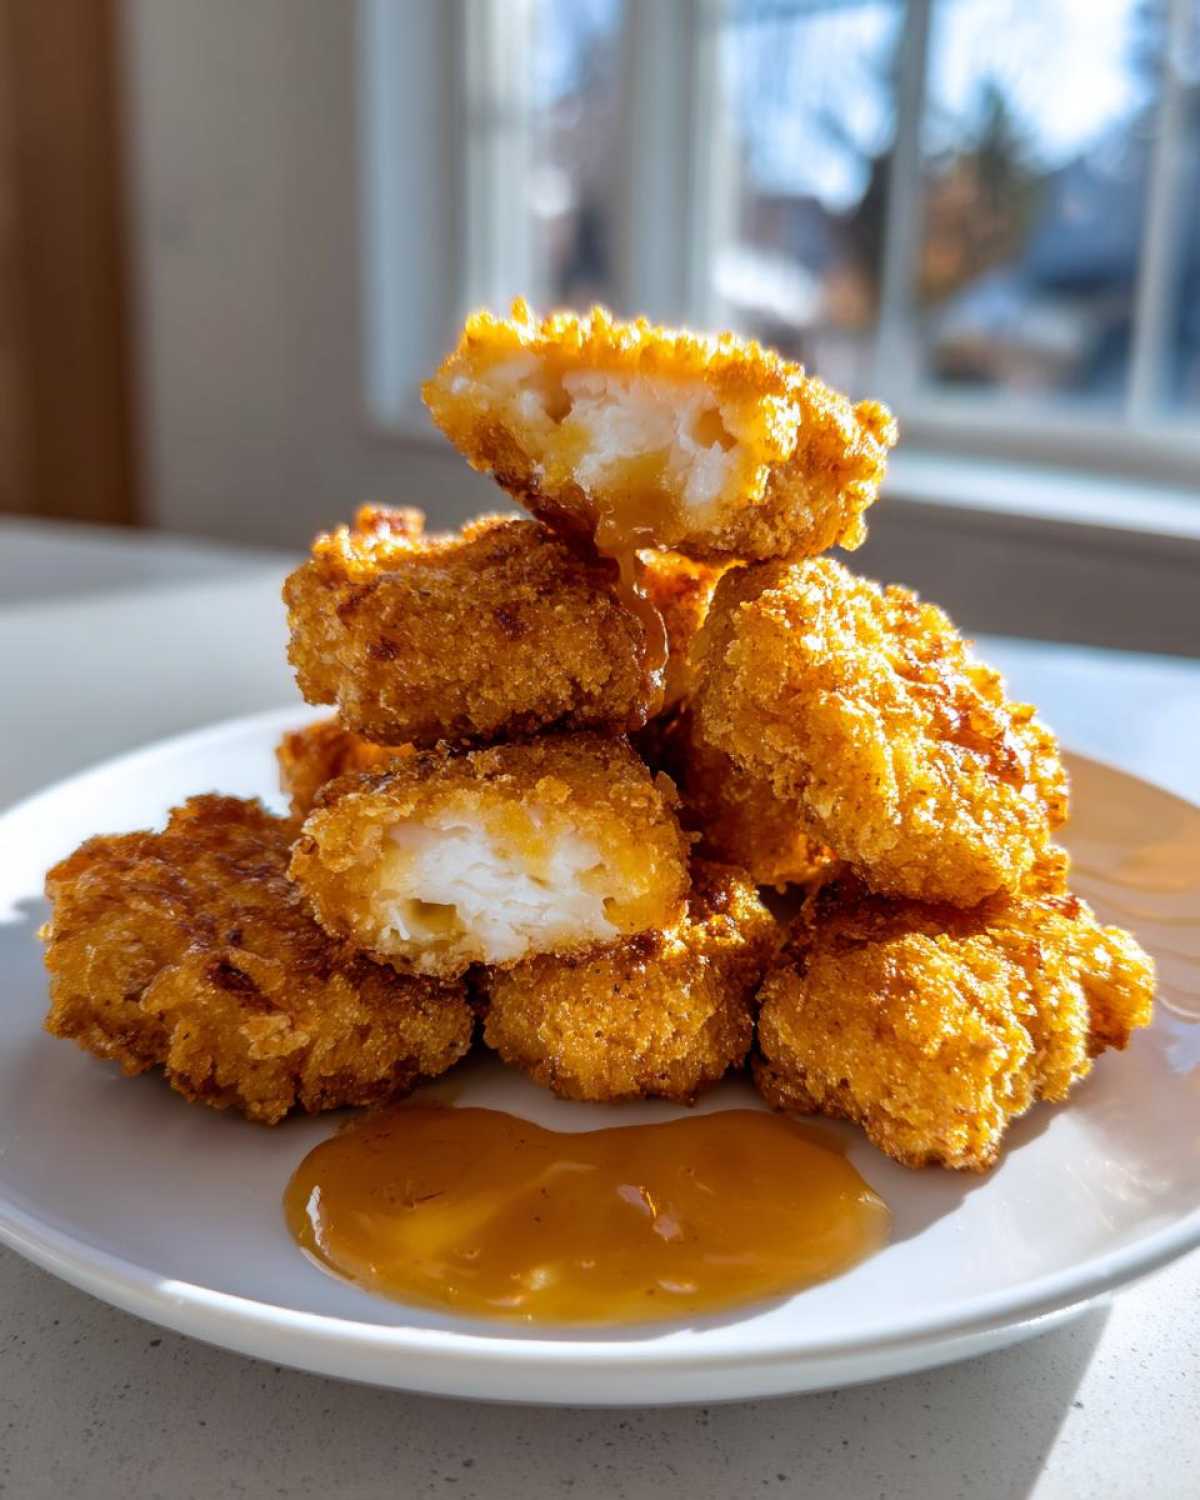
Here are my must-have pairings:
- Classic Comfort: Crispy, lightly salted fries or seasoned baked potato wedges.
- Balance It Out: A bright, simple slaw made with shredded cabbage and a light lemon vinaigrette. It cuts through the richness of the dip perfectly.
- For Grown-Ups: Serve alongside some spicy dill pickle chips or a side of quick Asian-style cucumber salad.
Whatever you choose, make sure you have plenty of that honey garlic sauce ready to go, because these nuggets disappear fast!
Frequently Asked Questions About Crispy Chicken Nuggets with Honey Garlic Dip
Can I use chicken thighs instead of breast meat?
Oh, absolutely! Chicken thighs are actually a bit more forgiving than breast meat because they have a higher fat content, which keeps them incredibly juicy. If you swap them in, you might find that they take just a minute or two longer to reach that safe internal temperature of 165°F, especially if you cut them into larger nugget sizes. I usually prefer breast meat for the classic texture, but thighs make for a richer bite!
How do I reheat these to keep the crunch?
This is crucial! Never, ever use the microwave if you want to maintain that beautiful texture you worked so hard for. The key to reheating is getting that hot air circulating again. The air fryer is your best friend here; set it to about 375°F and pop the leftover nuggets in for just 3–5 minutes until they crisp back up. If you use the oven, spread them on a small rack-lined sheet tray at 375°F for about 8 minutes. Keep the honey garlic dip separate, of course!
What if I don’t have Panko breadcrumbs?
If you find yourself missing Panko, don’t panic! You have two main options. Your first, and best, bet is to take regular dry breadcrumbs and pulse them a few times in a food processor. This breaks them up slightly, mimicking the airy texture of Panko, which is what gives us the amazing crunch in these **Crispy Chicken Nuggets with Honey Garlic Dip**. Your second option, which requires patience, is the double-dip method I mentioned earlier. Coating them twice in regular crumbs packs on more surface area, somewhat compensating for the lack of Panko heft.
Can I make this Oven Baked Crispy Nuggets recipe gluten-free?
You definitely can! As long as you use a certified gluten-free Panko breadcrumb substitute, the rest of the recipe stays perfect. The flour dredge is the only other place you need to swap; just use a 1:1 gluten-free flour blend instead of the regular all-purpose flour. It works wonderfully, and you still get that fantastic crispy exterior without any fuss.
What liquids can I use instead of apple cider vinegar in the dip?
The vinegar in the **Quick Honey Garlic Sauce** is there to cut the sweetness from the honey, giving it that addictive sweet-and-sour profile. If you are totally out of ACV, your next best choice is plain distilled white vinegar, although you might want to use just a tablespoon instead of two since it can be sharper. Alternatively, a teaspoon of fresh lemon juice works great for that brightness, similar to how I brighten up my cheddar soup!
Nutritional Estimates for This Recipe
Okay, let’s talk fuel! Since we’re baking these nuggets instead of deep-frying them, we keep the fat profile way down, which is a massive win. I always run the numbers based on making these using the oven method (Option A) because that’s how I usually cook the biggest batches. But remember, these are estimates—your exact sodium and fat content will change based on the brand of soy sauce you use or how heavy-handed you are with the cooking spray!
I pulled these numbers based on serving suggestions of about five nuggets dipped in two tablespoons of that amazing sauce. They really aren’t bad for a fast-food-style treat!
- Serving Size: 5 nuggets + 2 tbsp dip
- Calories: 350
- Fat: 10g
- Saturated Fat: 2g
- Carbohydrates: 35g
- Protein: 30g
- Sugar: 22g
- Sodium: 550mg
Just keep in mind that the sugar content comes mostly from that delicious honey in the sauce, which is why the flavor is so rich! If you are watching sodium, remember that soy sauce is the main culprit, so looking for low-sodium versions can really help manage that number for your next batch of **Crispy Chicken Nuggets with Honey Garlic Dip**.
PrintCrispy Chicken Nuggets with Honey Garlic Dip
Make homemade, extra crispy chicken nuggets and pair them with a sweet and savory honey garlic dipping sauce.
- Prep Time: 20 min
- Cook Time: 20 min
- Total Time: 40 min
- Yield: 4 servings
- Category: Main Course
- Method: Baking or Air Frying
- Cuisine: American
- Diet: Low Fat
Ingredients
- 1.5 lbs boneless, skinless chicken breast, cut into 1-inch pieces
- 1 cup all-purpose flour
- 2 large eggs, beaten
- 2 cups Panko breadcrumbs
- 1 teaspoon salt
- 1/2 teaspoon black pepper
- 1/2 teaspoon garlic powder
- Cooking spray or oil for baking/air frying
- For the Dip:
- 1/2 cup honey
- 1/4 cup soy sauce
- 2 tablespoons apple cider vinegar
- 2 cloves garlic, minced
- 1 teaspoon grated fresh ginger
- 1 teaspoon cornstarch mixed with 1 tablespoon cold water (slurry)
Instructions
- Prepare the chicken: Place the flour, beaten eggs, and Panko breadcrumbs in three separate shallow dishes. Mix the salt, pepper, and garlic powder into the Panko.
- Dredge the chicken: Take one piece of chicken and coat it lightly in flour, shaking off excess. Dip it into the egg mixture, letting excess drip off. Finally, press the chicken firmly into the Panko breadcrumbs to coat completely. Place coated nuggets on a wire rack.
- Cook the nuggets (Oven Method): Preheat your oven to 400°F (200°C). Lightly spray the coated nuggets with cooking spray or brush with oil. Bake for 18-20 minutes, flipping halfway, until golden brown and cooked through (internal temperature of 165°F).
- Cook the nuggets (Air Fryer Method): Preheat the air fryer to 375°F (190°C). Place nuggets in a single layer (work in batches) and cook for 10-12 minutes, shaking the basket halfway, until crispy.
- Make the honey garlic dip: Combine honey, soy sauce, apple cider vinegar, minced garlic, and ginger in a small saucepan. Bring the mixture to a simmer over medium heat.
- Thicken the dip: Whisk in the cornstarch slurry. Continue to simmer for 1-2 minutes, stirring constantly, until the sauce thickens enough to coat the back of a spoon. Remove from heat.
- Serve the crispy chicken nuggets immediately with the warm honey garlic dip.
Notes
- For extra crispiness, you can double-dip the nuggets: coat in flour, then egg, then Panko, then dip back into the egg, and finally coat again in Panko.
- You can freeze uncooked, breaded nuggets on a baking sheet. Once frozen solid, transfer them to a freezer bag for later use. Cook directly from frozen, adding a few minutes to the cooking time.
- Substitute gluten-free Panko if needed for a gluten-free version.
Nutrition
- Serving Size: 5 nuggets + 2 tbsp dip
- Calories: 350
- Sugar: 22
- Sodium: 550
- Fat: 10
- Saturated Fat: 2
- Unsaturated Fat: 8
- Trans Fat: 0
- Carbohydrates: 35
- Fiber: 1
- Protein: 30
- Cholesterol: 90