

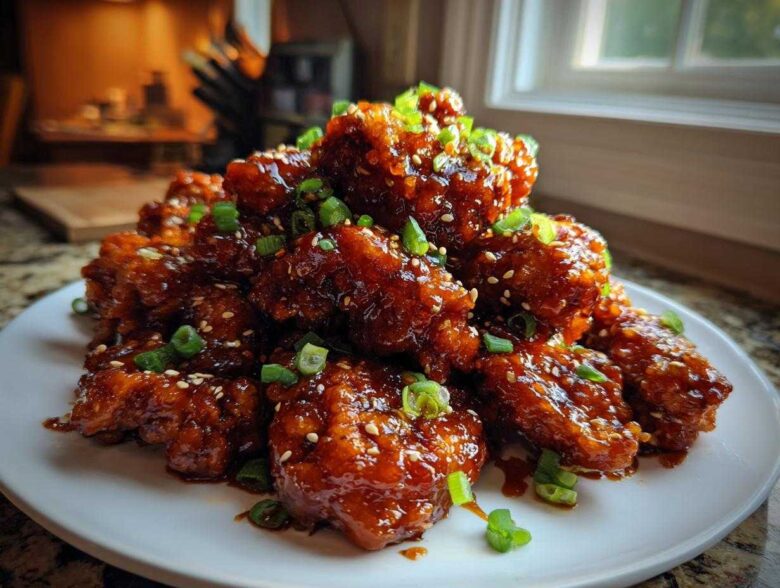
Oh my goodness, you know those nights, right? You get that intense craving for Chinese takeout—that sweet, tangy, slightly spicy flavor that nothing else touches. But then you remember the soggy chicken or the sauce that’s way too thin. Forget that! I spent months in the kitchen, seriously, testing batch after batch, just trying to nail that perfect restaurant texture. I finally cracked the code to get the chicken unbelievably crisp and then toss it in a glaze that actually *clings* to it. Seriously, this juicy chicken marinade secret helps, but the real magic is in the fry and the sauce process. This Sticky Orange Chicken Better Than Takeout recipe delivers on crispness and that signature sweet-tangy coating every single time. You won’t be calling out for delivery again!
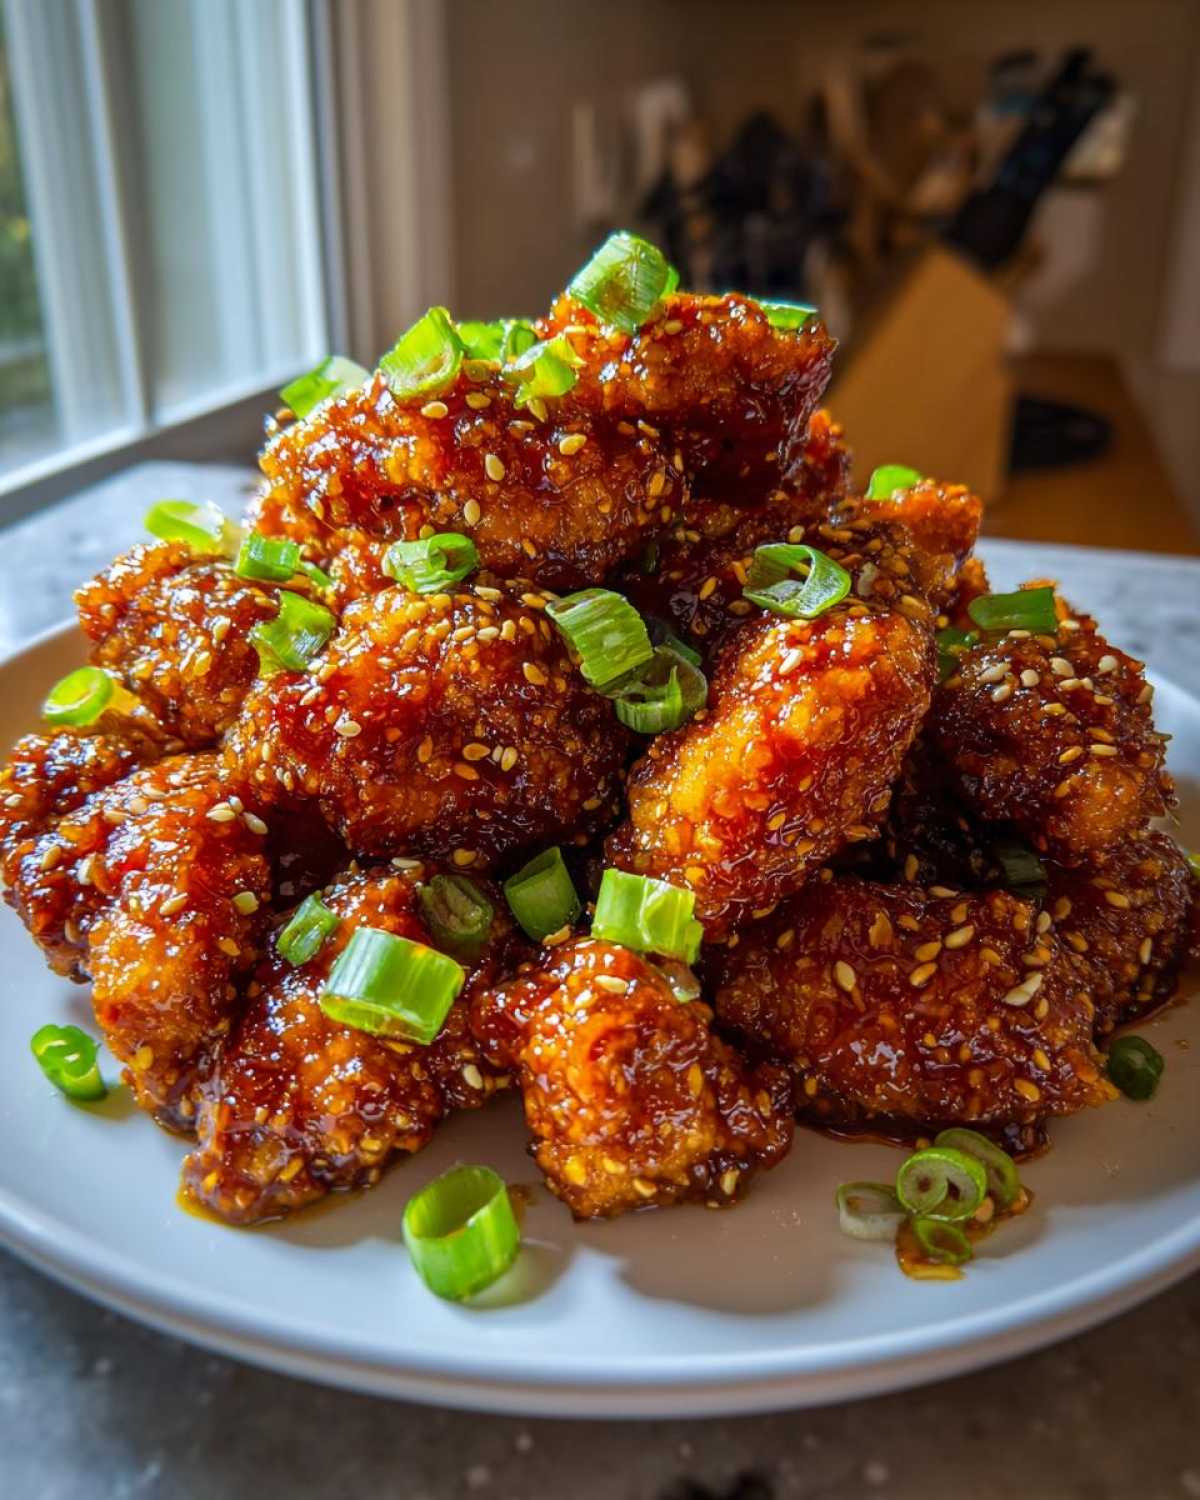
Why This Sticky Orange Chicken Better Than Takeout Recipe Works
When you try to replicate those amazing restaurant dishes, the texture is always the hurdle, isn’t it? We aren’t just throwing some chicken in a pan and calling it a day. I figured out the two non-negotiable steps here that make this dish worth the effort.
It’s all about how you treat the chicken before it ever hits the oil, and how you handle that simmering sauce right at the end. If you skip these parts, you end up with soggy chicken floating in sweet soup. Yuck!
Achieving Crispy Chicken in Sauce Texture
The secret to that perfect Crispy Chicken in Sauce texture is the double-fry. It sounds intense, I know, but trust me, it’s worth the extra two minutes! The first fry cooks the chicken through gently. The second fry, at a much higher heat, blasts out any remaining moisture from the coating, making it brittle and super crisp. That crispiness is what stands up against the sauce when you toss it all together.
Mastering the Sticky Glaze Chicken Recipe
If the chicken is the star, the sauce is the main event. To get that super glossy, slow-moving glaze, you absolutely rely on a cornstarch slurry. When you whisk that slurry into your simmering sauce—and only when it’s simmering!—it thickens almost instantly. You need to watch it carefully during that last minute because that’s when that gorgeous, thick, Sticky Glaze Chicken Recipe consistency develops. Don’t walk away!
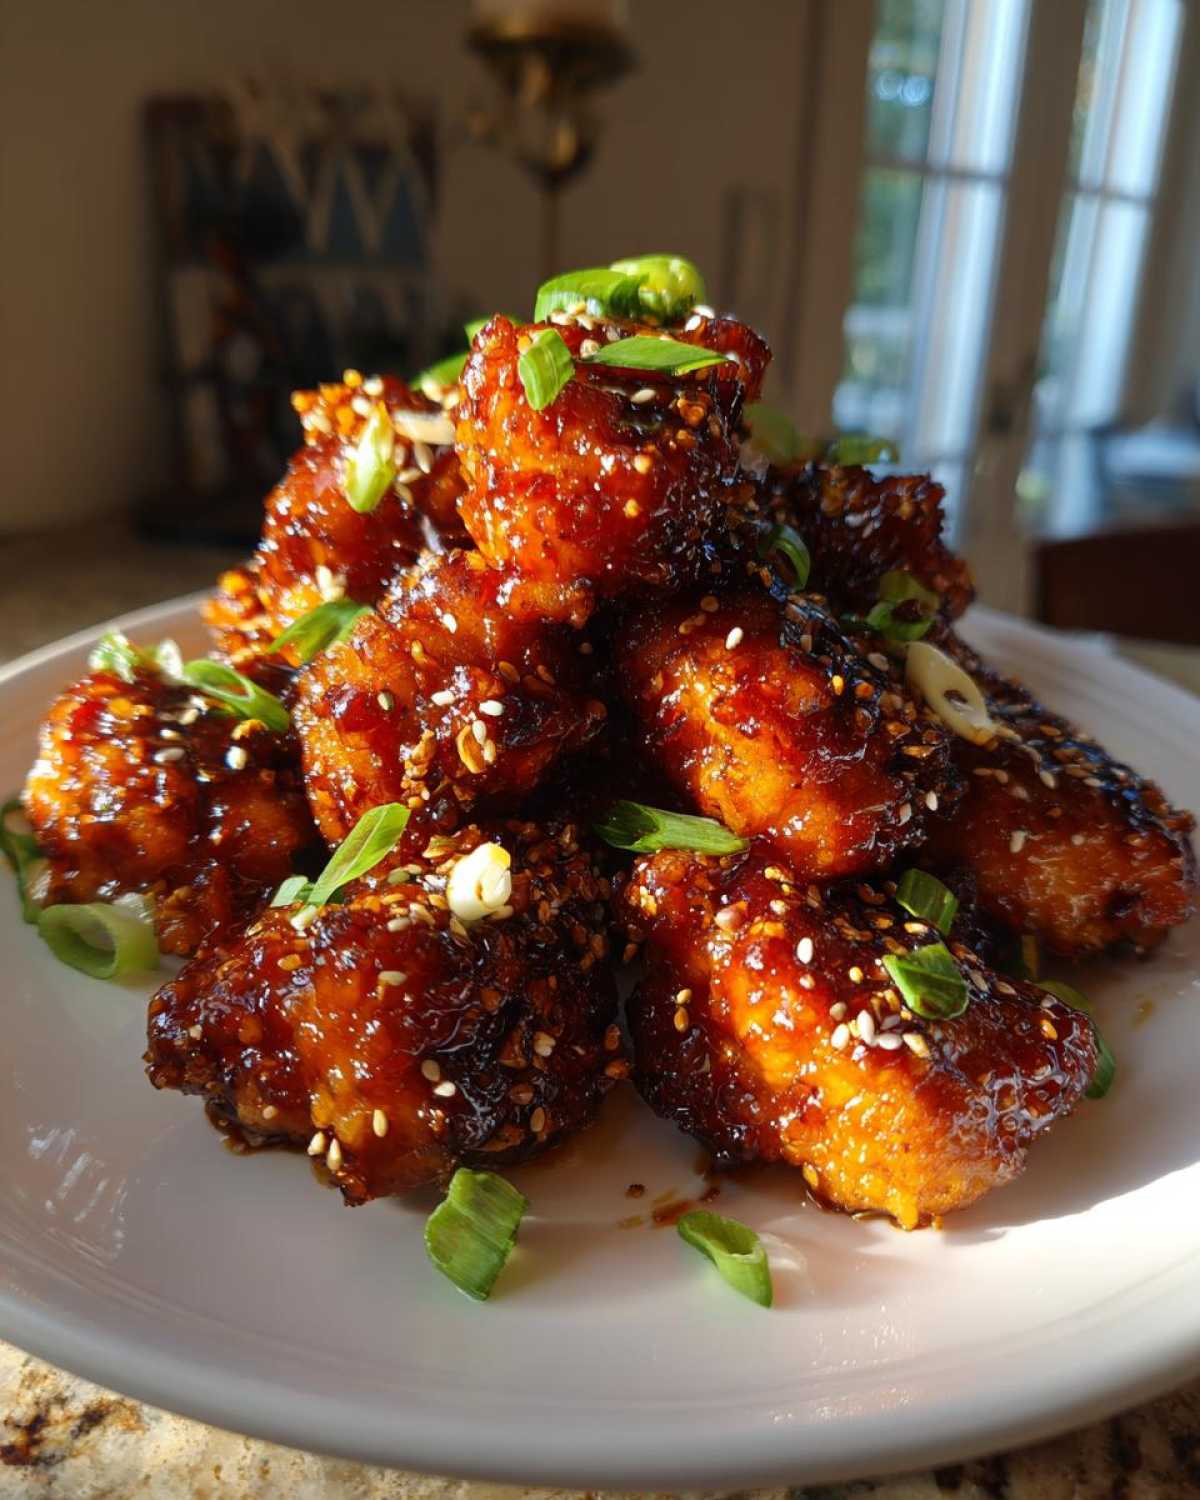
Essential Ingredients for Sticky Orange Chicken Better Than Takeout
Okay, if you want this to be truly Sticky Orange Chicken Better Than Takeout quality, we have to respect the ingredients. You can’t cheat on the citrus, and you absolutely cannot use thin, watery juice. I learned that the hard way. For this recipe, I lean toward chicken thighs because they stay incredibly juicy even after the double-fry; breasts tend to dry out when you try to get that perfect crispy shell.
We break the ingredients into two main camps: what makes the chicken crunchy, and what builds that incredible, shiny orange coating. I’ve linked to my guide on caramelized onions, which uses a similar time/temperature principle if you ever want to add a savory depth, but for this dish, keep it focused!
For the Crispy Chicken Coating
For the dredge, you need precision! You’re using chicken thighs—about 1.5 pounds cut into bite-sized pieces—and we’re skipping the traditional egg wash step and going straight into dry ingredients for maximum crunch adhesion. You’ll need one large egg whisked up just to slightly bind things, and then your dry mix is crucial: a quarter cup of all-purpose flour mixed perfectly with a quarter cup of cornstarch. That ratio is magic for that famous takeout style batter. Don’t forget a half teaspoon of salt and just a tiny pinch of black pepper to season underneath all that flavor!
For the Best Orange Sauce Recipe
This is where the “restaurant quality” comes from. First, absolutely use the juice from one whole large orange—fresh only! We are talking about a full cup of fresh juice. Then, the secret weapon for aroma: the zest from that *same* orange. If you skip the zest, you just have sweet sauce; the zest gives you that intense citrus punch. We combine that with a half cup of granulated sugar (yes, it needs to be sweet!), a quarter cup of rice vinegar for that necessary tang, two tablespoons of soy sauce, and one tablespoon of sesame oil. And listen, don’t skimp on the aromatics; you need one teaspoon of freshly grated ginger and two cloves of minced garlic. This is how you build the Best Orange Sauce Recipe!
Step-by-Step Instructions for Restaurant Style Chicken Dinner
Now that we have our amazing components ready, we put it all together! Making this Restaurant Style Chicken Dinner is more like an assembly line than actual cooking—it moves fast once you start frying. Keep your wire rack ready nearby because once the chicken is done, it needs a quick rest before hitting that high heat again or jumping into the sauce.
The biggest thing to watch is your oil temperature! If you don’t have a deep fryer thermometer, get one. It’s the difference between soggy takeout and actual crispy perfection. You are working in two distinct frying stages here to lock in that crunch inside that coating. If deep frying just isn’t your thing, I highly recommend checking out my recipe for that air fryer whole chicken; it gives you huge crispness without the oil!
Preparing and Double-Frying the Chicken
First, let’s coat this lovely chicken. Make sure your egg is whisked well in one bowl and your dry flour/cornstarch mix is in another shallow dish. You’re going to gently tumble the chicken pieces first into the egg—just enough to wet them—and immediately into the dry mix. Press that coating on gently, then shake off any massive clumps. You want a nice, even texture.
Now for the heat! Bring your vegetable oil up to 350°F (175°C). Fry the chicken in small batches—don’t crowd the pot, or your oil temperature will drop! Cook these first-fry pieces for about 4 to 5 minutes until they are just gaining a light golden color. Pull them out and let them nap on the rack for a minute or two while you crank that temperature up to 375°F (190°C). Then, toss them back in for just 1 to 2 minutes until they are deep golden brown and spectacularly crisp. Drain them again! Ready for the next step?
How to Make Sticky Sauce and Combine
While your chicken is getting its second crisping, get that sauce base simmering in a small saucepan—you just need the juice, zest, sugar, vinegar, soy sauce, sesame oil, ginger, and garlic together. Bring it to a gentle simmer until the sugar melts away. Now for the thickening trick for that perfect glaze: whisk together your 1/4 cup cold water and 2 tablespoons of cornstarch until absolutely smooth—that’s your slurry. Pour that slurry into the simmering sauce while whisking constantly. It’s magic! It will go from thin liquid to a thick, glossy coating in about 60 to 90 seconds. As soon as it coats the back of a spoon beautifully, pull it off the heat, toss your hot, crispy chicken in immediately, and get it on the plate! Remember, serve this straight away so that beautiful texture doesn’t steam itself soggy!
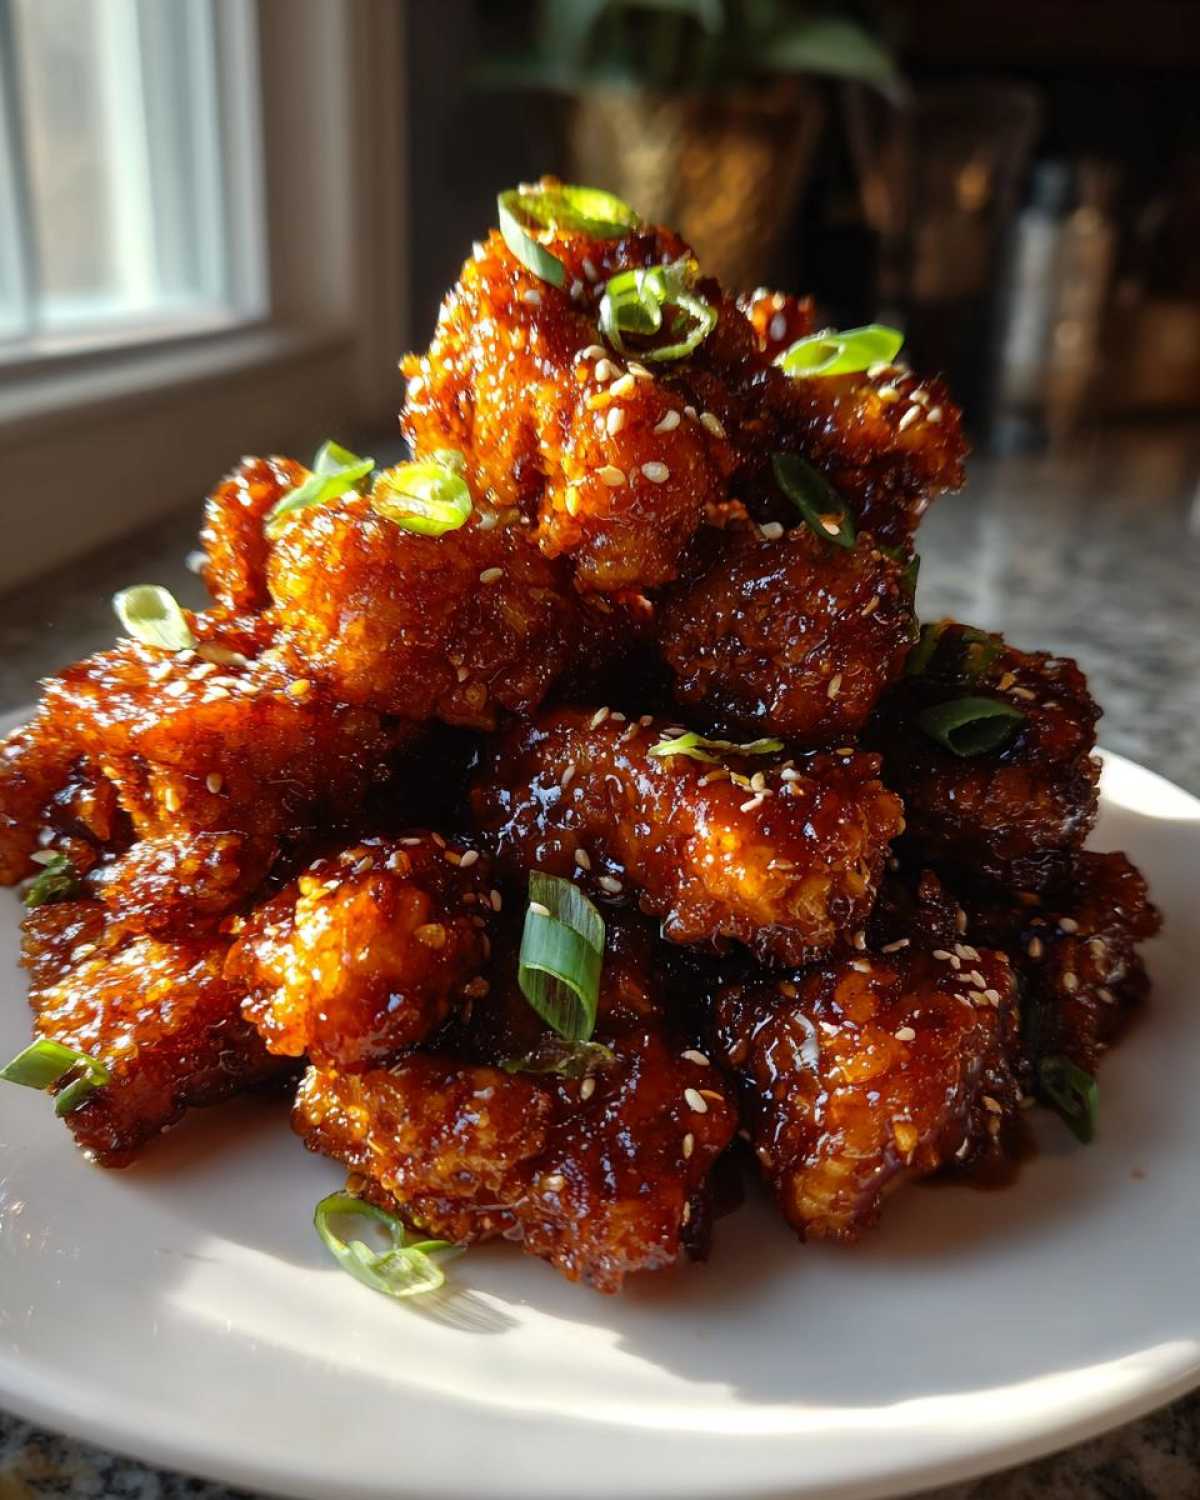
Tips for Success Making Sticky Orange Chicken Better Than Takeout
Honestly, following the steps gets you 90% of the way there, but I want your Sticky Orange Chicken Better Than Takeout to be perfect, like the ones you dream about. It all comes down to paying attention right before and right after the heat is involved. If you’re nervous about frying, take a deep breath; temperature control is your best friend here, and I’ve even got a guide on my favorite deep fried chicken coating secrets that might ease your mind!
Don’t treat the chicken and the sauce separately right at the end. They need to meet quickly and cheerfully, otherwise, the steam will destroy your hard work. My absolute favorite tip is using thighs over breasts if you can—it makes the juiciness factor nearly foolproof, even if the sauce is a little thick.
Troubleshooting Common Issues
Every cook runs into hiccups, so let’s talk about the common pitfalls I hit before I perfected this recipe. If your finished chicken is soggy and sad instead of delightfully crisp, that usually means one of two things. Either your oil temperature dropped too low during that first fry because you overcrowded the pot, or worse, you let the sauced chicken sit for more than five minutes before serving. That residual steam is a killer!
Now, what about the sauce? If, after adding your slurry, your sauce looks more like water than shiny paint, you need to let it simmer just a little bit longer—maybe 30 more seconds—while whisking constantly until you see it gain that thick, glossy body. If the sauce is *too* thick and gummy when you pull it off the heat, next time use just a tiny bit less cornstarch in your slurry, or add a tablespoon of extra orange juice to loosen it up right before you toss the chicken.
Ingredient Notes and Substitutions for Homemade Orange Chicken
So, you’re ready to dive into making this fantastic Homemade Orange Chicken but maybe don’t have every single item listed in my pantry? Don’t panic! That’s what I love about home cooking—we can tweak things, especially if we know *why* the original ingredient matters.
For example, I insist on fresh juice because those bottled concentrates have preservatives and they lose that bright, high-note flavor that cuts through the sugar. But if you are caught short, fresh juice is better than using orange extract, which can taste a little fake. If you absolutely must use bottled juice, I suggest adding an extra pinch of that fresh zest you managed to scrape off, just to wake up the flavor profile.
If you’re worried about the deep frying, you certainly can bake or air fry the chicken as an alternative cooking method, though it won’t give you that classic takeout chewiness. When air frying, use the same coating and cook at 400°F until crisp (check the notes in the main recipe!).
For those of you avoiding gluten, this recipe is actually super easy to adapt! Instead of regular all-purpose flour in the dredge, just swap it out 1:1 with a good quality gluten-free 1:1 baking flour blend. In the sauce, the only substitution you need is swapping the regular soy sauce for Tamari. You can check out the full breakdown of how I make a similar homemade sauce over here at my best homemade teriyaki sauce recipe page, which gives you a good idea of how to balance those savory and sweet Asian staples!
Lastly, if you have soy allergies, coconut aminos work well as a substitute for the soy sauce in the glaze, but you might need to add just a half teaspoon of extra sugar to balance the slightly different salinity!
Serving Suggestions for Your Sweet and Tangy Chicken
We did it! We made restaurant-quality, perfectly crisp, Sweet and Tangy Chicken that absolutely drowns beautifully in that sticky orange sauce. But now we have to serve it, right? You can’t just eat a bowl of sticky chicken chunks alone—well, you *could*, but let’s make it a proper dinner!
Since this dish is rich, oily from the fry, and very sweet/tangy, we need sides that are light, fluffy, and absorb some of that extra sauce. Think of it as needing a supporting cast that can handle a little bit of a flavor punch without getting completely lost.
Number one, always, is rice. You need something neutral to soak up every drop of that glaze. I keep it simple with plain steamed white or brown rice, but if you want something with a bit more flavor that still complements the orange notes without competing, you should really check out my recipe for easy Spanish rice. It’s just bright enough!
To cut through the richness of the fried chicken and the sugar in the glaze, you need simple green vegetables. Don’t overcomplicate this! Steamed broccoli florets are perfect—they give you a slight bitterness that balances the sweet sauce beautifully. A quick steam with just a tiny pinch of salt is all they need.
Alternatively, if you want something fresh and crunchy on the side, a quick cucumber and sesame salad works wonders. Just thinly slice some cucumbers, toss them with a little rice vinegar, a dash of sesame oil, and those sesame seeds you used for garnish. It’s cool, refreshing, and cleanses the palate between those wonderfully sticky bites of chicken!
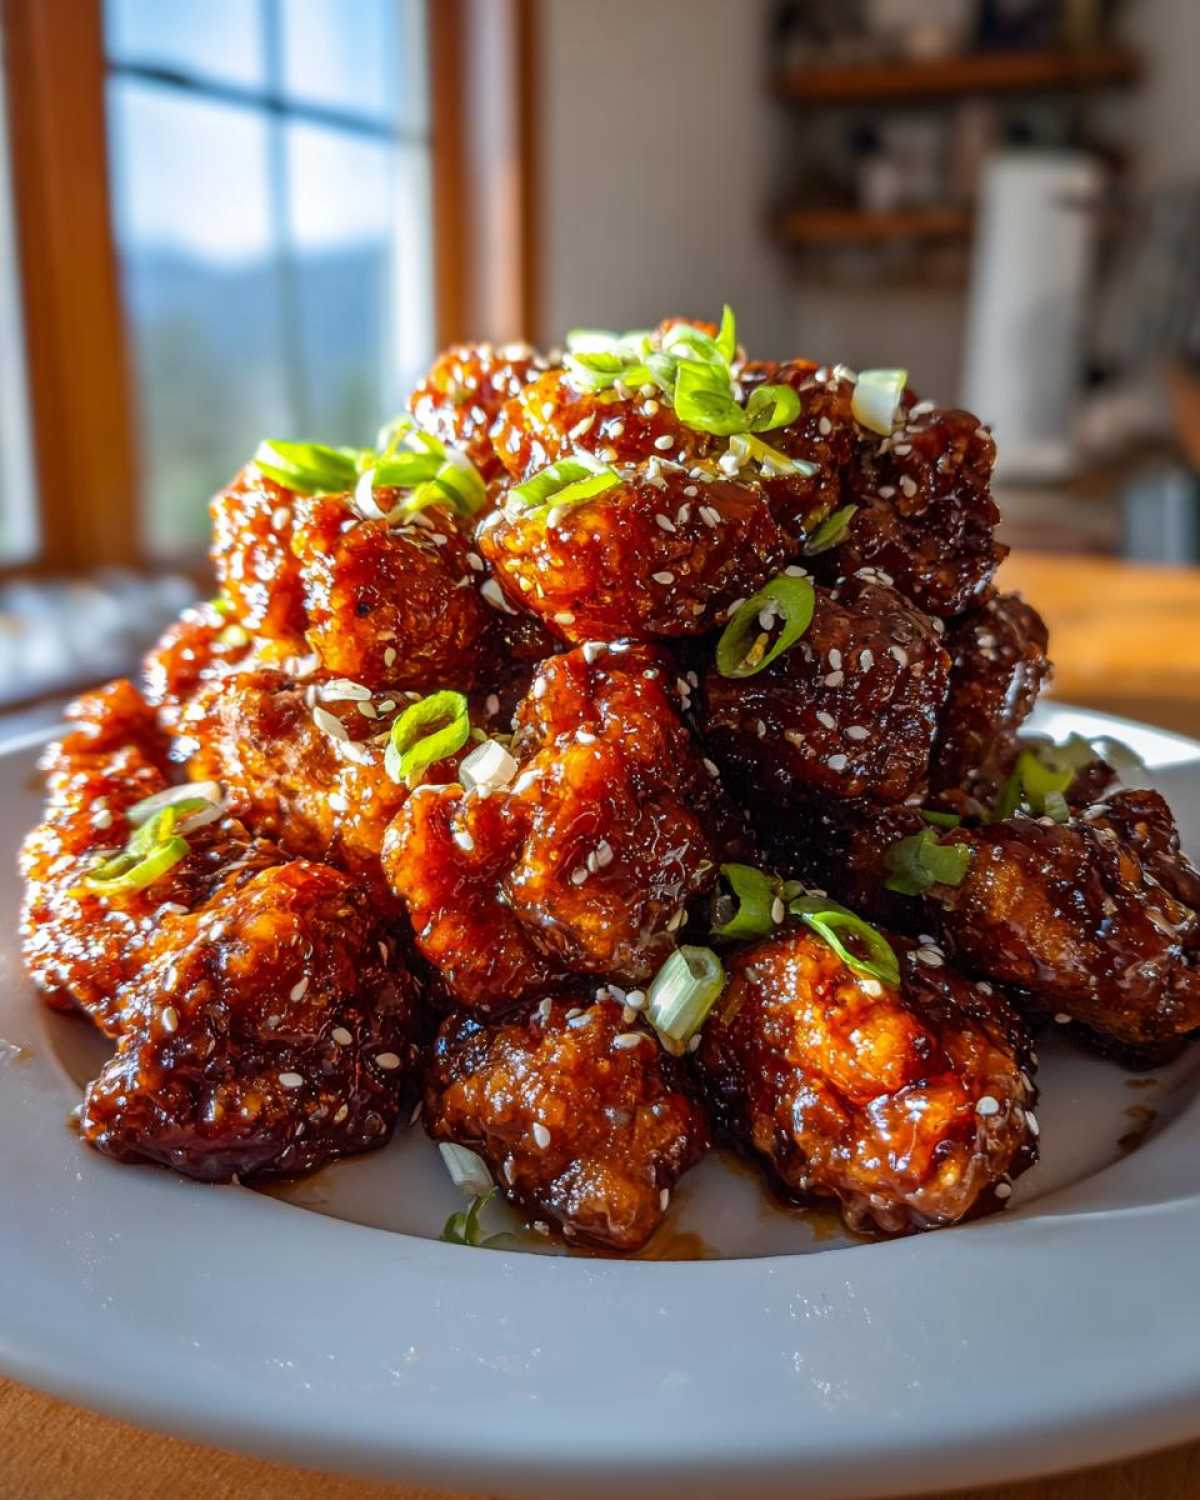
Storage and Reheating Instructions for Sticky Orange Chicken
Okay, let’s be honest: this dish, like most fried things tossed in sauce, hits its absolute peak gloriousness about three minutes after it comes out of the pan. That’s when the chicken is screaming crispy and the glaze is hot and glossy. BUT, if you actually manage to have leftovers (which usually means I made too much on purpose!), you do NOT want to use the microwave. Seriously, it turns everything soft and steamed almost instantly.
For the best shot at salvaging that crisp texture the next day, you want dry heat. I pop mine into a preheated 350°F oven for about 8 minutes until it’s piping hot again. Even better? Pop those leftovers into the air fryer for 4 minutes—it really helps bring some of that crunch back! You can find tons of ways to use the air fryer, like my recipe for air fryer gnocchi, but for this chicken, it’s your best reheating friend. Store the sauced chicken in a sealed container in the fridge for up to three days.
Frequently Asked Questions About Sticky Orange Chicken Better Than Takeout
I totally get it; when you’re trying to recreate a favorite dish, you have a million little questions buzzing around in your head! That’s why I pulled together the most common things people ask me about getting this recipe just right. Don’t worry if you’re new to this, we’ve all been there!
Can I make the sauce ahead of time for this Sticky Orange Chicken Better Than Takeout?
Yes, you absolutely can! Having the sauce prepped saves so much time when you’re ready to eat. You can cook the sauce base (juice, sugar, ginger, garlic, etc.) completely, but leave out that cornstarch slurry for the very end. Store the base mixture in a small jar in the fridge. Then, when you’re ready to serve, just bring the sauce base back to a simmer, whisk up your cornstarch slurry, add it in, and cook until thick and sticky, just like in the main instructions. The key is to only combine the sauce with the freshly fried chicken right before serving!
What is the secret to making the sauce truly sticky?
The true secret boils down to two things: the ratio and the simmer! You need that cornstarch slurry—remember, 2 tablespoons of cornstarch whisked into 1/4 cup of cold water—to create the suspension that thickens everything. The second key is simmering the sauce *after* you add the slurry. You must let it bubble gently for one full minute after adding it, whisking constantly, until it visibly clings to your spoon. If you stop too early, it stays too thin! If you go too long, it can get gluey, so timing that final minute is everything for a perfect glaze.
Is this recipe truly Better Than Panda Express Chicken?
Oh, I think so, and I’ve eaten enough takeout chicken to qualify as an expert! The biggest difference is the freshness. Most big chains use concentrates and don’t have the time to use fresh, brightly flavored zest, which is what gives our sauce that necessary aromatic kick. Plus, when you double-fry at home, you control the crispness perfectly, which often gets lost when chicken sits waiting for delivery. We get a superior crunch and a brighter citrus flavor, which puts this Better Than Panda Express Chicken right up at the top!
If you’re looking for more amazing weeknight ideas, I have a whole category dedicated to dinner recipes that I hope you’ll explore too!
Estimated Nutritional Data for This Sticky Orange Chicken Recipe
So, we’ve talked about flavor, we’ve talked about crunch, and we’ve talked about getting that perfect sticky glaze—truly it’s the best way to make Sticky Orange Chicken Better Than Takeout! Now, I always like to give you a ballpark idea of what you’re eating when you whip up one of my favorites. Remember, I’m a cook, not a nutritionist, so these numbers are based on standard ingredient assumptions. Stuff like how much oil you absorb during frying or the specific brand of soy sauce you use can change things!
For reference, this data assumes four servings of the chicken and sauce tossed together. If you serve it over a huge pile of rice, well, that’s on your extra delicious additions!
- Serving Size: 1 serving
- Calories: 550
- Sugar: 35g
- Sodium: 650mg
- Fat: 25g
- Saturated Fat: 5g
- Unsaturated Fat: 20g
- Trans Fat: 0g
- Carbohydrates: 55g
- Fiber: 2g
- Protein: 35g
- Cholesterol: 110mg
As always with my recipes, please remember this is just an estimate! If you want the super-detailed breakdown about how these numbers are calculated and what counts as an estimate, you can read my full information over at my disclaimer page. Enjoy this gorgeous dinner!
PrintSticky Orange Chicken Better Than Takeout
Make crispy, glazed orange chicken at home that rivals your favorite takeout spot. This recipe focuses on a thick, sticky sauce and perfectly crisp coating.
- Prep Time: 20 min
- Cook Time: 25 min
- Total Time: 45 min
- Yield: 4 servings
- Category: Dinner
- Method: Frying and Simmering
- Cuisine: Chinese-American
- Diet: Low Fat
Ingredients
- 1.5 lbs boneless, skinless chicken thighs, cut into 1-inch pieces
- 1 large egg
- 1/4 cup all-purpose flour
- 1/4 cup cornstarch
- 1/2 teaspoon salt
- 1/4 teaspoon black pepper
- Vegetable oil, for frying
- 1 cup fresh orange juice
- Zest of 1 large orange
- 1/2 cup granulated sugar
- 1/4 cup rice vinegar
- 2 tablespoons soy sauce
- 1 tablespoon sesame oil
- 1 teaspoon grated fresh ginger
- 2 cloves garlic, minced
- 1/4 cup cold water
- 2 tablespoons cornstarch (for sauce slurry)
- Optional: 1/2 teaspoon dried red pepper flakes
- For Garnish: Sliced green onions and sesame seeds
Instructions
- In a medium bowl, whisk the egg. In a separate shallow dish, combine the flour, 1/4 cup cornstarch, salt, and pepper.
- Dredge the chicken pieces first in the egg mixture, then coat thoroughly in the flour mixture. Shake off excess.
- Heat about 2 inches of vegetable oil in a heavy-bottomed pot or deep skillet to 350°F (175°C).
- Fry the chicken in batches, being careful not to overcrowd the pot, for 4 to 5 minutes until light golden brown. Remove and drain on a wire rack.
- Increase the oil temperature to 375°F (190°C). Fry the chicken a second time for 1 to 2 minutes until deep golden brown and very crisp. Drain again. This double-fry method creates the best texture.
- While the chicken fries, make the sauce. In a small saucepan, combine the orange juice, orange zest, sugar, rice vinegar, soy sauce, sesame oil, ginger, and garlic. Bring to a simmer over medium heat, stirring until the sugar dissolves.
- In a small bowl, whisk together the 1/4 cup cold water and 2 tablespoons cornstarch to create a slurry.
- Pour the slurry into the simmering sauce, whisking constantly. Continue to cook for 1 to 2 minutes until the sauce thickens significantly and becomes glossy and sticky. If using, stir in red pepper flakes.
- Remove the sauce from the heat. Add the crispy chicken pieces to the sauce and toss quickly until every piece is evenly coated.
- Serve immediately over rice, garnished with green onions and sesame seeds.
Notes
- For the stickiest glaze, do not overcook the sauce once the slurry is added; it should coat the back of a spoon immediately.
- Use fresh orange zest, not just juice, to get the strongest citrus aroma.
- If you prefer not to deep fry, you can air fry the coated chicken at 400°F for 12-15 minutes, flipping halfway.
Nutrition
- Serving Size: 1 serving
- Calories: 550
- Sugar: 35
- Sodium: 650
- Fat: 25
- Saturated Fat: 5
- Unsaturated Fat: 20
- Trans Fat: 0
- Carbohydrates: 55
- Fiber: 2
- Protein: 35
- Cholesterol: 110