

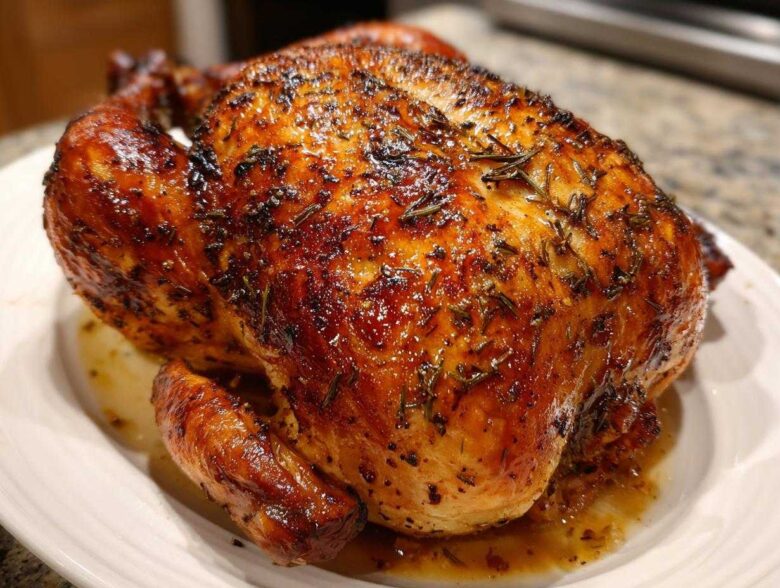
Listen, I know the dream: you pull a whole bird out of the oven, and it looks absolutely magnificent—golden brown, shatteringly crisp skin, and when you carve into it, the steam rushes out and the meat underneath is perfectly juicy. For years, I chased that picture-perfect roast chicken. I tried everything—salt rubs, high heat blasts—but the skin always felt either rubbery or burnt before the insides were done. Then, I learned the secret, and now, making an incredible Lemon Herb Roasted Chicken with Crispy Skin is ridiculously easy. Trust me, this method, which uses a little everyday baking powder, changes everything. It’s truly got deeply flavored meat and the best crackle you’ve ever heard!
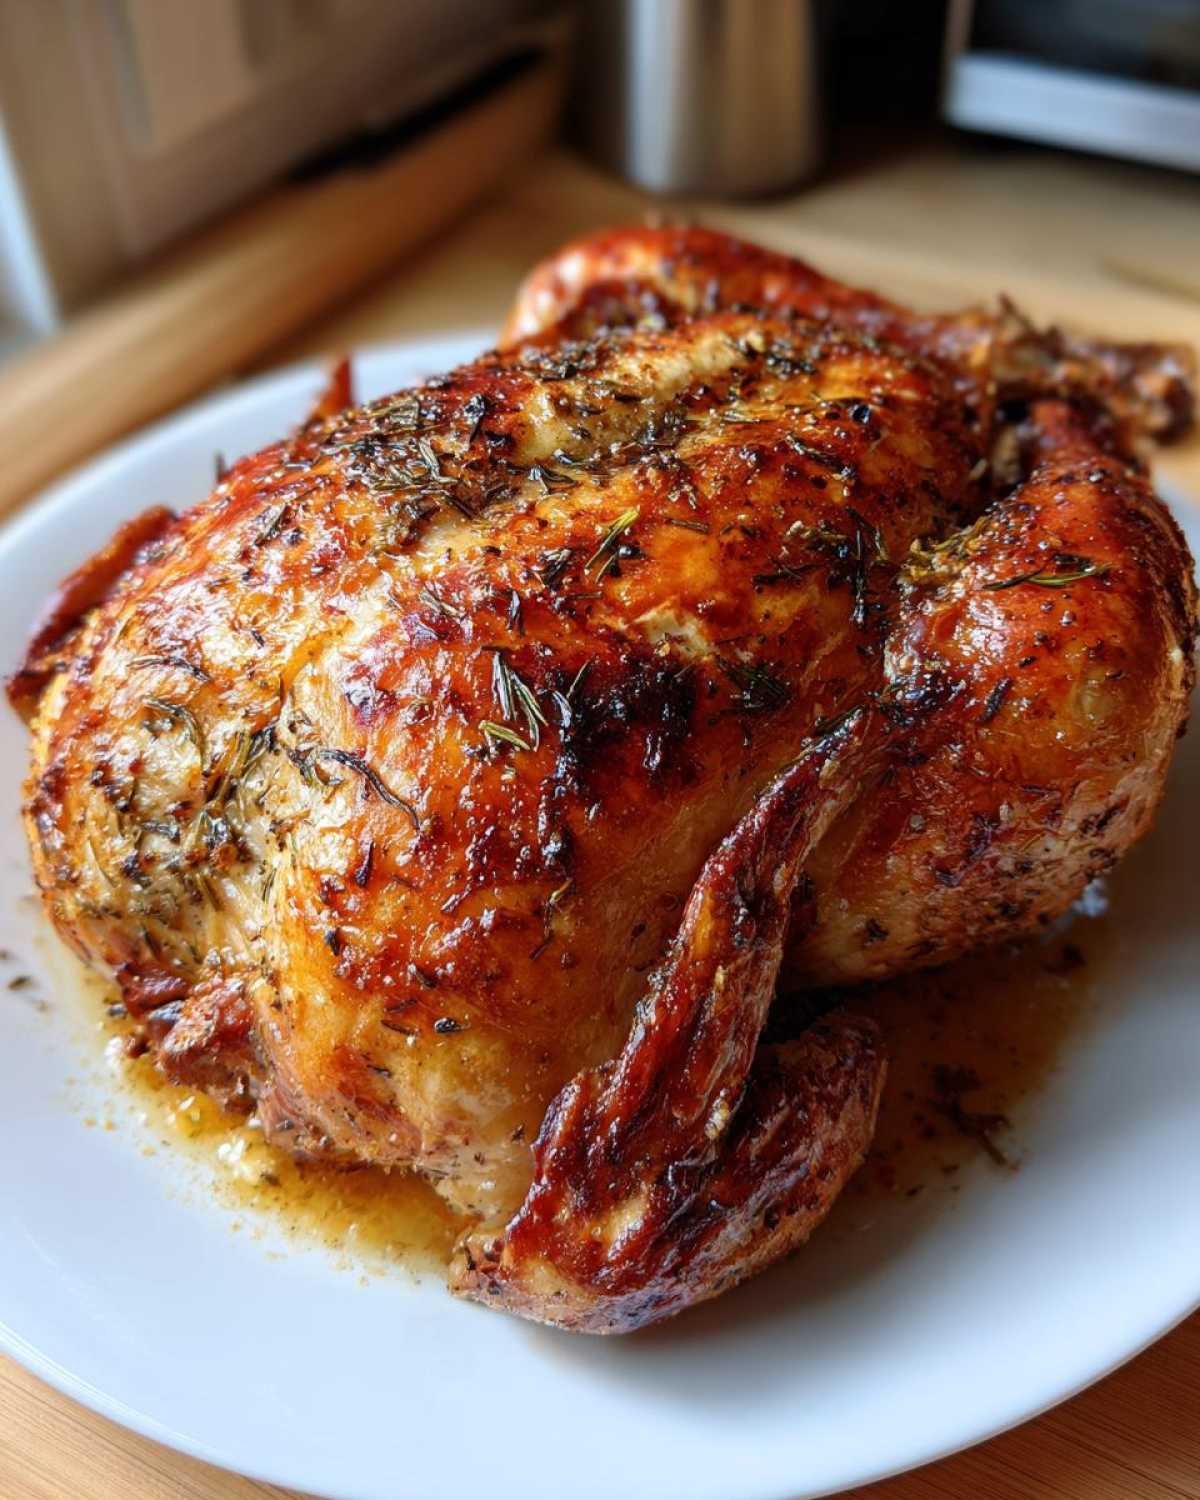
Why You’ll Love This Lemon Herb Roasted Chicken with Crispy Skin
Seriously, if you’ve been intimidated by roasting a whole bird, ditch that worry right now. This recipe is simple to assemble but delivers show-stopping results every single time. It’s my go-to when I need an impressive dinner recipe that doesn’t take all day!
- The skin gets unbelievably crisp thanks to a simple secret ingredient—you won’t believe it!
- The meat comes out incredibly tender and juicy because of the cavity stuffing method.
- It smells absolutely heavenly while roasting; that lemon and rosemary combo is magic.
- Hands-on prep time is super low, making it perfect for a busy weeknight chicken dinner.
- You get maximum flavor infusion without needing a messy overnight marinade.
- This technique works wonderfully whether you’re making it for a small family or a holiday centerpiece.
If you’re looking for other ways to tenderize meat quickly, check out my guide on juicy chicken quick marinades—but honestly, for this roast chicken, the real secret is in the prep!
Ingredients for Your Lemon Herb Roasted Chicken with Crispy Skin
You don’t need a huge list of fancy items for this! The beauty of this Whole Roasted Chicken Recipe is that the big flavor comes from standard pantry staples combined with fresh, aromatic herbs. I always make sure my lemon is bright yellow—you want maximum flavor from that zest!
Here’s what you’ll need pulled out and ready to go:
- One whole chicken, aiming for about 4 pounds. Don’t buy one that’s too huge, or it messes with the cooking time!
- Two tablespoons of baking powder—and please, make sure it’s aluminum-free! This is our main weapon for that gorgeous crisp skin.
- One tablespoon of kosher salt. I find table salt too harsh for roasting, so stick to kosher if you can.
- One teaspoon of freshly cracked black pepper. Freshly cracked makes a difference, I promise!
- One bright, gorgeous lemon, halved. Flavor central!
- One whole head of garlic. Just slice the top off so those cloves peek out.
- Four nice, woody sprigs of fresh rosemary.
- Six sprigs of fresh thyme. The combination of rosemary and thyme is classic for a reason.
- Four tablespoons of unsalted butter, softened to just mushy.
- Two tablespoons of good quality olive oil.
See? It’s straightforward. That baking powder mixture is going to work magic on the skin while the lemon and garlic steam right inside the bird, keeping the meat moist. It’s the perfect balance for an Easy Lemon Herb Chicken!
Expert Steps for Perfectly Browned Chicken Skin
Okay, here’s where we pull out the secret playbook for achieving that truly shatteringly crisp skin—the kind that sounds like autumn leaves when you cut into it! This is definitely where the expertise comes in. We aren’t just roasting; we are setting up the skin for success. The absolute key is moisture removal. Anything wet on the skin means steam, and steam means rubbery skin. No thank you!
The reason this method works so well is twofold: we attack moisture externally, and we use baking powder. Baking powder is slightly alkaline, and when it mixes with the salt and the chicken’s natural moisture, it helps raise the pH level of the skin. This reaction allows the skin to dry out faster and brown more evenly during the roast. It’s magic, trust me!
Preparing the Chicken for Maximum Crispness
First things first: ditch those giblets right away. Then, grab every paper towel you own! You need to pat the entire surface—inside the cavity and especially the outside skin—until it feels dry to the touch. I mean bone dry. Once you think it’s dry, pat it again. Next, take that small bowl with your baking powder, salt, and pepper, and generously rub that mixture all over the outside skin. Don’t worry if it looks a little pale; it all melts away, leaving only crispy goodness behind. Finally, make sure you put it on a wire rack set over a roasting pan. Air circulation underneath is non-negotiable for the best crispy skin chicken!
Flavor Infusion: Stuffing the Cavity
While the exterior is prepping for crispness, we need to make sure the inside stays happy and fragrant. This step is pure perfume for your oven! Take those lemon halves, that whole head of garlic (just slice the top off so the cloves are exposed), those sprigs of fresh rosemary, and the thyme. Shove them all right into the cavity. This isn’t just for looks; as the chicken roasts, these aromatics steam gently, soaking the breast meat with incredible flavor. It’s the easiest way to get that phenomenal buttery herb chicken taste without basting constantly.
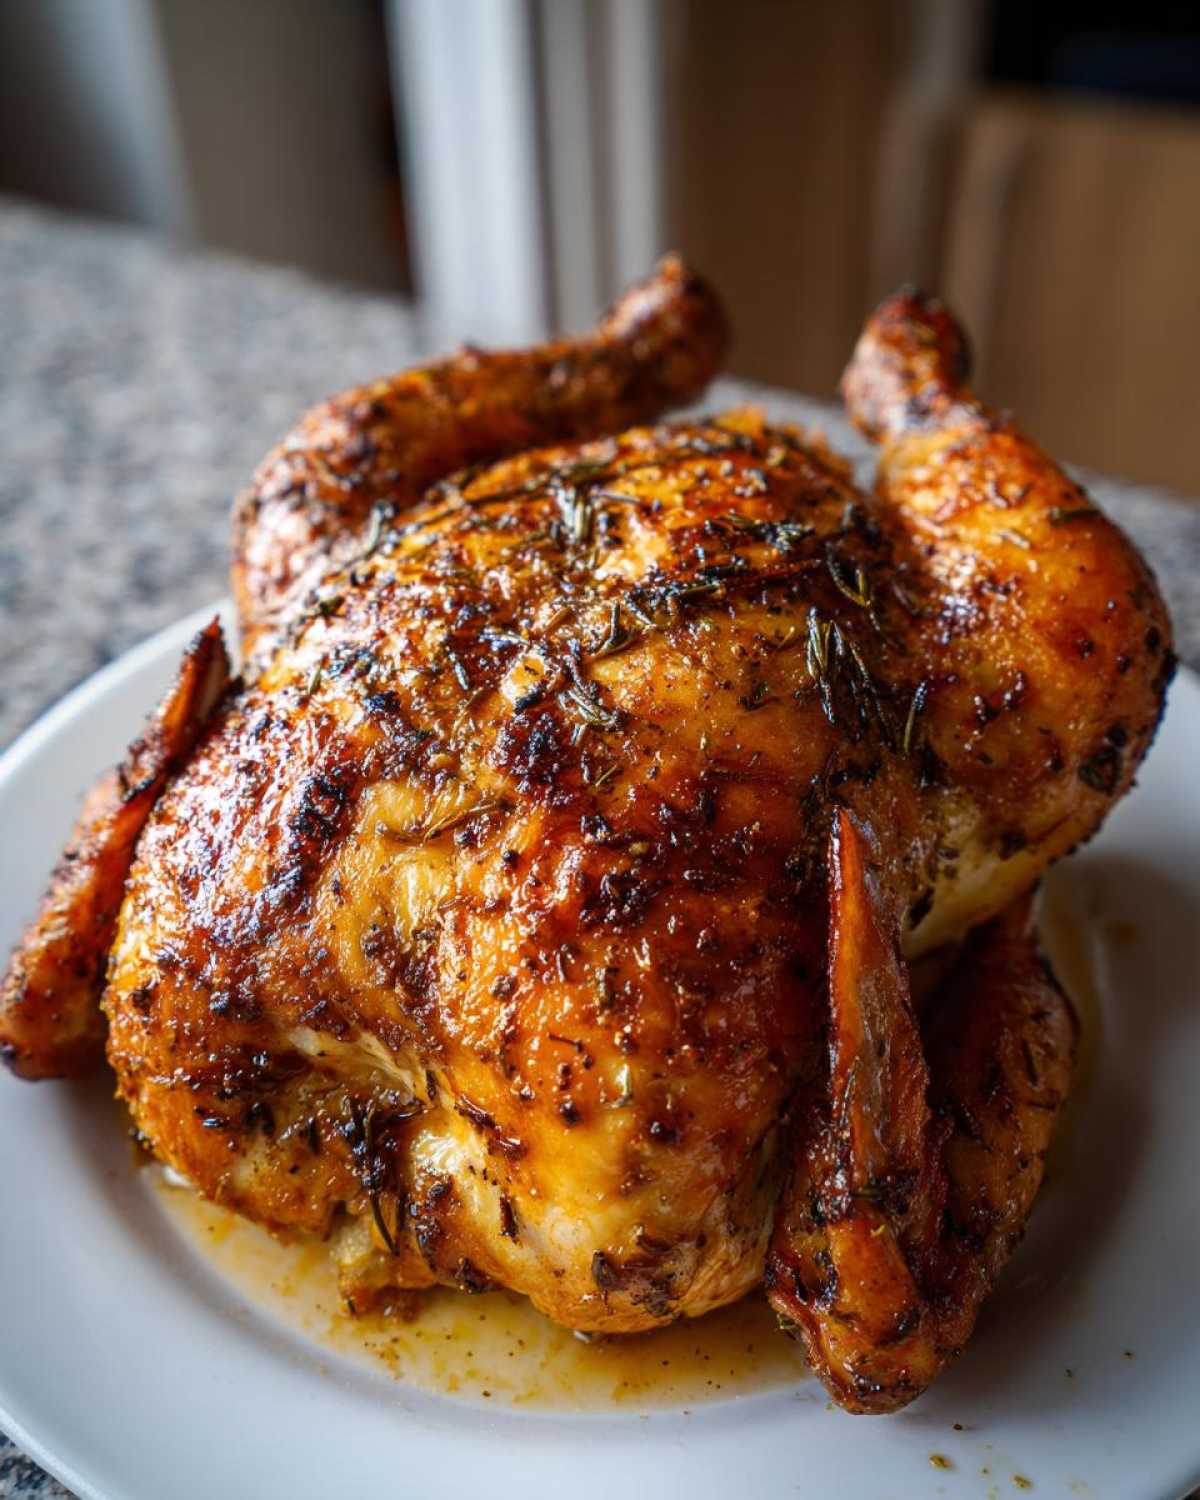
Once that cavity is packed, it’s time to secure everything. Just take your kitchen twine and tie the legs together snugly. Tuck those little wing tips under the body so they don’t burn. Now, on to the critical waiting game!
If you’re looking for other ways to cook chicken faster, you might want to peek at my guide on air fryer whole chicken techniques, but for a traditional roast, follow these drying and seasoning steps precisely!
The Crucial Overnight Rest for Juicy Roast Chicken Secrets
Okay, folks, this is the step that separates the okay roast chicken from the legendary one. You have coated it, you’ve stuffed it, and now you have to let it go. I know, I know—patience is hard when you’re excited about dinner! But this time in the fridge is non-negotiable if you are serious about that best crispy skin chicken.
You need to tuck that seasoned bird, uncovered, into the cold refrigerator for at least four hours. Honestly? Overnight is what I aim for, 10 to 12 hours is perfect. Why uncovered? Because we need that cold, dry refrigerator air to wick away every last bit of surface moisture left on the skin. If you cover it, the moisture gets trapped, and you’re back to soft, soggy skin.
When I skip this step, I can see the difference instantly—the skin looks plump and sad instead of taut and ready to explode into golden-brown perfection. This drying process is essential for flavor concentration on the surface, too. It’s how we lock in those amazing herbaceous flavors against the meat while letting the outside dry out completely for that superior crackle!
When you pull the chicken out an hour before it goes in the oven, you’ll notice the skin looks almost tight and papery. That’s the sign of a winner! It’s ready to embrace the heat and turn into the crispiest skin you’ve ever made. This simple act of chilling transforms your Whole Roasted Chicken Recipe from good to absolute perfection, guaranteeing those juicy roast chicken secrets are all working for you.
Roasting Instructions for Your Lemon Herb Roasted Chicken with Crispy Skin
The waiting game is over! Your chicken is dry, seasoned perfectly, and smells amazing sitting on that rack. Now we move onto the actual cooking, and this is where the two-temperature trick really pays off for incredible results. We start hot to shock the skin into crisping, and then we lower the heat to gently coax the inside to perfection without scorching the outside.
About an hour before you want to put it in, pull that bird out of the fridge. It needs to warm up a bit for even cooking—cold meat hitting a hot oven is never a good thing! While it’s waking up, preheat your oven to a roaring 425°F (220°C).
Just before it goes in, we brush on a little extra richness. In a tiny bowl, mix that softened butter with your olive oil. I just lightly brush this mixture over the skin—we aren’t drowning it. This promotes browning and adds flavor, but remember, the baking powder is doing the heavy lifting on crisping!
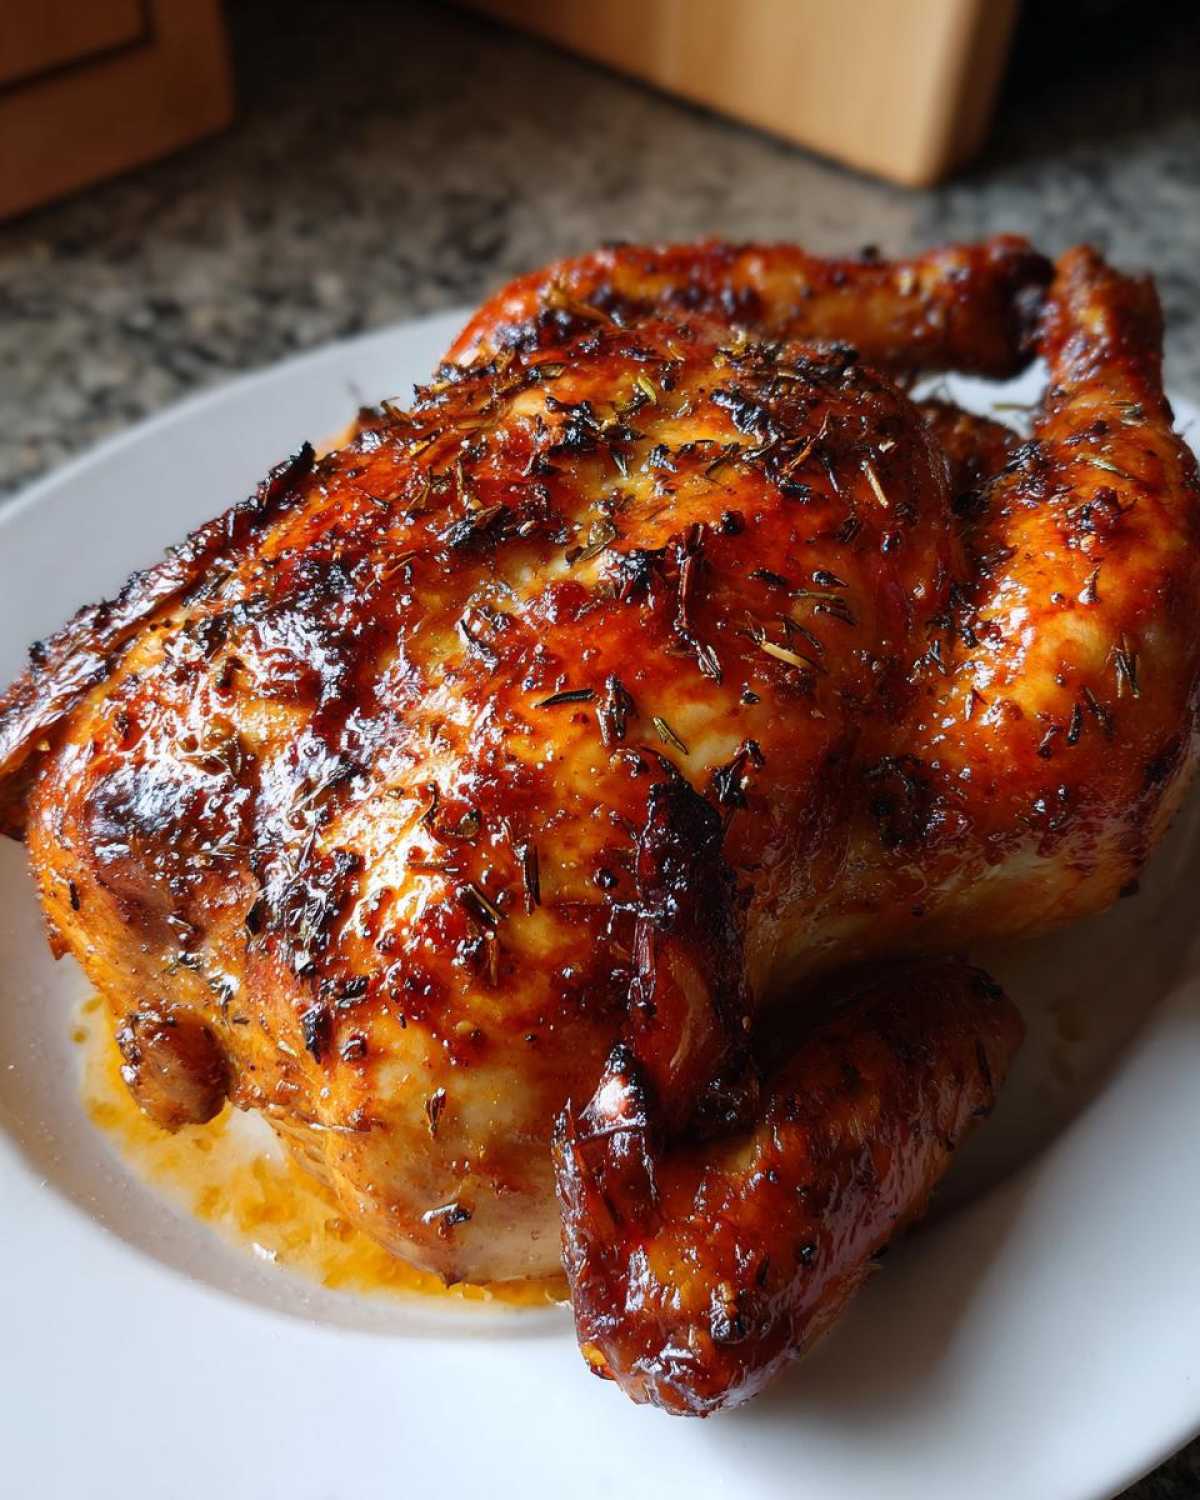
If you want more flavor ideas or techniques, check out my thoughts on getting crisp skin with braised meats, like my braised chicken thighs—though the method is different, the desire for that crisp exterior is the same!
Preheating and Initial High-Heat Blast
Once the oven hits that 425°F (220°C) mark, carefully slide that roasting pan, with the chicken breast-side up, right into the center rack. We let it blast in that high heat for exactly 15 minutes. This initial shock is what starts to contract those skin proteins and seal in those herb smells. Don’t hover—just let it do its thing for those 15 minutes!
Lower Temperature Finish and Roast Chicken Temperature Guide
After that initial 15-minute high-heat sprint, it’s time to dial things back. Quickly but carefully reduce your oven temperature down to 375°F (190°C). Don’t open the door any longer than you absolutely have to! Now, continue roasting for another 50 to 70 minutes. I know, that range is big, but every chicken cooks differently based on its shape and starting temperature.
This is where knowing your Roast Chicken Temperature Guide becomes your best friend. Forget relying on time alone! You absolutely must use an instant-read thermometer. Stick it into the thickest part of the thigh, making sure you aren’t touching any bone at all. When that thermometer reads 165°F (74°C), your bird is done! If, by chance, you notice the breast skin turning deep brown too fast before it hits that temperature, just grab a small piece of foil and loosely tent the breast area. That protects the white meat while the thighs finish cooking perfectly.
Resting and Carving the Perfectly Cooked Whole Roasted Chicken Recipe
That moment when you pull the chicken out and the skin is crackling and golden brown? It’s the best! But please, don’t grab your knife right away! This next step is what truly seals your reputation as a master of Juicy Roast Chicken Secrets. You need to let it rest!
Take that gorgeous bird out of the oven and put it on a clean cutting board. Tent it loosely—and I mean loosely, you don’t want to steam that beautiful skin—with a piece of aluminum foil. Now, set a timer for 15 minutes. I know 15 minutes feels like an eternity, especially when that chicken smells this incredible, but you just have to wait!
Here’s the science behind it: when the chicken cooks, all those wonderful juices—the fat, the moisture, the flavor from the lemon and garlic—get forced from the muscle fibers toward the center of the bird. If you slice it right away, all that delicious liquid will just rush out onto your cutting board. That’s tragedy! Giving it 15 minutes allows those juices to redistribute evenly throughout the meat. Patience pays off, I promise.
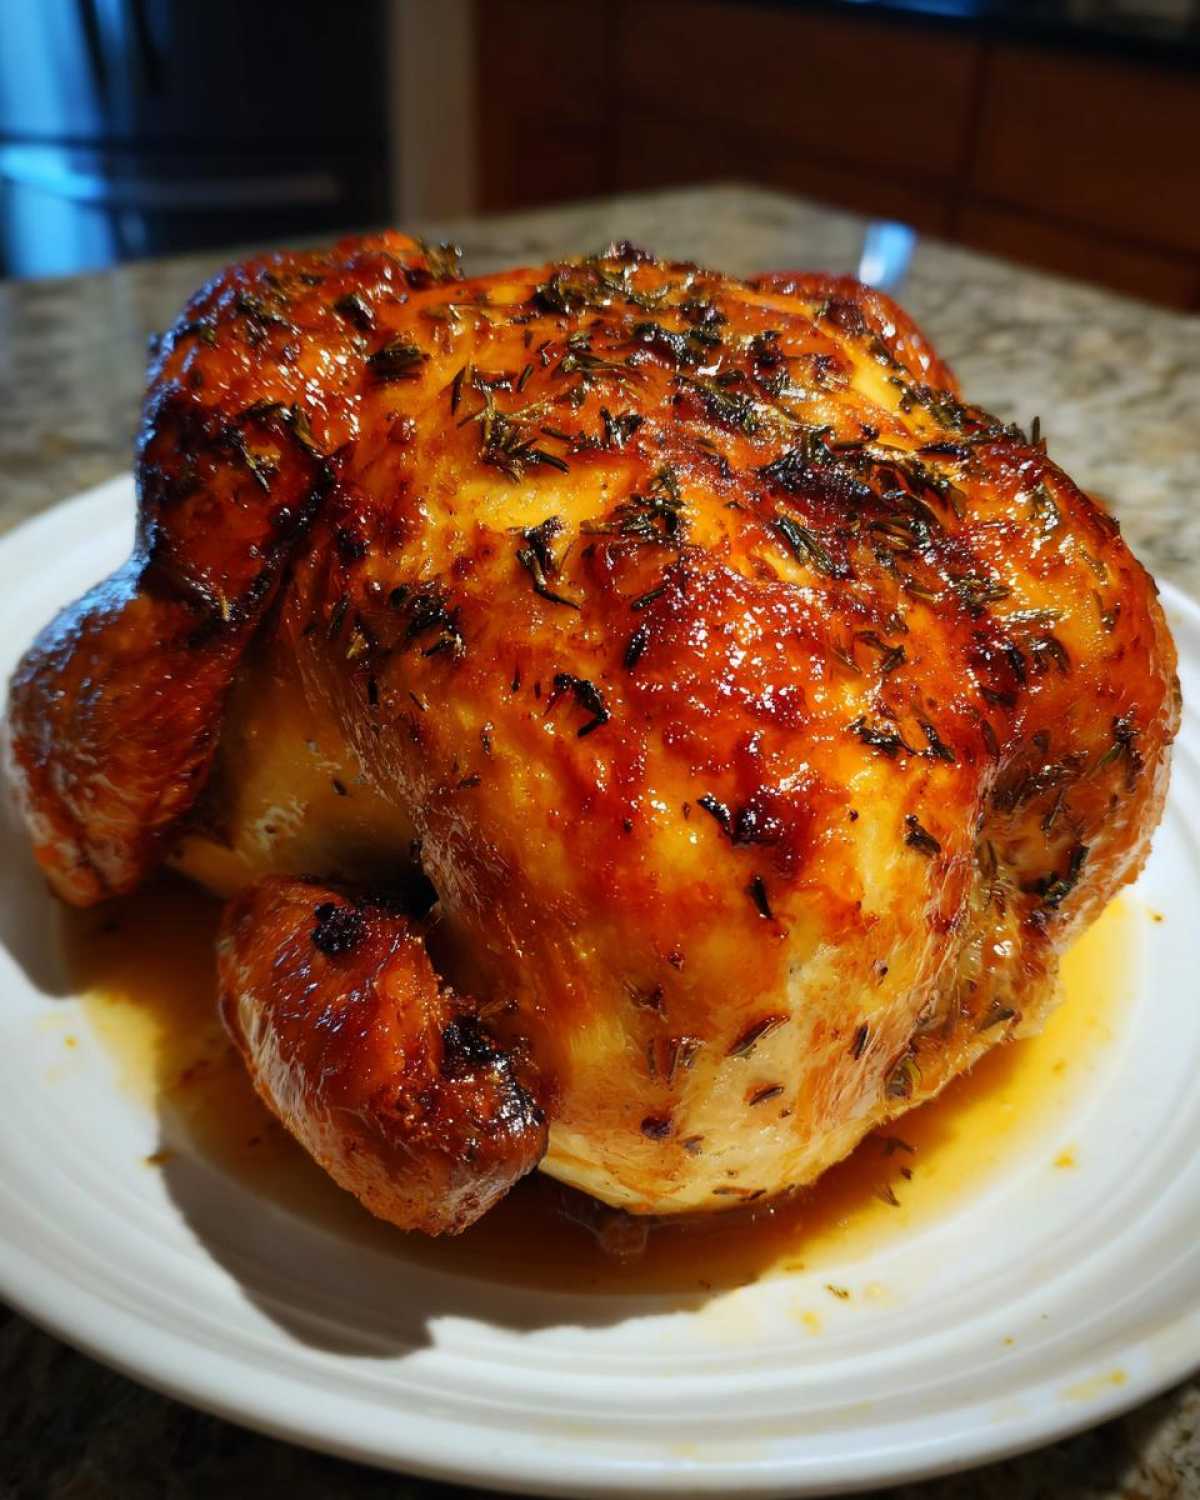
Once it’s rested, you can start carving. You don’t need a professional butchery course for this! I usually start by pulling off the legs and thighs first. Use kitchen shears or a sharp knife to cut down through the joint where the thigh meets the body. Next, gently separate the wings. For the breasts, I use a sharp carving knife and slice down along one side of the backbone, moving the knife toward the chest bone the whole time. Then I do the other side.
If you’re looking for other foundational comfort meals where juice retention is key, take a peek at my tips for the classic juicy meatloaf. The resting principle is the same!
Once it’s carved, you’ll see the meat is plump, tender, and steaming. Every piece that comes off the bone will be packed with moisture thanks to that crucial rest period. This is how you serve a Whole Roasted Chicken Recipe that everyone asks for again and again!
Tips for Success with Easy Lemon Herb Chicken
Even though this recipe is honestly foolproof if you follow the drying, resting, and two-temp roasting steps, I always have a few extra little secrets I keep in my back pocket. These are the things I learned through sheer trial and error over the years, and they take your Easy Lemon Herb Chicken from great to utterly unforgettable!
First off, let’s talk about the butter and olive oil rub we apply right before it hits the oven. Remember, the baking powder treatment handled the massive crisping job. The butter and oil are there mostly for color and richness, not for creating the crunch. So, please, don’t overdo it! I use a pastry brush and just aim for light coverage. If you glob it on, you are creating a barrier that might prevent the last bit of skin dehydration, and you could end up with slightly greasy spots instead of that dry, perfectly browned finish.
My second piece of advice revolves around sourcing your ingredients, especially the herbs. If you can find really vibrant, fresh rosemary and thyme, use them! The flavor is exponentially better than dried herbs stuffed inside the bird. But if you *must* use dried herbs—maybe it’s deep winter and fresh just isn’t cutting it—you need to adjust. For stuffing the cavity, only use about one teaspoon of dried rosemary and one teaspoon of dried thyme. Too much dried herb powder inside can actually end up tasting dusty rather than aromatic.
Finally, about that temperature check: I can’t stress this enough. I know I keep talking about the thermometer, but seriously, get one. The best succulent roast chicken comes from hitting that 165°F mark exactly in the thigh. If you pull it out too early, you risk food safety issues and a watery plate. If you leave it in too long waiting for the breast to hit 165°F (which you shouldn’t do anyway!), the breast meat will dry out before the thigh even finishes. A quick insert of that thermometer is the single best insurance policy you can buy for a perfectly cooked bird every time.
Storage and Reheating Instructions
Congratulations, you have leftovers! Which is a wonderful problem to have when you make a bird this delicious. Don’t let that leftover chicken go to waste; it’s just as good the next day, though the skin won’t be crackling anymore. That’s okay, we can work around that!
For storage, the best way is to get that chicken into an airtight container as soon as it has cooled down completely, usually after resting and if you have any scraps leftover. You can safely store leftover Lemon Herb Roasted Chicken in the fridge for about three to four days. I always make sure to store the meat pieces separately from the leftover skin if I manage to save any—the skin never reheats well, bless its heart.
Now, reheating is the tricky part, because we want juicy meat, not rubbery meat. My absolute number one recommendation for reheating chicken pieces? The oven or the air fryer! Avoid the microwave if you can, because microwaves heat unevenly and will turn that lovely breast meat into something tough in about thirty seconds flat.
Oven Reheating for Moistness
If you’re reheating a whole breast or a couple of legs/thighs, always work low and slow in the oven. Preheat your oven to a gentle 325°F (160°C). Place the chicken pieces in a small, oven-safe dish. Here’s the trick: pour just a tablespoon or two of broth or even water into the bottom of that dish. Cover the dish tightly with foil. This creates a mini-steam environment inside the foil tent, which warms the meat through without drying it out. It usually takes about 15 to 20 minutes, depending on the size of the piece.
The Air Fryer Trick for Quick Warm-Ups
For faster results, especially if you only have a few pieces, the air fryer is fantastic. Set it to about 350°F (175°C). You don’t need broth here—the circulating dry heat warms things up incredibly fast. Keep an eye on it, though; usually, 5 to 7 minutes is all it takes to get that leftover chicken piping hot and surprisingly tender. It won’t bring back the crisp skin, but it stops the meat from going cardboard-dry!
If you end up with so much leftover chicken that you can’t eat it right away, consider shredding it! I have a whole post on how to make easy pulled chicken, which is my go-to way to use up leftovers in tacos or sandwiches later in the week.
Frequently Asked Questions About Lemon Herb Roasted Chicken
I always get questions after people try this recipe for the first time! It’s so rewarding to see the photos of your perfectly roasted birds. Here are a few of the things folks ask me most often when they’re trying to nail that perfect roast and achieve perfectly browned chicken skin.
Can I use dried herbs instead of fresh in the cavity?
You absolutely can, especially if you’re whipping this up in the middle of winter when the fresh herbs just aren’t as vibrant. Fresh herbs impart aromatics through steam, which is amazing, but dried herbs are much more potent in flavor concentration. If you decide to swap, you need to drastically cut back. For the cavity stuffing, instead of the six sprigs of fresh thyme and four sprigs of rosemary, use about one teaspoon of dried thyme and about three-quarters of a teaspoon of dried rosemary. If you use too much dried herb, your garlic lemon chicken can take on an almost dusty or bitter flavor. Fresh is always my preference here, but dried works in a pinch!
What if I don’t have time to let the chicken rest in the fridge overnight?
Oh, I totally get it; sometimes you see the recipe an hour before dinner! If you absolutely cannot refrigerate overnight, you must commit to drying the skin as much as physically possible. After patting it down with towels, stick it on the rack, uncovered, at room temperature while your oven preheats. This will give you a head start on drying. Now, remember that the skin won’t be *quite* as shatteringly crisp as the overnight method, but we compensate by using the high-heat blast first at 425°F for those crucial 15 minutes. That quick burst will help dry and color the skin before we drop the temperature. It’s a good substitute for a simple whole roasted poultry flavor bomb, even if the skin loses a tiny bit of crackle!
What temperature should I cook thighs and wings to if I separate them for my dinner?
That’s a great question for maximizing even cooking! If you break down the bird before roasting—maybe you want extra crispy oven roasted chicken thighs and wings—you can cook them separately. White meat (breasts) is safe at 160°F internal if you let it rest up to 165°F. Dark meat (thighs and legs), however, tastes much better and is safer when cooked to a slightly higher temperature, closer to 175°F or 180°F, because dark meat has more connective tissue that breaks down nicely at higher heat. Wings are tricky because they are small, but aim for 170°F for the best texture. Just keep an eye on them with your thermometer; they cook much faster than the whole bird!
What is the best way to ensure Perfectly Browned Chicken Skin without drying out the meat?
This question gets right to the heart of the recipe! The absolute best way is the combination of three things we did: 1) Patting it bone dry initially, 2) Using the baking powder rub to promote surface drying and browning, and 3) Using the two-stage temperature method. Starting high (425°F/220°C) sets the color and crispness, while dropping down to 375°F (190°C) ensures the gentle heat cooks the meat all the way through to 165°F without burning that beautiful skin. The butter/oil applied right before roasting helps the color deepen, but the dryness and temperature control do the real work keeping the meat juicy!
PrintLemon Herb Roasted Chicken with Crispy Skin
Follow these steps to roast a whole chicken achieving deeply flavored meat and exceptionally crispy, golden-brown skin.
- Prep Time: 20 min
- Cook Time: 1 hr 15 min
- Total Time: 1 hr 35 min
- Yield: 4 servings
- Category: Dinner
- Method: Roasting
- Cuisine: American
- Diet: Low Fat
Ingredients
- 1 whole chicken (about 4 lbs)
- 2 tablespoons baking powder (aluminum-free)
- 1 tablespoon kosher salt
- 1 teaspoon black pepper
- 1 lemon, halved
- 1 head of garlic, top sliced off
- 4 sprigs fresh rosemary
- 6 sprigs fresh thyme
- 4 tablespoons unsalted butter, softened
- 2 tablespoons olive oil
Instructions
- Remove the chicken from its packaging. Remove giblets from the cavity. Pat the entire surface of the chicken, inside and out, completely dry using paper towels. This step is crucial for crispy skin.
- In a small bowl, mix the baking powder, kosher salt, and black pepper.
- Rub this mixture evenly all over the outside of the chicken skin. Do not rinse.
- Place the lemon halves, garlic head, rosemary, and thyme inside the chicken cavity.
- Tie the legs together with kitchen twine. Tuck the wing tips under the body.
- Place the chicken breast-side up on a wire rack set inside a roasting pan.
- Refrigerate the chicken, uncovered, for at least 4 hours, or preferably overnight. This further dries the skin.
- About 1 hour before roasting, take the chicken out of the refrigerator to allow it to come closer to room temperature.
- Preheat your oven to 425°F (220°C).
- In a small bowl, mix the softened butter and olive oil. Rub this mixture lightly over the chicken skin.
- Place the roasting pan in the preheated oven. Roast at 425°F (220°C) for 15 minutes to start crisping the skin.
- Reduce the oven temperature to 375°F (190°C). Continue roasting for 50 to 70 minutes more, or until a meat thermometer inserted into the thickest part of the thigh (not touching bone) reads 165°F (74°C).
- Remove the chicken from the oven. Tent loosely with foil and let it rest on a cutting board for 15 minutes before carving.
Notes
- Baking powder reacts with the skin proteins to help draw out moisture and create a crispier surface.
- Do not skip the overnight drying period in the refrigerator for the best skin texture.
- If the skin browns too quickly before the internal temperature is reached, loosely tent the breast area with foil.
- Use a meat thermometer to confirm doneness; visual checks are not reliable.
Nutrition
- Serving Size: 1/4 chicken
- Calories: 450
- Sugar: 0
- Sodium: 550
- Fat: 28
- Saturated Fat: 10
- Unsaturated Fat: 18
- Trans Fat: 0
- Carbohydrates: 0
- Fiber: 0
- Protein: 45
- Cholesterol: 150