

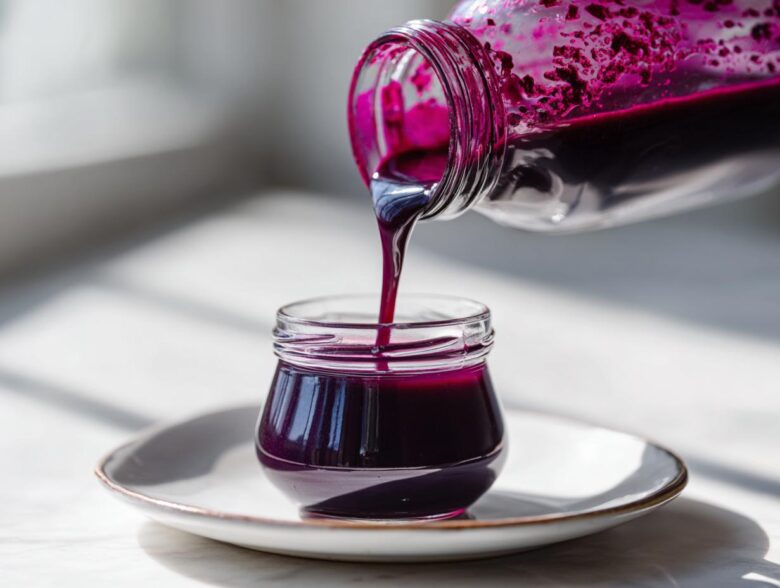
Oh, you know those store-bought syrups? They’re fine, I guess, if you like that super-even, slightly fake sweetness that just sits on top of your stack of pancakes. Me? I need real fruit flavor dripping down the sides!
That’s why I’m so excited to share what I call my absolute best Homemade Blueberry Syrup recipe. Trust me, this is the easiest way to make a thick, rich topping from scratch, and it will change your weekend brunch game forever. I actually perfected the measurements when my sister visited last month; she insisted I bring a jar of it to her next potluck because the flavor was just incredible.
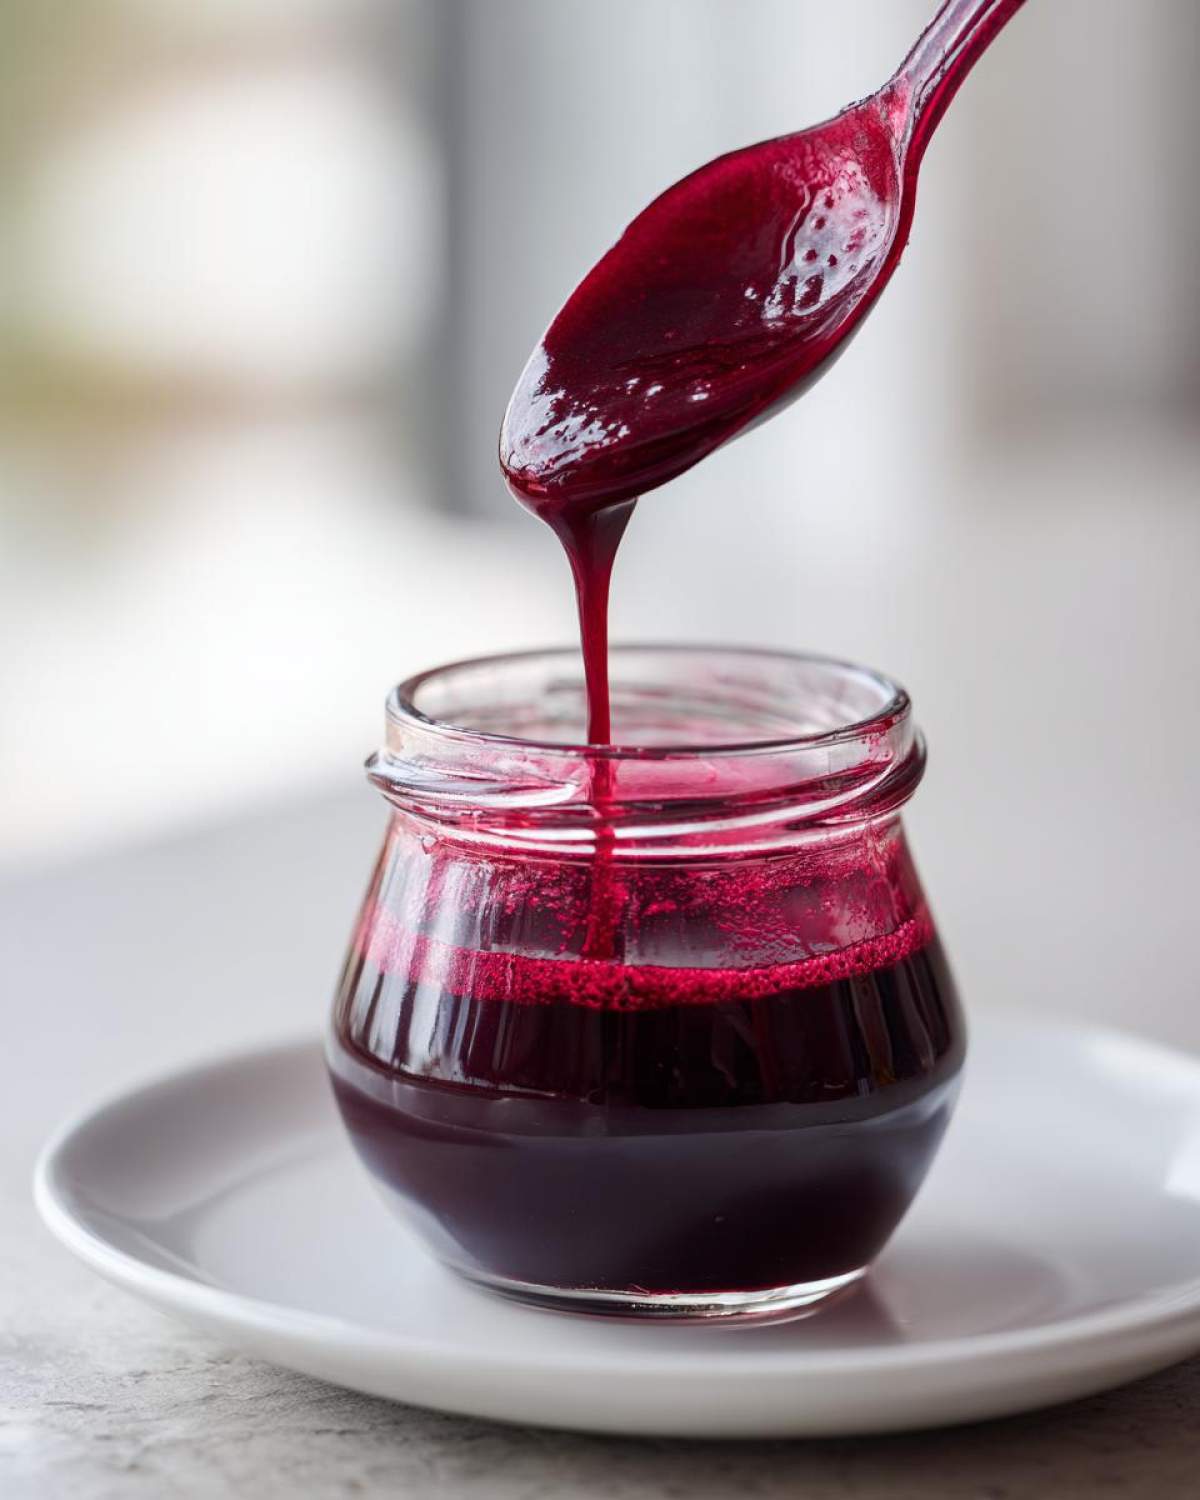
It cooks up in minutes, handles both fresh and frozen berries beautifully, and gives you that gorgeous, tart-sweet balance that only real fruit can provide. You can find some of my other favorite breakfast recipes over in my breakfast category if you need more ideas!
Why This Homemade Blueberry Syrup Recipe Works Best
Honestly, what’s not to love? I’ve tried dozens of fruit syrup recipes, and this blueberry one always wins. It tastes unbelievably bright and fresh compared to anything I’ve ever bought in a store. You get total control over the sweetness, which is huge for me!
Here’s why I swear by this easy blueberry syrup recipe:
- It works flawlessly with both fresh berries picked this morning or those bags of frozen ones hiding in the back of the freezer. No prep fuss!
- Zero strange gums or thickeners—just pure fruit, sugar, and water breaking down naturally into magic.
- The lemon juice brightens up the deep berry flavor so it doesn’t taste heavy or flat.
Quick Prep and Cook Times for Homemade Blueberry Syrup
This is where this recipe really shines for busy mornings. You’re looking at about five minutes of actual work before it even hits the heat. Then, it just needs 15 to 20 minutes of gentle simmering. That means you can start your Homemade Blueberry Syrup while the coffee is brewing and be ready to pour by the time the bacon is done! It’s ridiculously fast for such incredible flavor.
Gathering Ingredients for Homemade Blueberry Syrup
Okay, let’s talk about what you need. This is where you prove that making real, amazing Homemade Blueberry Syrup doesn’t require a trip to some specialty store. I keep these four simple items in my pantry all the time just in case the craving hits!
You only need four things, and you probably have them right now. Seriously, look! Both fresh blueberries (if you picked them last weekend!) or frozen ones are totally fine; frozen ones are actually amazing because they are already slightly broken down when you start. Don’t worry about pectin or weird stabilizers—we don’t need any of that.
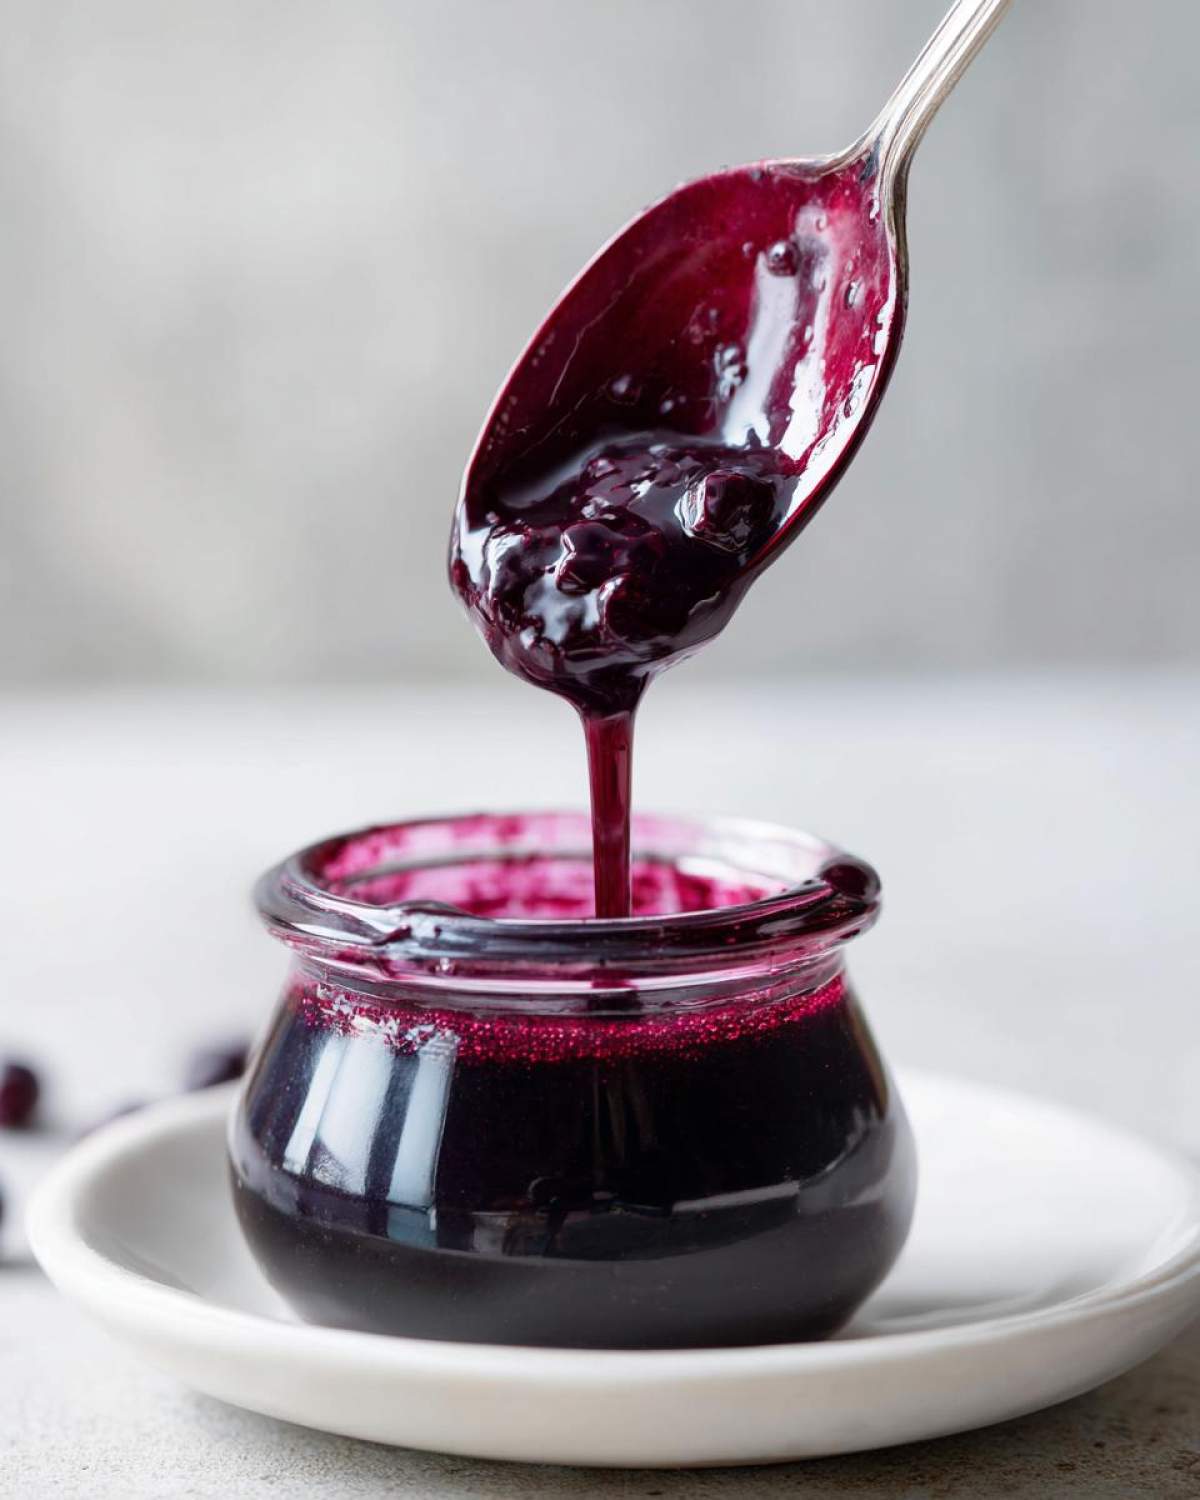
Here is the basic list for about a cup and a half of wonderful syrup:
- 2 cups blueberries (fresh or frozen—I can’t stress this enough!)
- 1 cup granulated sugar
- 1 cup water
- 1 tablespoon lemon juice
Ingredient Notes and Substitutions for Simple Fruit Syrup Guide
The lemon juice is critical, not just for taste, though it does add a lovely pop against the sweet berries. Mainly, it helps keep the color bright and acts as a natural preservative so your syrup stays fresh longer in the fridge. If you are trying to cut sugar or use honey or maple syrup instead, you’ll change the final consistency quite a bit, maybe needing more cooking time. For the best results mimicking commercial syrup texture, stick to the sugar here, but for more tips on adjusting sweeteners in general, check out my simple fruit syrup guide.
Step-by-Step: How to Make Blueberry Syrup From Scratch
This is the magic part! Learning how to make blueberry syrup from scratch is so satisfying, and honestly, it’s less work than making toast sometimes. You toss everything into a medium pot—the berries, sugar, and water. Don’t stir it a million times yet; just get it going over medium-high heat until you see it start to bubble nicely and the sugar melts away completely. That’s your cue!
Now we turn it down. Reduce that heat to medium-low, and this is where patience pays off. Let your beautiful mixture simmer for a good 15 to 20 minutes. You’ll see the liquid reduce slightly, and the berries will just burst open and collapse into themselves. That slow reduction concentrates all that gorgeous flavor into your perfect Homemade Blueberry Syrup. If you need a totally smooth pour, I have a hint for you coming up next, but just keep stirring occasionally so nothing sticks to the bottom, much like when I make my easy applesauce.
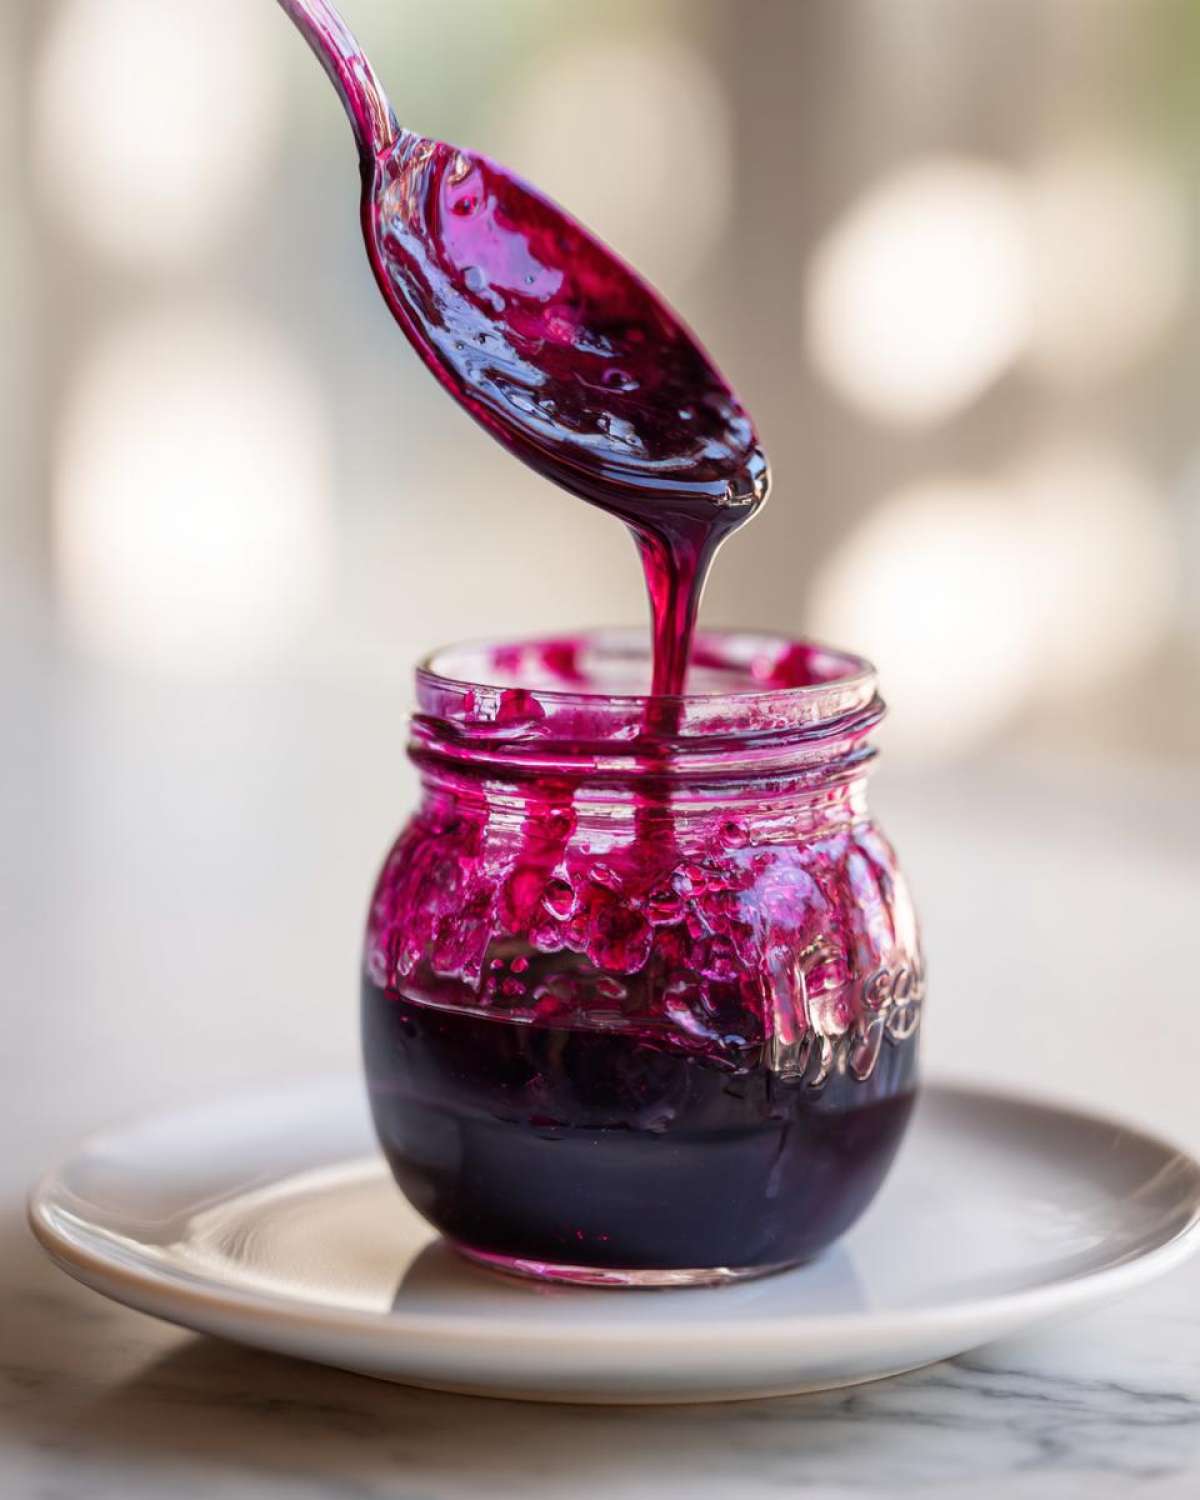
Achieving Perfect Consistency: Straining Your Homemade Blueberry Syrup
Here you have a crucial decision to make! Do you want that restaurant-style, smooth, glossy syrup, or do you love those little bursts of flavor when you bite into a whole berry?
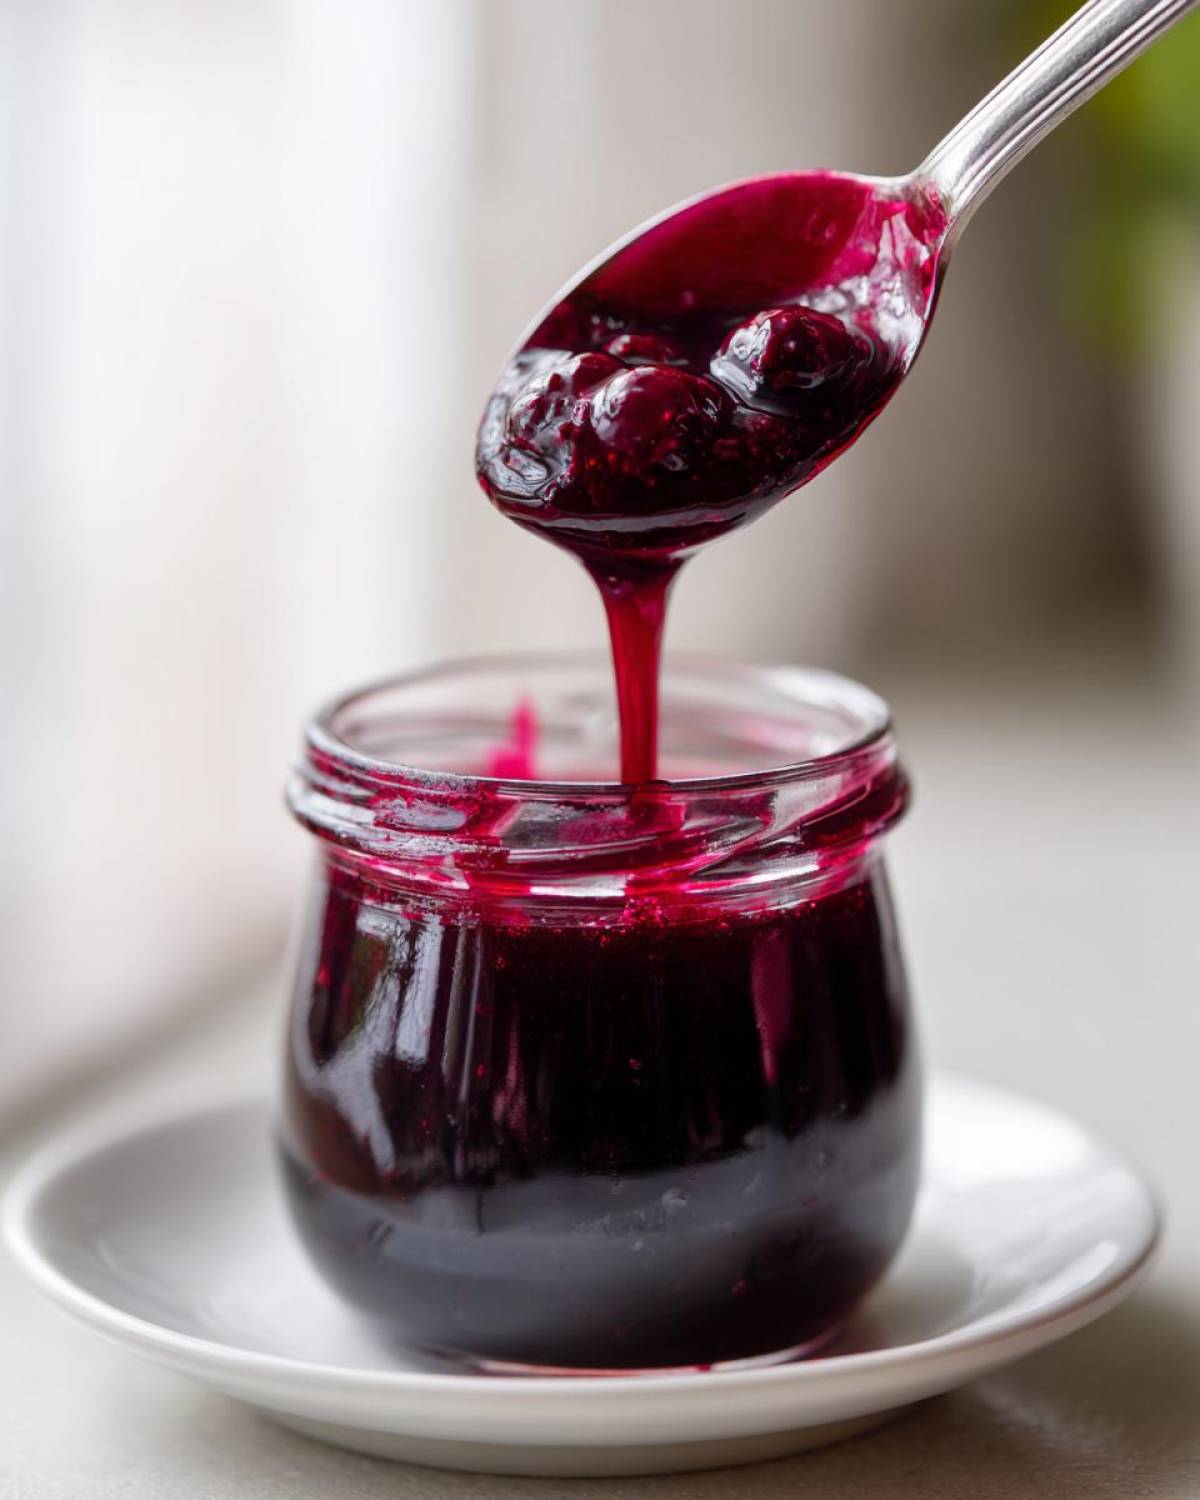
If you want it smooth—and I often do for drizzle art on waffles—you’ll use a fine-mesh sieve set over a bowl. Press every last drop out of those cooked-down berries with the back of a spoon, discarding the skins and solids. If you want it chunky, just skip straining! If you worry about it being too thin and want to learn how to thicken homemade syrup naturally, remember that 10 more minutes of simmering usually does the trick before you add the final touch of lemon juice.
Tips for Success When Making Homemade Blueberry Syrup
Look, this Homemade Blueberry Syrup is super straightforward, but I have two little secrets up my sleeve that make it go from ‘good’ to ‘you need to bottle this immediately’ territory. This is professional stuff, by the way—the kinds of tricks I learned the hard way!
If, after simmering for 20 minutes, you feel like you need it thicker than honey but not quite gluey, we can fix that fast. Take one tiny teaspoon of cornstarch and mix it with one tablespoon of cold water in a separate little mug—that’s called a slurry, fancy, right? Whisk that white liquid into your simmering blueberry mixture. Keep stirring, and in about a minute, you’ll see it grab onto itself and thicken up perfectly.
Also, always remember that lemon juice goes in *after* you pull it off the heat. It keeps the color vibrant! If you’re making a big batch for entertaining, you can look at tips for other flavor enhancers like blending it with things like garlic butter (just kidding, stick to fruit flavors for this!), or check out some of my other flavor-boosting guides like my easy garlic butter recipe for savory ideas, but the blueberry sings best on its own!
Storage and Shelf Life for Your Homemade Blueberry Syrup
Okay, you made it! Now you have this incredibly vibrant, fresh Homemade Blueberry Syrup, and you want it to last, right? Simple rule: let it cool down completely on the counter first. Don’t cram hot liquid into a sealed jar or the steam will mess with the seal and texture.
Once it’s totally cool, pour it into a clean, tight-sealing jar. Keep it in the fridge, and it should stay wonderfully fresh for about two weeks. Because we didn’t overload it with industrial stabilizers, it tastes best when you use it up within that time frame!
Can I Can This Homemade Blueberry Syrup?
That’s a great question, especially if you make a giant batch! For this specific four-ingredient formula, refrigeration is the safest and easiest bet. If you are determined to keep this on the shelf for months, you absolutely need to follow proper water bath canning procedures, which involve sterilizing the jars and processing them long enough to kill off bacteria.
Since this isn’t formulated specifically for long-term shelf stability like jams, I always tell folks that if you want true canning safety, you should refer to USDA guidelines on safe home canning. Otherwise, just make a jar every week or so, and keep enjoying that fresh, refrigerated syrup!
Creative Blueberry Syrup Uses Beyond Pancakes
So many people think syrup is just for the breakfast stack, but that’s like owning a beautiful new sports car and only driving it to the mailbox! This Homemade Blueberry Syrup is incredibly versatile, thanks to that perfect balance of tartness and sweetness. It’s not just a pancake topping anymore, folks; it’s a secret weapon for summer desserts and fun drinks.
You have to try it drizzled over vanilla ice cream—it melts just enough to make a gorgeous pool of purple goodness. It’s also fantastic swirled into plain Greek yogurt; that little bit of extra sugar cuts the yogurt tang perfectly. If you’re looking for fun ways to use toppings in savory dishes, I have some great ideas in my deviled eggs post, but for this syrup, stick to the sweet routes!
If you’re hosting brunch, don’t forget to use this in cocktails! It is one of my favorite blueberry syrup uses. Just a splash in some sparkling water with a squeeze of lime makes a lovely homemade soda. It really proves that a simple fruit topping can elevate almost anything.
Frequently Asked Questions About Homemade Blueberry Syrup
I get asked so many questions about this syrup, and honestly, that’s a sign it’s a winner! People always want to know how to fine-tune it to their exact tastes. Here are the things I hear most often from folks trying to master their own batch of pancake syrup from scratch.
Can I use frozen blueberries instead of fresh ones?
Yes, absolutely! I already mentioned this, but it bears repeating because it’s such a time-saver. Frozen berries work just as well as the fresh ones for making syrup. They break down faster while simmering, which is actually a bonus. You don’t need to thaw them first, just toss them straight from the freezer into the pot with the sugar and water. Easy peasy!
How can I adjust the sweetness if I don’t like it very sweet?
That’s the beauty of making it yourself! If you prefer a tarter flavor and aren’t using this as a straight sugar replacement, you can easily cut the sugar down to 3/4 cup instead of a full cup. Just keep in mind that sugar is important for that classic syrup texture. If you lower it significantly, you might need that cornstarch trick I mentioned earlier to get that rich, thick consistency that makes the best blueberry topping for pancakes.
My syrup isn’t sticking to my waffles; how do I make it thicker?
Don’t panic if it seems a little thin right off the stove. Remember, syrup thickens significantly as it cools inside the jar—that’s half the battle won! If it’s still too runny once it’s reached room temperature, use the cornstarch slurry trick (one teaspoon cornstarch mixed with one tablespoon of cold water). Stir that carefully into the simmering syrup until it just coats the back of a spoon. For more baking inspiration, take a peek at my blueberry muffin recipe!
Estimated Nutrition for Homemade Blueberry Syrup
I always get asked about the nutritional side of things, and while this is a breakfast treat, it’s good to know what we’re working with! I used the measurements from the recipe—remember, this is based on a 1/4 cup serving size, which honestly is plenty because our Homemade Blueberry Syrup is so powerfully flavored.
Here are the rough estimates:
- Calories: 190
- Sugar: 45g (Yep, that’s where the magic happens!)
- Carbohydrates: 49g
- Protein/Fat: Essentially zero
Now, a quick word of advice—these numbers are just guiding lights. Since we talked about how you can adjust the sugar or use different berries, your final tally might change slightly. For full transparency on how I calculate nutrition across my kitchen, please read my official disclaimer page. But trust me, the flavor improvement makes these stats worth it!
Share Your Homemade Blueberry Syrup Creations
That’s it! You’ve got the recipe, and now you have a jar of the most brilliant, flavorful Homemade Blueberry Syrup sitting on your counter. I really, really want to hear what you think!
Did you strain it smooth or keep it chunky? How did you use it first—on waffles, yogurt, or maybe mixed into a fun weekend cocktail? Please leave a star rating below and tell me all about it in the comments! If you took a gorgeous photo of your brunch spread, feel free to send it over via my contact page—I always love seeing your kitchen successes!
PrintHomemade Blueberry Syrup
Make a simple, flavorful blueberry syrup from scratch using fresh or frozen berries. This recipe yields a thick topping perfect for pancakes and waffles.
- Prep Time: 5 min
- Cook Time: 20 min
- Total Time: 25 min
- Yield: About 1.5 cups
- Category: Condiment
- Method: Stovetop
- Cuisine: American
- Diet: Vegetarian
Ingredients
- 2 cups fresh or frozen blueberries
- 1 cup granulated sugar
- 1 cup water
- 1 tablespoon lemon juice
Instructions
- Combine blueberries, sugar, and water in a medium saucepan.
- Bring the mixture to a boil over medium-high heat, stirring until the sugar dissolves.
- Reduce the heat to medium-low and let it simmer for 15 to 20 minutes, stirring occasionally. The berries will break down, and the liquid will reduce slightly.
- Remove the saucepan from the heat. Stir in the lemon juice.
- For a smooth syrup, press the mixture through a fine-mesh sieve, discarding the solids. For a thicker syrup with fruit pieces, skip the straining step.
- Pour the finished syrup into a clean, airtight jar. Allow it to cool completely before sealing.
Notes
- To thicken the syrup further, mix 1 teaspoon of cornstarch with 1 tablespoon of cold water to create a slurry. Stir the slurry into the simmering syrup and cook for 1 minute until thickened.
- Store the cooled syrup in the refrigerator for up to 2 weeks.
- This syrup works well over yogurt, ice cream, or mixed into sparkling water for a homemade soda.
Nutrition
- Serving Size: 1/4 cup
- Calories: 190
- Sugar: 45g
- Sodium: 1mg
- Fat: 0g
- Saturated Fat: 0g
- Unsaturated Fat: 0g
- Trans Fat: 0g
- Carbohydrates: 49g
- Fiber: 1g
- Protein: 0g
- Cholesterol: 0mg