

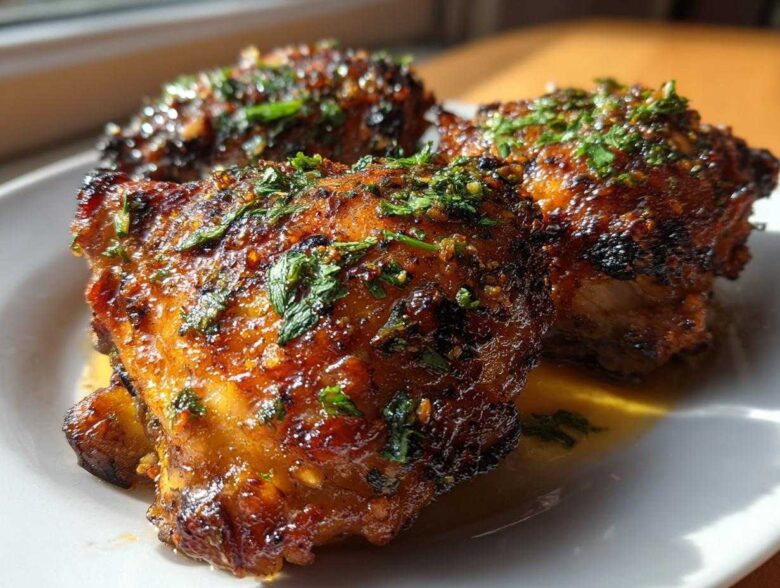
Listen, if you’re still eating flabby, sad-looking chicken skin, we need to talk immediately. It’s a culinary tragedy! Dark meat—bone-in, skin-on thighs, specifically—is the workhorse of weeknight cooking, but getting that skin to actually shatter when you cut into it? That takes real commitment. I spent years swearing at spatters and soggy bottoms trying to nail this, and I’m thrilled to tell you, I finally cracked the code.
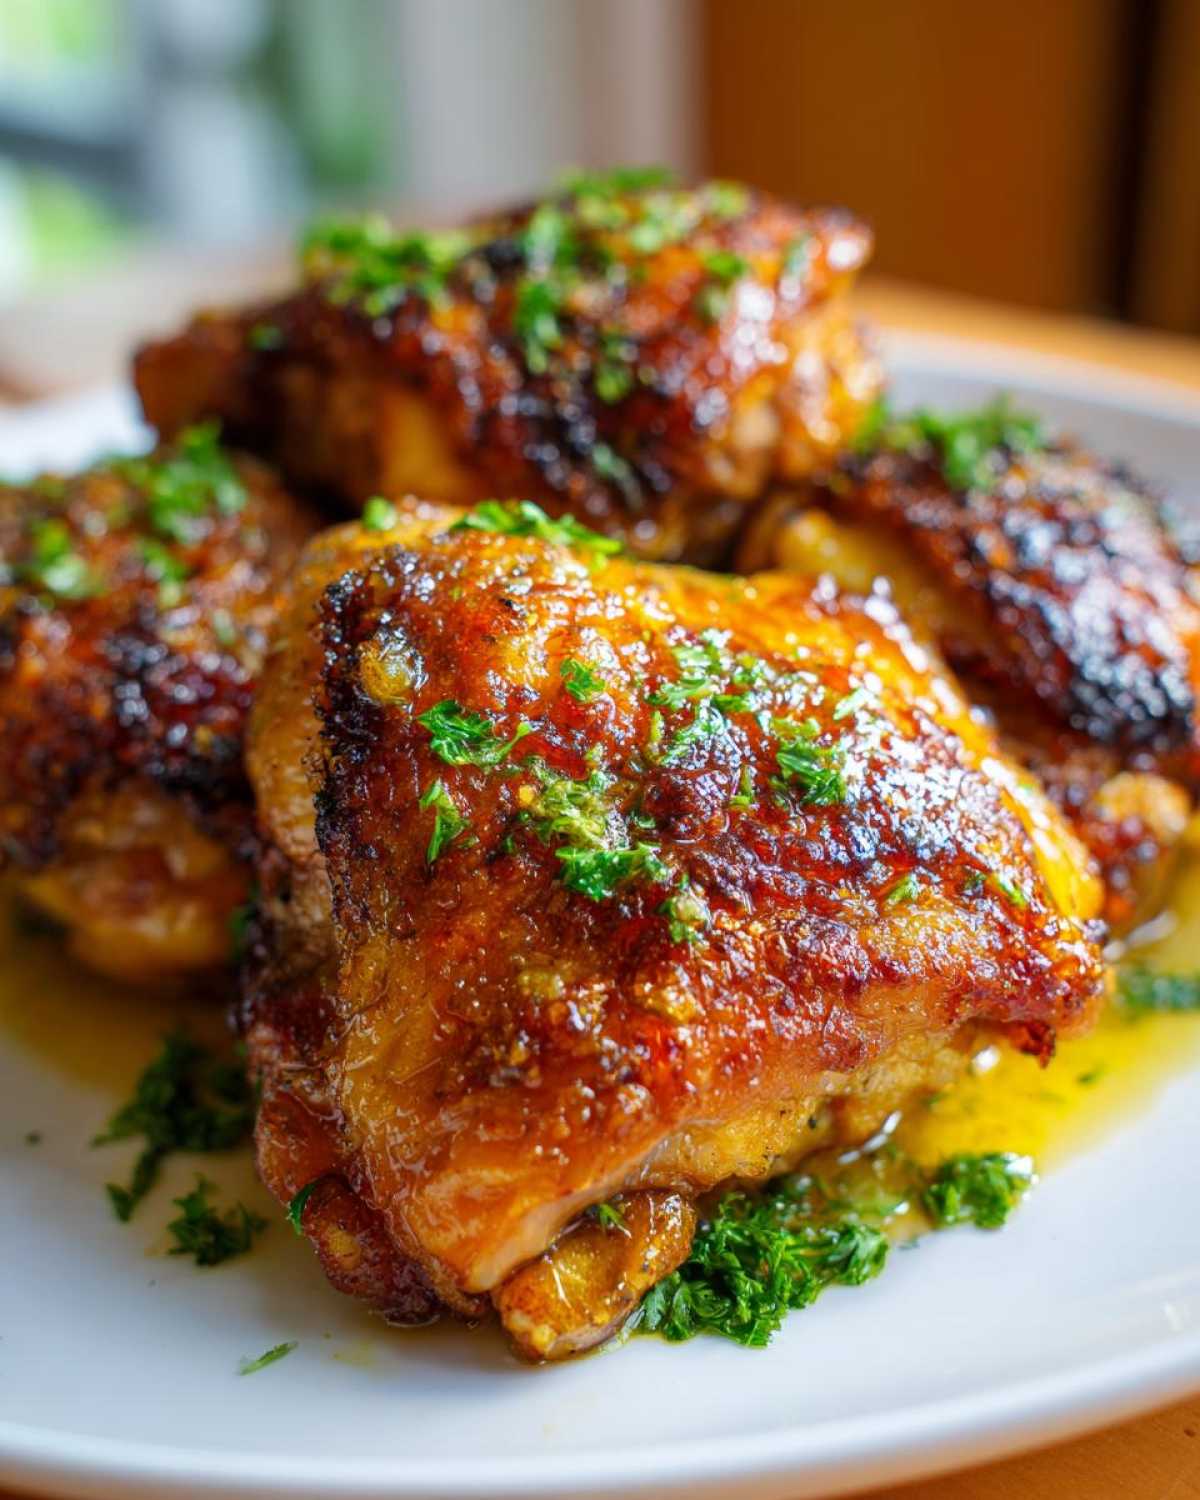
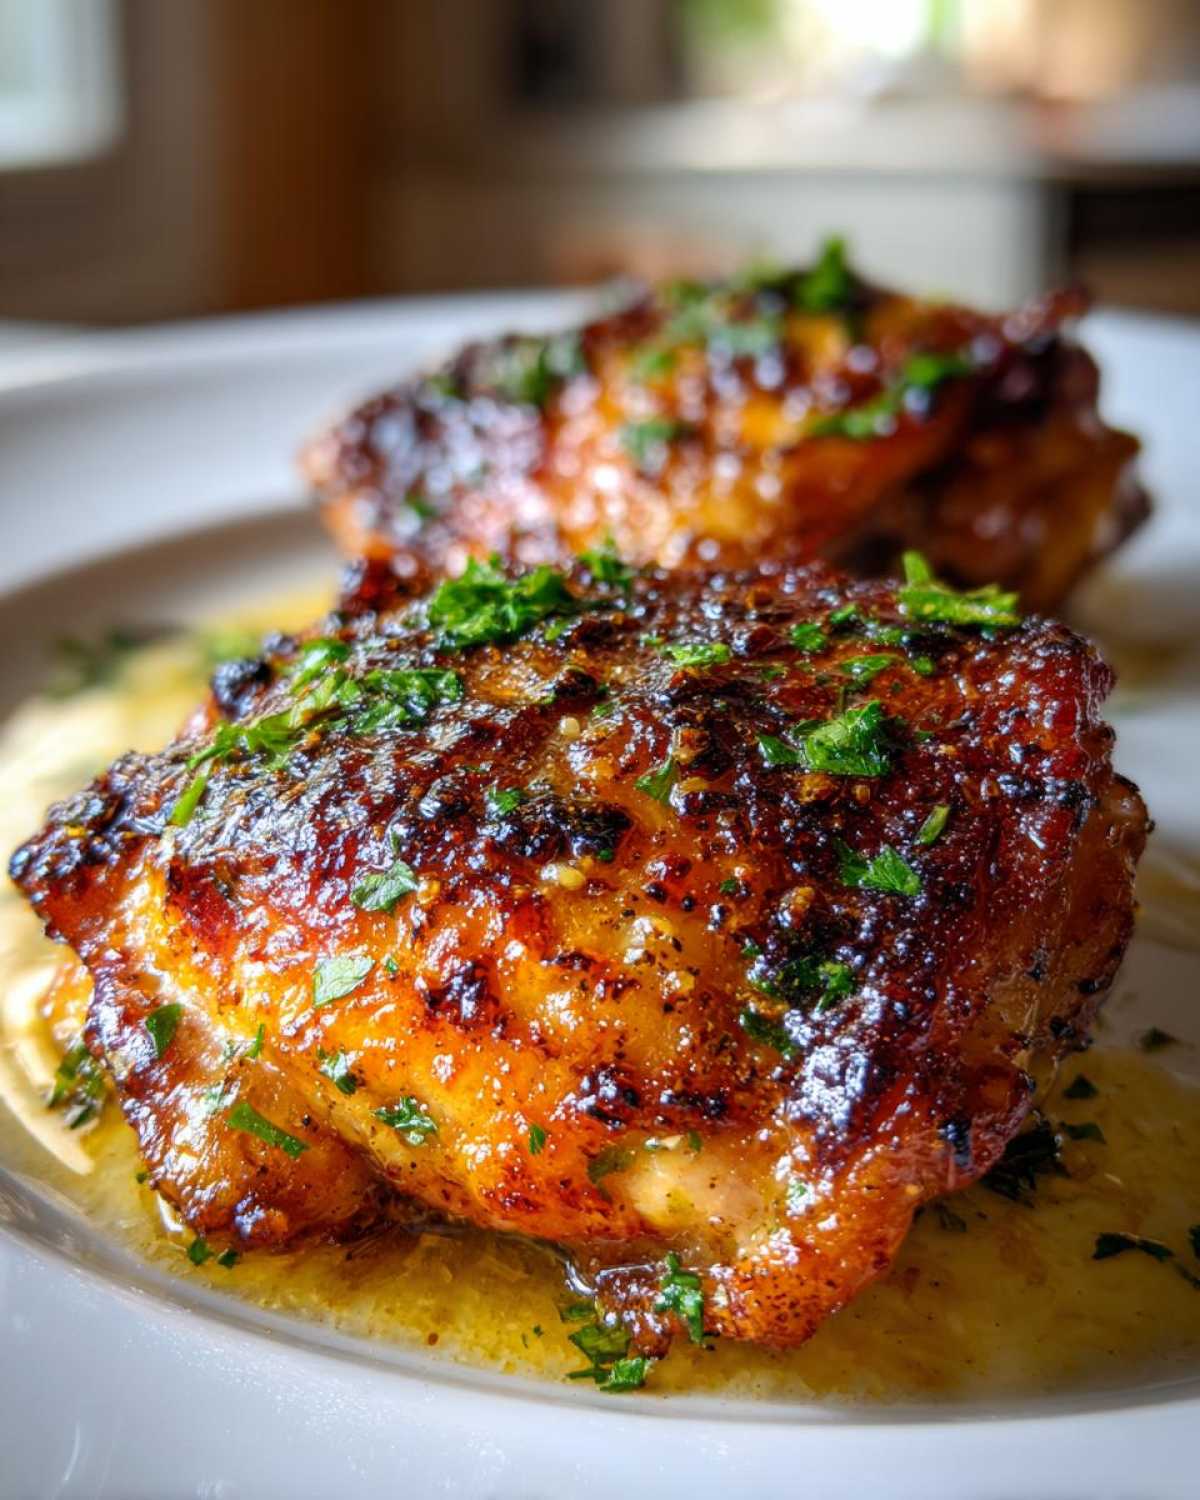
This recipe for Garlic Butter Chicken Thighs with Crispy Skin is my absolute favorite way to treat these humble cuts. You get impossibly juicy meat infused with tons of flavor, but the star is that golden, crackly skin. We’re using simple ingredients to build incredible flavor, but the success always comes down to the technique. I promise, after mastering the low-and-slow sear I developed over countless attempts—which is much faster than my old braised chicken thighs method, by the way—you’ll never look at a store-bought roast chicken the same way again. It’s truly restaurant-style chicken right on your stovetop!
Why You’ll Love This Garlic Butter Chicken Thighs with Crispy Skin Recipe
Seriously, this recipe is a weeknight dinner hero. You get exactly what everyone wants from dark meat without all the fuss. It’s the perfect balance, and here’s why I think you’ll be making it constantly:
- You finally conquer crispy skin! It actually shatters, I promise.
- Incredibly juicy meat underneath, thanks to the bone-in cut and perfect resting time.
- The seasoning is simple but the garlic butter finish makes it taste like you cooked all afternoon.
- It comes together fast enough for a busy Tuesday night but looks amazing enough for guests.
Essential Ingredients for Flavorful Chicken Thighs with Crispy Skin
You don’t need a massive grocery list for this incredible flavor burst. The magic here is quality over quantity, especially when it comes to the supporting cast for our chicken. Everything below is what you need for four satisfying servings.
- 4 bone-in, skin-on chicken thighs (Don’t even think about boneless here; we need the skin!)
- 1 teaspoon salt
- 1/2 teaspoon black pepper
- 1/2 teaspoon paprika (I use sweet paprika for color, but smoked paprika is fun too!)
- 2 tablespoons olive oil
- 4 tablespoons unsalted butter (Listen, this is where you splurge a tiny bit. Use the good stuff here. High-quality butter melts beautifully and tastes a million times better in the final pan sauce.)
- 4 cloves garlic, minced (Four cloves is the minimum, honestly! Don’t be shy.)
- 2 sprigs fresh thyme
- 1 tablespoon fresh parsley, chopped (This is just for a little fresh pop at the very end.)
If you want to explore other uses for that glorious melted butter base, check out my easy garlic butter recipe, which uses this same flavor principle!
The Secret Technique: How to Make Chicken Thighs Crispy
I know what you’re thinking—*how to make chicken thighs crispy* without deep frying them? It all happens before they even hit the heat, I swear. The absolute biggest enemy of crispy skin is moisture. If your skin is even a little damp, you end up steaming the fat instead of rendering it out, and that ruins everything. You need surface tension, my friends!
If you can manage it—and this is my biggest authority move—season those thighs, then let them chill uncovered in the fridge for at least an hour, or even overnight. The cold air acts like a dehumidifier. When you pull them out, they’ll look pale and slightly dry, but trust me, that’s perfection. This drying step is essential for that perfect golden crust we’re aiming for, much like how I prep things when trying to get the perfect finish on my air fryer whole chicken.
Preparation Steps for Perfect Crispy Skin Chicken Thighs
First up, grab a giant wad of paper towels. You need to physically pat every single inch of the skin till it feels dry to the touch. Get aggressive with it! Next, we season. Mix up your salt, pepper, and paprika, then rub that seasoning all over the skin. Don’t be shy with the salt; it helps draw out any remaining surface moisture and seasons the meat properly.
Once they are seasoned beautifully, it’s tempting to toss them straight into the pan, but seriously, give them that hour in the fridge uncovered. This is the non-negotiable step that separates boring chicken from amazing chicken!
Step-by-Step Instructions for Garlic Butter Chicken Thighs with Crispy Skin
Okay, now that our chicken is prepped and ready to go—meaning the skin is bone-dry and seasoned—it’s time for the action phase. This is where we nail that Easy Pan Seared Chicken Thighs technique before we move it into the oven. Get your largest, oven-safe skillet ready; we’re going to utilize both stovetop searing and oven roasting here.
Searing and Flavor Infusion for Garlic Butter Chicken Thighs
Set your skillet over medium-high heat and add the olive oil. When the oil is shimmering slightly—not smoking, just shimmering—gently lay your thighs *skin-side down*. Don’t drop them, lay them! And don’t crowd the pan, or they’ll steam. You have to let them sit undisturbed for a solid 8 to 10 minutes. Seriously, walk away! You’re looking for deep golden brown. Once they release easily from the pan, flip them over.
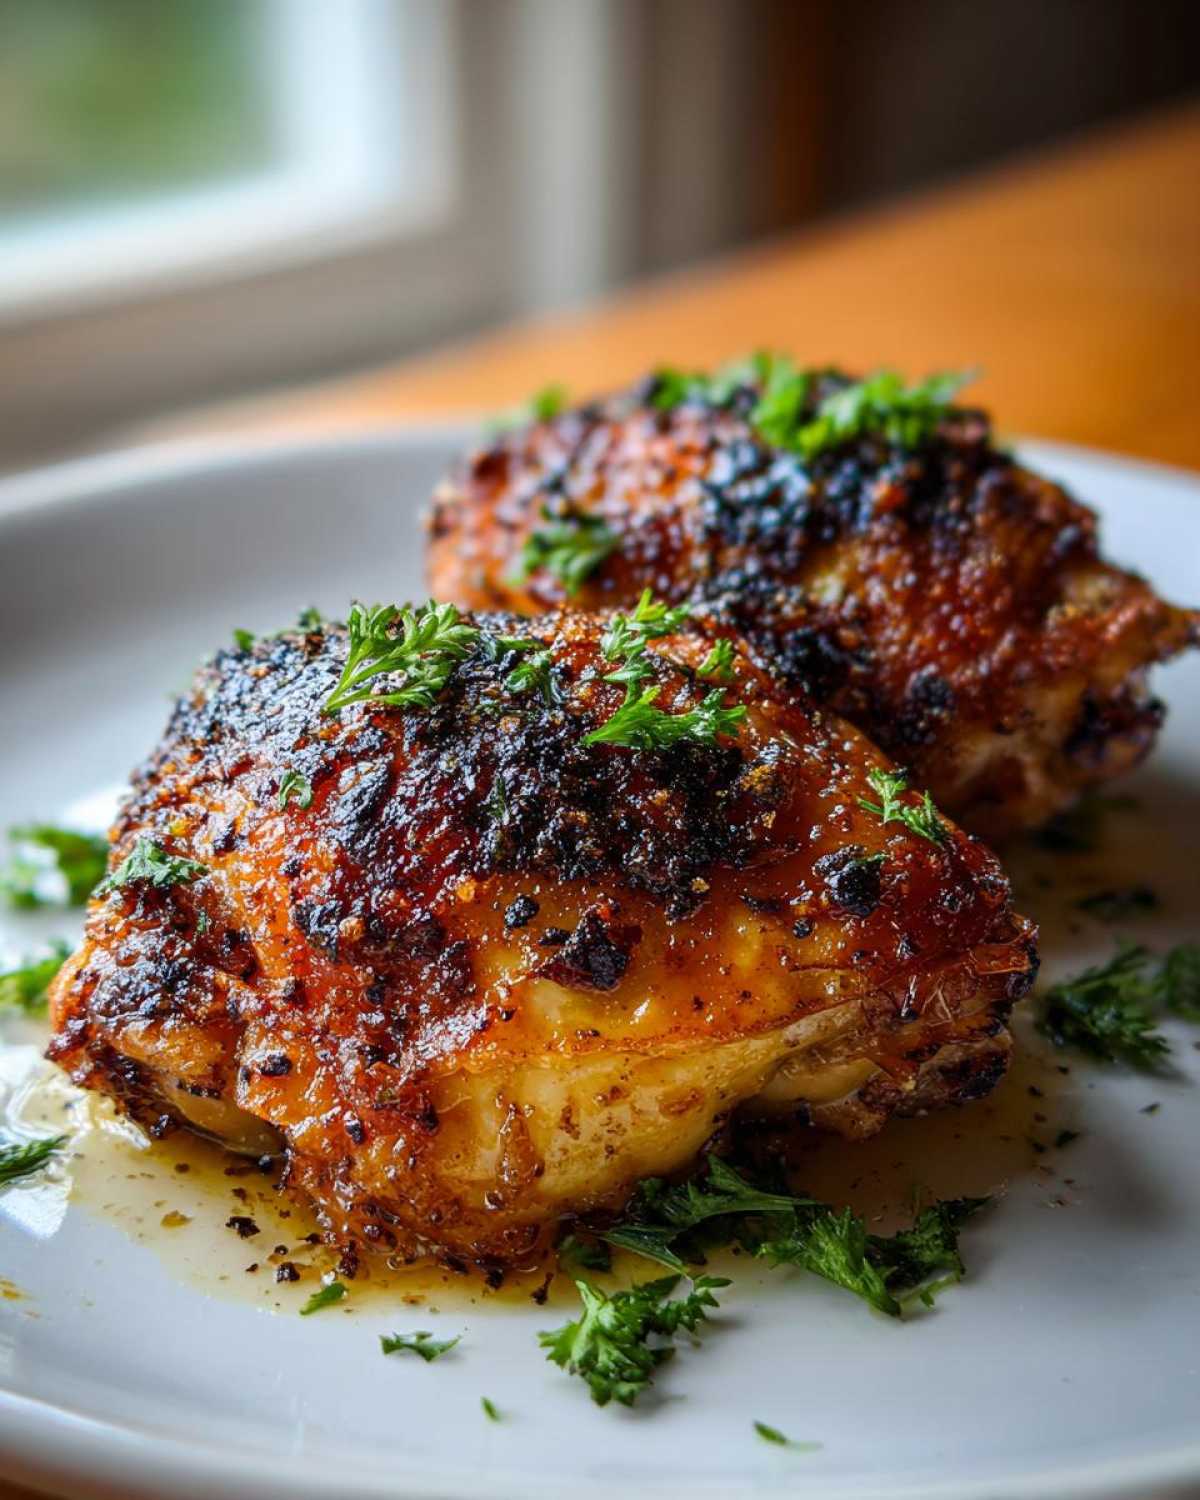
Now, reduce the heat down to medium-low. Toss in your butter, that glorious minced garlic, and the thyme sprigs right in the pan, around the meat. As the butter melts, try to hold a spoon and gently bathe the *meat side* of the chicken with that melted garlic butter. Be careful not to spoon it directly onto the crispy skin you just worked so hard to create, or you’ll undo all your drying efforts!
Finishing the Chicken Thighs in the Oven
Once the meat has had a quick butter bath (about 2 minutes), it’s time for the oven transfer. Pop the whole skillet into your oven, which should already be preheated to 400 degrees Fahrenheit (200 Celsius). We’re roasting these for another 12 to 18 minutes. You have to check that internal temp; don’t just guess! You want 165 degrees Fahrenheit (74 Celsius) right in the thickest part of the thigh to guarantee juicy results.
Once they hit temp, pull them out immediately and transfer the thighs onto a cutting board. Let them rest for a good five minutes. This resting period is crucial for keeping all those juices locked in, ensuring you get a truly Juicy Chicken Thighs Recipe outcome. While they rest, quickly heat the remaining pan juices on the stove, stir in that fresh parsley, and get ready to drizzle!
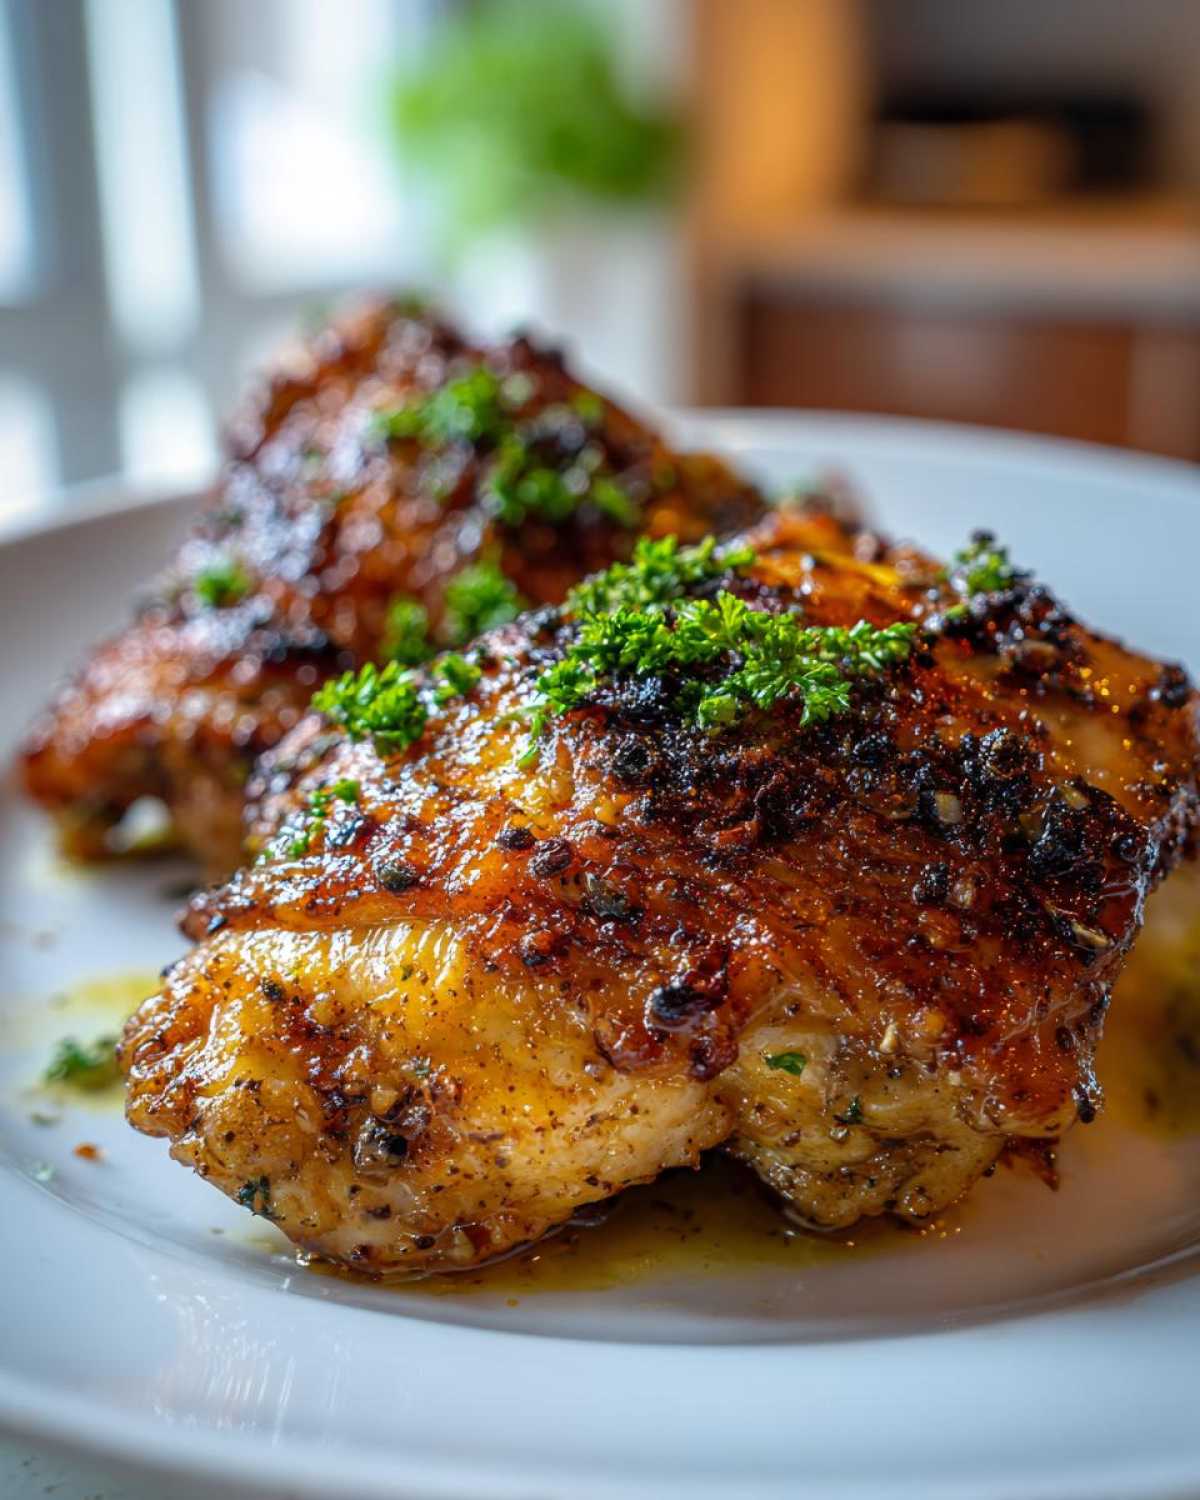
If you want to see another fantastic sauce technique for chicken, check out this guide on marinating chicken for moisture, though honestly, this pan sauce seals the deal better!
Tips for Success with Your Garlic Butter Chicken Thighs Recipe
I want this recipe to work perfectly for you, so let me share a couple of things I learned the hard way. Remember that chilling tip? I have to emphasize it again: letting the seasoned thighs sit uncovered in the fridge is the single best thing you can do for skin crispness. It really helps lock in that texture, which you can read more about in my full guide on the skin-on chicken thigh cooking method.
Another thing! Not everyone has an oven-safe skillet, and that’s totally fine. If your favorite pan doesn’t like the oven, just sear the thighs on the stovetop until the skin is beautiful and crisp, then gently transfer them to a small baking dish before sliding that dish into the warm oven to finish cooking through. It’s just as effective; you just need to be careful when moving them!
Serving Suggestions for Your Crispy Skin Chicken Thighs
So you’ve got these unbelievably flavorful, juicy, and crispy thighs dripping with garlic butter sauce. Now what? You need something to soak up every last bit of that incredible pan sauce. This pairing is what takes it from a simple meal to a full, satisfying plate. These are my top picks for the Best Chicken Thigh Dinner Ideas.
You absolutely cannot go wrong pairing this rich chicken with fluffy starch. My personal favorite has always been a huge mound of creamy mashed potatoes. They are the perfect vehicle for capturing that buttery garlic goodness leftover in the pan. If you want to make mashed potatoes feel a little more special, try my recipe for twice-baked potatoes—they feel fancy but are surprisingly easy!
For something green to cut through all that richness, I always lean toward roasted vegetables. Asparagus roasted at high heat until tender-crisp is perfect, or even just some simple broccoli tossed with a tiny bit of salt and olive oil. The slight char from roasting complements the browned chicken skin so nicely. Keep the sides simple—the chicken is the absolute superstar here, and we don’t want anything competing with that amazing garlic butter!
Storage and Reheating Instructions for Garlic Butter Chicken Thighs
Listen, I really hope you don’t have leftovers because these tend to disappear fast, but life happens! If you do manage to save some of this juicy, flavorful chicken, you need to treat it right so you don’t ruin that hard-earned crispy skin when you reheat it.
The biggest rule? Absolutely, positively, no microwave! Microwaving works great if you want tender fall-off-the-bone meat, but it turns perfectly good skin into a sad, rubbery mess. We worked too hard for that golden crust to let it go down the drain!
Store any leftovers in an airtight container in the fridge. They’ll keep safely for about three to four days. Remember, the sauce will likely solidify a bit—that’s normal because of the butter. It’s just waiting to be melted back down!
When you’re ready for round two, you have two great options that respect the skin. The best way, if you’re only reheating one or two pieces, is definitely the air fryer. Pop them in at about 360 degrees Fahrenheit for just around 5 to 7 minutes. They heat through quickly, and the hot air revives that crispy texture amazingly well. If you don’t have an air fryer, use a conventional oven set to 375 degrees Fahrenheit on a baking sheet for about 10 minutes.
If you’re using the oven, placing them directly on the rack (on top of some foil or a pan to catch drips if you want less cleanup!) helps circulate heat underneath them. Don’t worry about the sauce; just scrape up the remaining garlic butter from the bottom of your storage container and spoon it over the chicken *after* it comes out of the oven. If you want my opinion on an easy side to reheat alongside this, I always love making my air fryer gnocchi right after the chicken comes out!
Frequently Asked Questions about Garlic Butter Chicken Thighs with Crispy Skin
I know you’ve got questions, because when you’re trying to nail that perfect texture on something as delicious as these thighs, you want to make sure you get it right the first time! Here are the biggest things people usually ask me about this Garlic Butter Chicken Thighs Recipe.
Can I use boneless, skinless chicken thighs for this?
Oh, honey, no! I mean, you *can*, but then you aren’t making this recipe anymore, are you? The whole point of achieving incredible crispiness relies on starting with the skin. Boneless, skinless thighs will just turn into pan-fried chicken breast—it gets dry fast and you miss out on that rendered, flavorful fat. Stick to bone-in, skin-on for the absolute best Chicken Thigh Dinner Ideas!
What if I don’t have any fresh thyme?
If you’re completely out of fresh thyme, don’t throw in the towel! I’ve definitely had to substitute in a pinch. You can use about half a teaspoon of dried thyme, but you need to add it with the salt and paprika during the seasoning phase so it can hydrate before cooking. If you just toss dried herbs into the melted butter like we do with the fresh, they tend to burn almost instantly. If you’re looking for another quick flavor fix, check out my quick garlic butter chicken bites which use dried herbs beautifully!
Can I skip the oven part entirely?
You *can* attempt to finish these completely on the stovetop if you’re in a massive hurry, but I highly caution against it. Thighs are thick, and getting the inside fully cooked to 165°F without incinerating your beautiful garlic butter sauce and burning the exterior is incredibly tricky. The oven is your friend; it cooks things evenly and gently once the initial sear is done. For truly Juicy Chicken Thighs Recipe results, use the oven!
How can I make the sauce chunkier/thicker without it burning?
If you want a thicker coating of that garlic butter sauce on the meat (not the skin!), the secret is right in the instructions but easy to miss: adding a splash of chicken broth! Right before you transfer the pan to the oven, add about 1/4 cup of chicken broth to deglaze the bottom bits—that’s where all the flavor is hiding. This liquid won’t make your skin soggy because it goes into the oven, and when you return the pan to the stovetop to baste, that liquid will reduce down a bit, coating the meat beautifully.
Estimated Nutritional Data for Garlic Butter Chicken Thighs
Now, I’m not a nutritionist, heaven forbid! I’m just here whipping up fantastic meals for my family, so please take this information with a giant grain of salt. These numbers are just my best guess based on standard ingredient measurements before we added any extra finishing sauces or dips you might use.
For a standard single serving of this Garlic Butter Chicken Thighs Recipe (which is one thigh), here is what we’re generally looking at:
- Serving Size: 1 thigh
- Calories: 380
- Fat: 28g (Remember, that’s why the skin is so crisp and delicious!)
- Protein: 30g
- Carbohydrates: 1g
- Sugar: 0.5g
- Sodium: 450mg
This is definitely a satisfying, high-protein meal, which is why I usually pair it with those lighter vegetable sides we talked about. Like I always say around here, this is just an estimate for one serving of the main dish. For the full, official breakdown on how we approach nutritional information on the site, you can check out the full site disclaimer here. Happy cooking!
PrintGarlic Butter Chicken Thighs with Crispy Skin

This recipe provides steps to cook bone-in, skin-on chicken thighs until the skin is very crisp and the meat is juicy, finished with a simple garlic butter sauce.
- Prep Time: 10 min
- Cook Time: 30 min
- Total Time: 40 min
- Yield: 4 servings
- Category: Dinner
- Method: Pan Searing and Baking
- Cuisine: American
- Diet: Low Fat
Ingredients
- 4 bone-in, skin-on chicken thighs
- 1 teaspoon salt
- 1/2 teaspoon black pepper
- 1/2 teaspoon paprika
- 2 tablespoons olive oil
- 4 tablespoons unsalted butter
- 4 cloves garlic, minced
- 2 sprigs fresh thyme
- 1 tablespoon fresh parsley, chopped
Instructions
- Pat the chicken thighs very dry using paper towels. This step is key for crispy skin.
- Mix salt, pepper, and paprika. Rub this mixture evenly over the entire surface of the chicken thighs, focusing on seasoning the skin.
- Place a large, oven-safe skillet over medium-high heat. Add the olive oil.
- Place the chicken thighs skin-side down in the hot skillet. Do not overcrowd the pan. Sear for 8 to 10 minutes without moving them until the skin is deep golden brown and crisp.
- Flip the chicken thighs. Reduce the heat to medium-low. Add the butter, minced garlic, and thyme sprigs to the pan around the chicken.
- As the butter melts, tilt the pan and use a spoon to baste the melted garlic butter over the chicken meat (avoid pouring directly onto the skin). Cook for 2 minutes.
- Transfer the skillet to a preheated oven at 400 degrees Fahrenheit (200 degrees Celsius).
- Roast for 12 to 18 minutes, or until an internal temperature of 165 degrees Fahrenheit (74 degrees Celsius) is reached in the thickest part of the thigh.
- Remove the skillet from the oven. Transfer the chicken to a cutting board and let it rest for 5 minutes.
- Return the skillet to the stovetop over low heat if there is excess liquid. Stir in the chopped parsley. Spoon the remaining garlic butter sauce over the rested chicken thighs before serving.
Notes
- For the crispiest skin, let the seasoned chicken sit uncovered in the refrigerator for at least 1 hour before cooking.
- If your skillet is not oven-safe, transfer the seared chicken to a baking dish before placing it in the oven.
- If you prefer a richer sauce, add 1/4 cup of chicken broth to the pan drippings before basting.
Nutrition
- Serving Size: 1 thigh
- Calories: 380
- Sugar: 0.5
- Sodium: 450
- Fat: 28
- Saturated Fat: 11
- Unsaturated Fat: 17
- Trans Fat: 0.5
- Carbohydrates: 1
- Fiber: 0.2
- Protein: 30
- Cholesterol: 110