

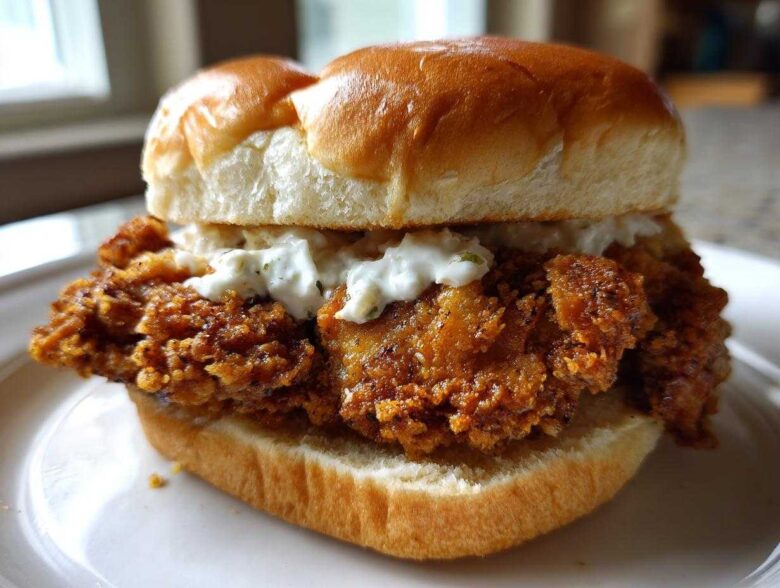
You know that moment when you bite into a chicken burger and the crunch is so loud it practically interrupts the conversation? That’s what we’re hunting for today! Forget soggy coatings or flavorless fillets. I’m handing over the secrets to achieve that unbelievable, restaurant-quality crispiness right in your own kitchen. Seriously, after years of trial and error—and yes, a few sad, limp chicken disasters—I finally nailed the ultimate technique. It all comes down to a super reliable double-dredging method that locks in the burger’s intense flavor while giving you the **Crispy Chicken Burger with Garlic Mayo** you dream about. Get ready to hear the crunch!
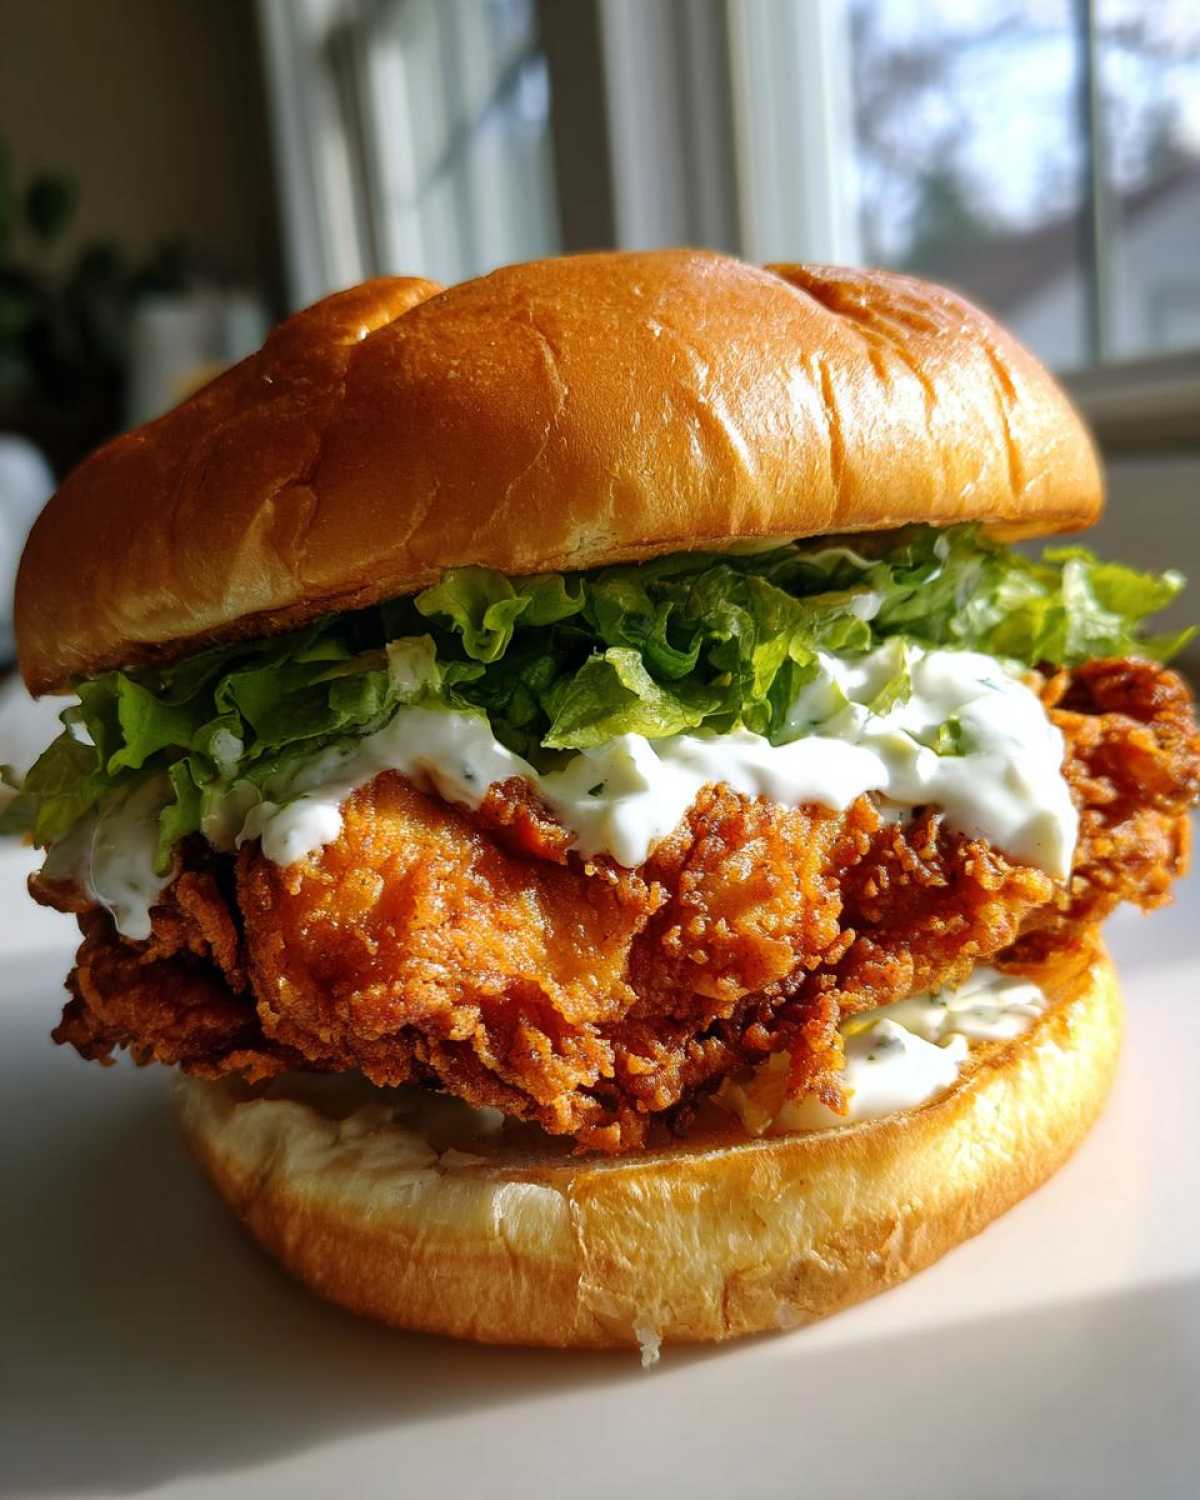
If you want to make sure that chicken stays perfectly juicy inside, make sure you check out my guide on how to create the ultimate brine before you even start this process: the secret to juicy chicken is in the 10-minute marinade. It makes a huge difference!
Why You Will Make This Crispy Chicken Burger with Garlic Mayo Repeatedly
There’s simply no going back once you try this sandwich. It’s engineered for success, and that’s why it’s going straight into your weekly rotation. Trust me on this one!
- The crunch rivals any fast-food chain—it’s ridiculously satisfying.
- The chicken stays unbelievably juicy thanks to the buttermilk bath.
- You get the absolute best **Crispy Chicken Burger with Garlic Mayo** combination, hands down.
Achieving Incredible Crunch Chicken Sandwich Texture
It all comes down to that double-dredge! You dip it, coat it, dip it *again*, and coat it again! That second layer of flour mixed with the cornstarch creates these little craggy spikes all over the fillet. Those are what crisp up in the oil, creating that fortress of crunch around the tender meat inside. It’s not just flour; it’s a technique!
The Secret to a Thick Garlic Mayonnaise Recipe
We aren’t messing around with watery, thin sauces here. My homemade garlic mayo is thick, punchy, and uses fresh garlic to really wake everything up. When you make it yourself, you control the intensity. Store-bought dressings just can’t compete with the fresh brightness of this garlic and lemon balance.
Ingredients for the Ultimate Crispy Chicken Burger with Garlic Mayo
Alright, gathering your ingredients is almost as fun as eating the burger, almost! Getting the right things here is key to that amazing texture. We need crispiness outside, juiciness inside, and flavor everywhere. And hey, since we’re already cooking tonight, you might want to check out my easy garlic butter—it’s fantastic on the toasted buns later: Easy Garlic Butter Recipe.
Remember, we are using boneless, skinless chicken breasts, and you need to slice them horizontally to make thinner cutlets. This helps them cook evenly and quickly, so you don’t end up with dry edges!
For the Buttermilk Marinade and Chicken Preparation
This soak is non-negotiable; it’s what keeps the chicken tender! You need:
- 2 boneless, skinless chicken breasts, halved horizontally (so you get four thin cutlets)
- 1 cup buttermilk
- 1 teaspoon salt
- 1 teaspoon black pepper
- 1 teaspoon paprika
- 1/2 teaspoon cayenne pepper
Get that chicken soaking for at least an hour. I promise, the flavor difference is worth the wait!
The Double Dipped Crispy Chicken Breading Mixture
This mixture is where the magic crunch of your **Crispy Chicken Burger with Garlic Mayo** comes from. We actually need two bowls of flour for the technique:
- 1 cup all-purpose flour (for dredging, first bowl)
- 1 cup all-purpose flour (for dredging, second bowl)
- 1/2 cup cornstarch (mixed into the first flour bowl)
That cornstarch mixed with the second dry coating creates those tiny, sharp edges that shatter when you bite them.
For the Homemade Garlic Mayo Sauce
Forget the jarred stuff for this sandwich! For your **Thick Garlic Mayonnaise Recipe**, keep it simple but punchy:
- 1/2 cup good quality mayonnaise
- 2 cloves garlic, minced very finely (make sure it’s super fine so you don’t get huge chunks!)
- 1 teaspoon lemon juice
- 1/4 teaspoon salt
How to Make Crispy Fried Chicken Fillet for Your Burger
Okay, now we get into the action—the actual preparation that locks in the juiciness and builds that famous crunch. This process isn’t really difficult, but you have to commit to the steps, especially the double-dredge. If you want a truly incredible crunch, you need to follow this guide exactly. For an extra deep dive into perfect frying technique, check out my full guide over here: How to Make Crispy Fried Chicken Fillet.
Preparing the Chicken for Maximum Flavor Absorption
First things first, we need uniform thickness. Take your halved chicken breast cutlets and place them between two pieces of plastic wrap or parchment paper. Grab a meat mallet—or even the bottom of a sturdy saucepan—and gently pound them until they’re all about 1/2-inch thick. This evening out ensures every piece finishes cooking at the same time, which keeps the meat tender. Remember that buttermilk soak? Let it go for at least an hour; that’s your secret weapon for a super tender, **Juicy Chicken Patty for Sandwiches**.
Mastering the Double Dipped Crispy Chicken Breading
This is the make-or-break moment for your **Crispy Chicken Burger with Garlic Mayo**. Pull a piece of chicken from that buttermilk bath, letting the extra moisture drip off for just a second. Next, press it firmly, I mean *really* press it, into the first flour/cornstarch mixture. You want every nook covered. Then, a quick dip back into the reserved buttermilk—just a flash! Finally, it goes into that second bowl of pure flour. This is where you really massage that coating on, making sure those craggy peaks form. Press it hard against the dredge so those rough bits stick. Those little bits are what turn into glorious, hard crunch when they hit the hot oil!
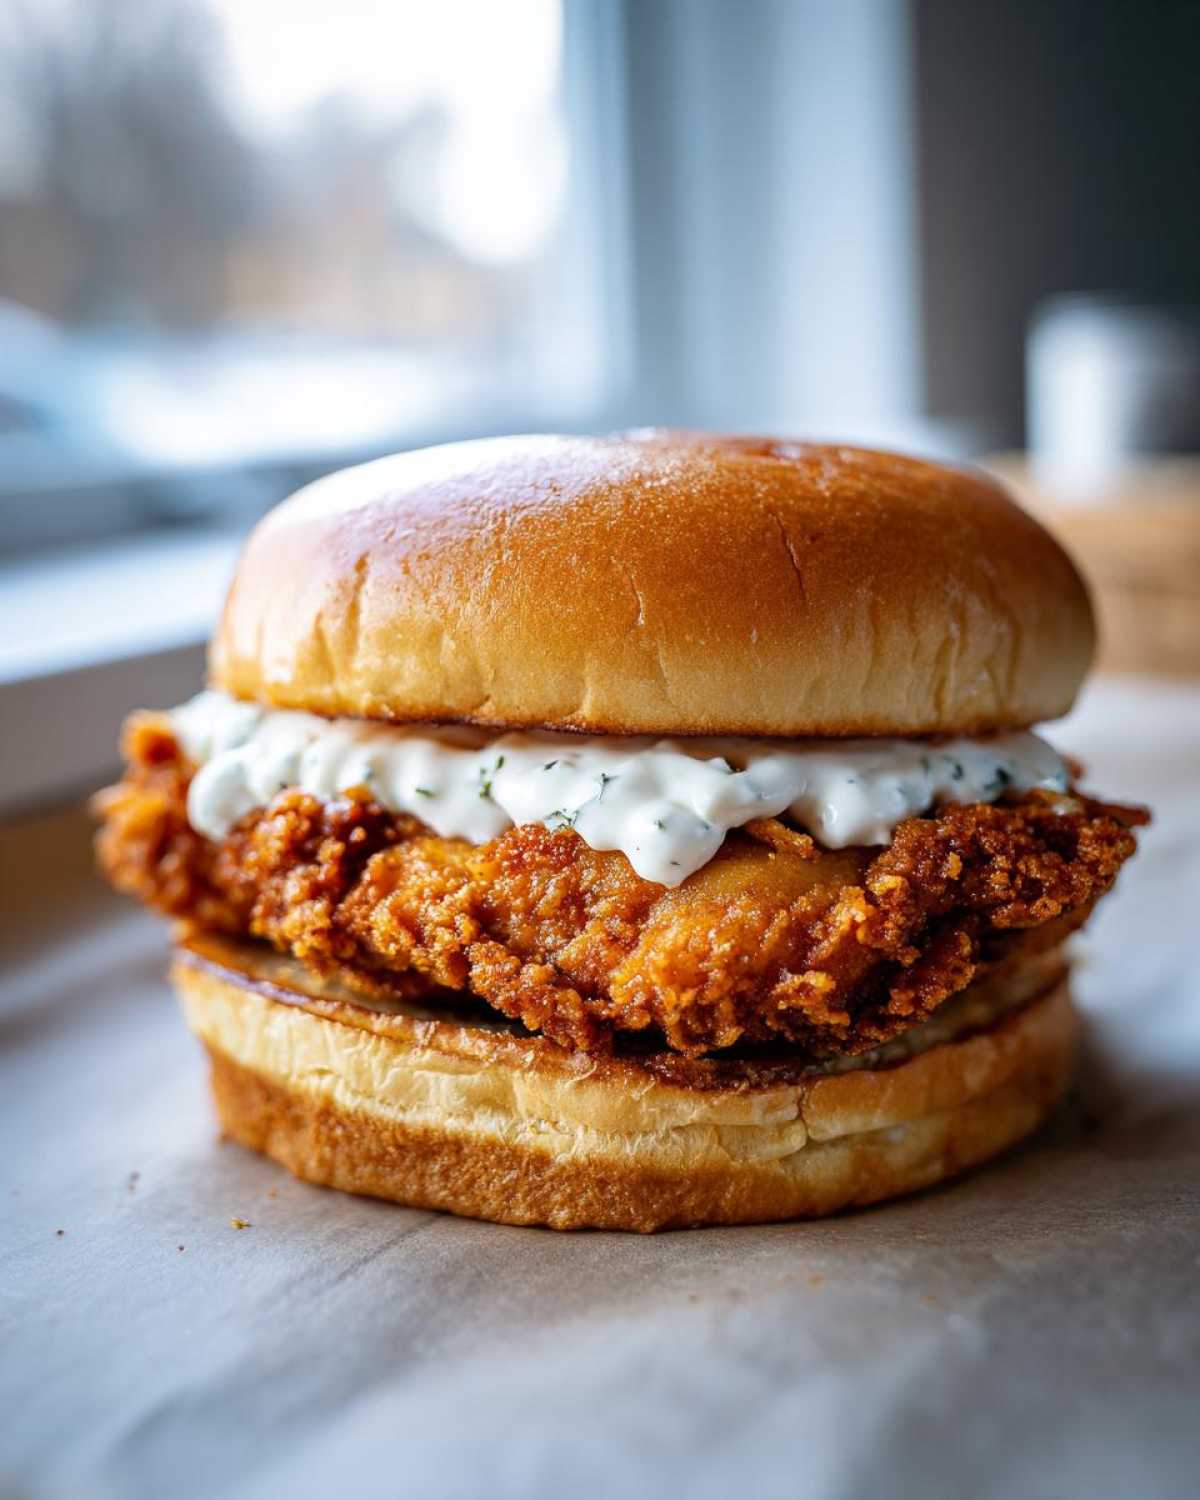
Frying Technique for the Crispy Chicken Burger with Garlic Mayo
Okay, we have our beautifully craggy, buttermilk-soaked chicken ready to go. Now we just need the right heat to transform that coating into crispy gold! You really want to aim for exactly 350°F (175°C) in your oil. Too cool, and the chicken soaks up oil and gets greasy—no good! Too hot, and the outside burns before that juicy inside cooks through.
I like to use about 2 inches of vegetable oil in a deep skillet or Dutch oven. Fry those coated fillets in batches; don’t crowd the pan! Overcrowding drops the oil temperature too fast, which ruins the crunch we worked so hard for. You’ll fry them for about 5 to 7 minutes per side. Look for that deep golden brown color, and always check that internal temperature hits 165°F (74°C).
The final, super-important step for a satisfying crunch? Don’t let them sit on paper towels! That steam gets trapped underneath and softens the crust. I always use a wire rack set over a baking sheet. This allows air to circulate around the entire piece, keeping that amazing crust utterly perfect while the extra oil drips away.
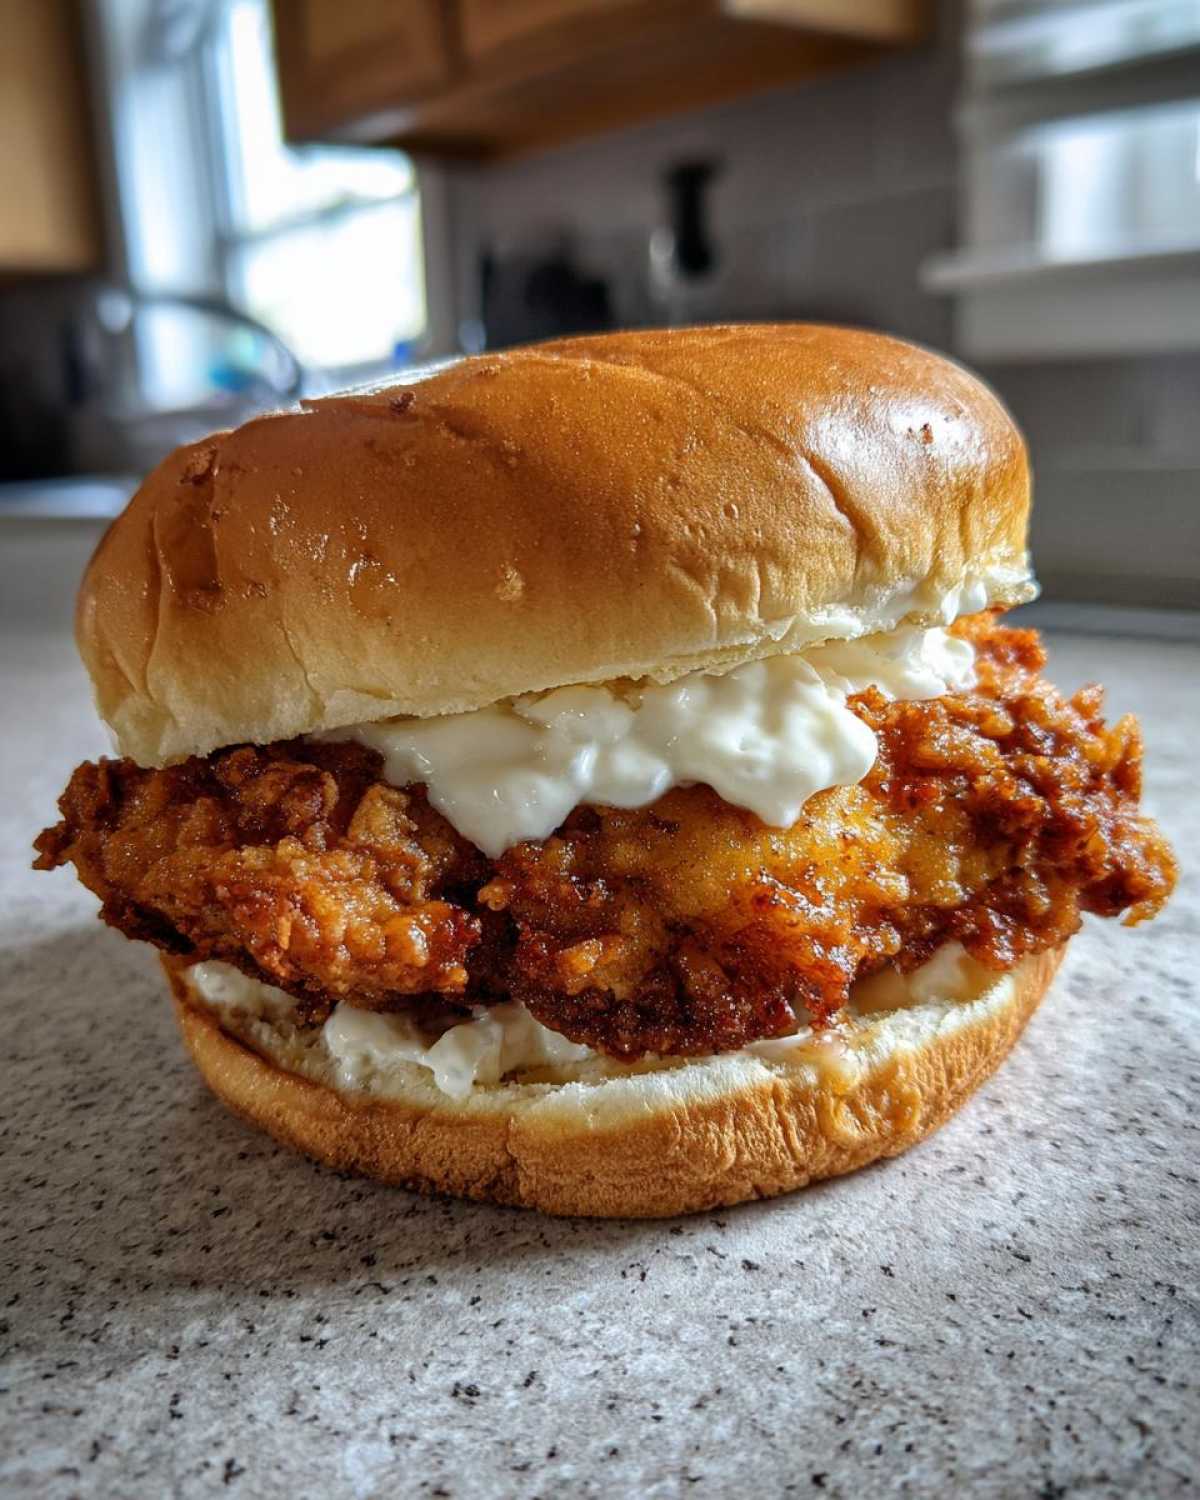
If you want to check out how I handle frying in general—because frying often comes up when we talk about super crispy chicken—I have a great guide for my air fryer chicken: Air Fryer Chicken Parmesan Breasts.
Preparing the Homemade Garlic Mayo Sauce
Now that the chicken is resting and getting nice and crunchy, let’s switch gears to the sauce. This **Homemade Garlic Mayo Sauce** elevates the entire burger experience—it’s bright, it’s savory, and it really brings everything together.
Honestly, just mixing these four things takes about two minutes, and it instantly beats anything you buy in a jar. This is the foundation of a fantastic **Best Burger Sauce Recipe with Garlic**, I promise you!
Grab a small bowl. You’re going to combine your 1/2 cup of mayonnaise with the very finely minced garlic cloves, the squeeze of fresh lemon juice (that cuts the richness nicely!), and a little pinch of salt.
Mix that up really well until it’s smooth. If you’re like me and love a little kick, this is the perfect time to add a dash of your favorite hot sauce for a spicy twist. That little bit of heat just perfectly balances the richness of the mayo and the savory chicken.
I’m not going to link anything here, but I did just post a recipe for easy garlic butter recipe that might give you ideas for other ways to use that fantastic fresh garlic!
Assembling Your Restaurant Style Crispy Chicken Sandwich
Drumroll please! We have our golden, crunchy chicken resting, and that thick garlic mayo is ready to slather. Now we put it all together to build what I call the perfect **Restaurant Style Crispy Chicken Sandwich**. This assembly matters just as much as the cooking, believe it or not! We’re going for maximum structural integrity here so that beautiful crunch doesn’t turn into a soggy mess two bites in.
My big rule? Sauce both sides! Don’t be shy. Spreading a generous layer of that homemade mayo on both the top and bottom bun acts as a barrier against the chicken’s moisture, which is a key part of **Homemade Burger Assembly Techniques**.
Layering order is important too. Start with lettuce and pickles on the bottom bun—they provide a cool, wet buffer. Then, pile that hot, crispy chicken right on top. If you’re using cheese, lay it on the chicken immediately so it gets melty while the heat is still trapped. Finally, top it with the mayo-slathered top bun. To make sure everything holds up, you absolutely have to toast the buns first!
Perfect Burger Bun Toasting Method
You can’t just slap a cold bun around this masterpiece! I prefer to toast them cut-side down in a completely dry skillet over medium heat for maybe 60 seconds. You want them warmed up and lightly golden, not hard like toast points. Sometimes, if I’m already using the broiler for something else, I’ll just throw them under there for a minute. This slight toasting prevents the bun from immediately dissolving when it hits the garlic mayo, and it also gives the bun a slightly sweeter flavor that pairs beautifully with the savory chicken. By the way, if you are looking for a recipe where toasting is everything, you have to try my guide on the best french toast recipe technique tips!
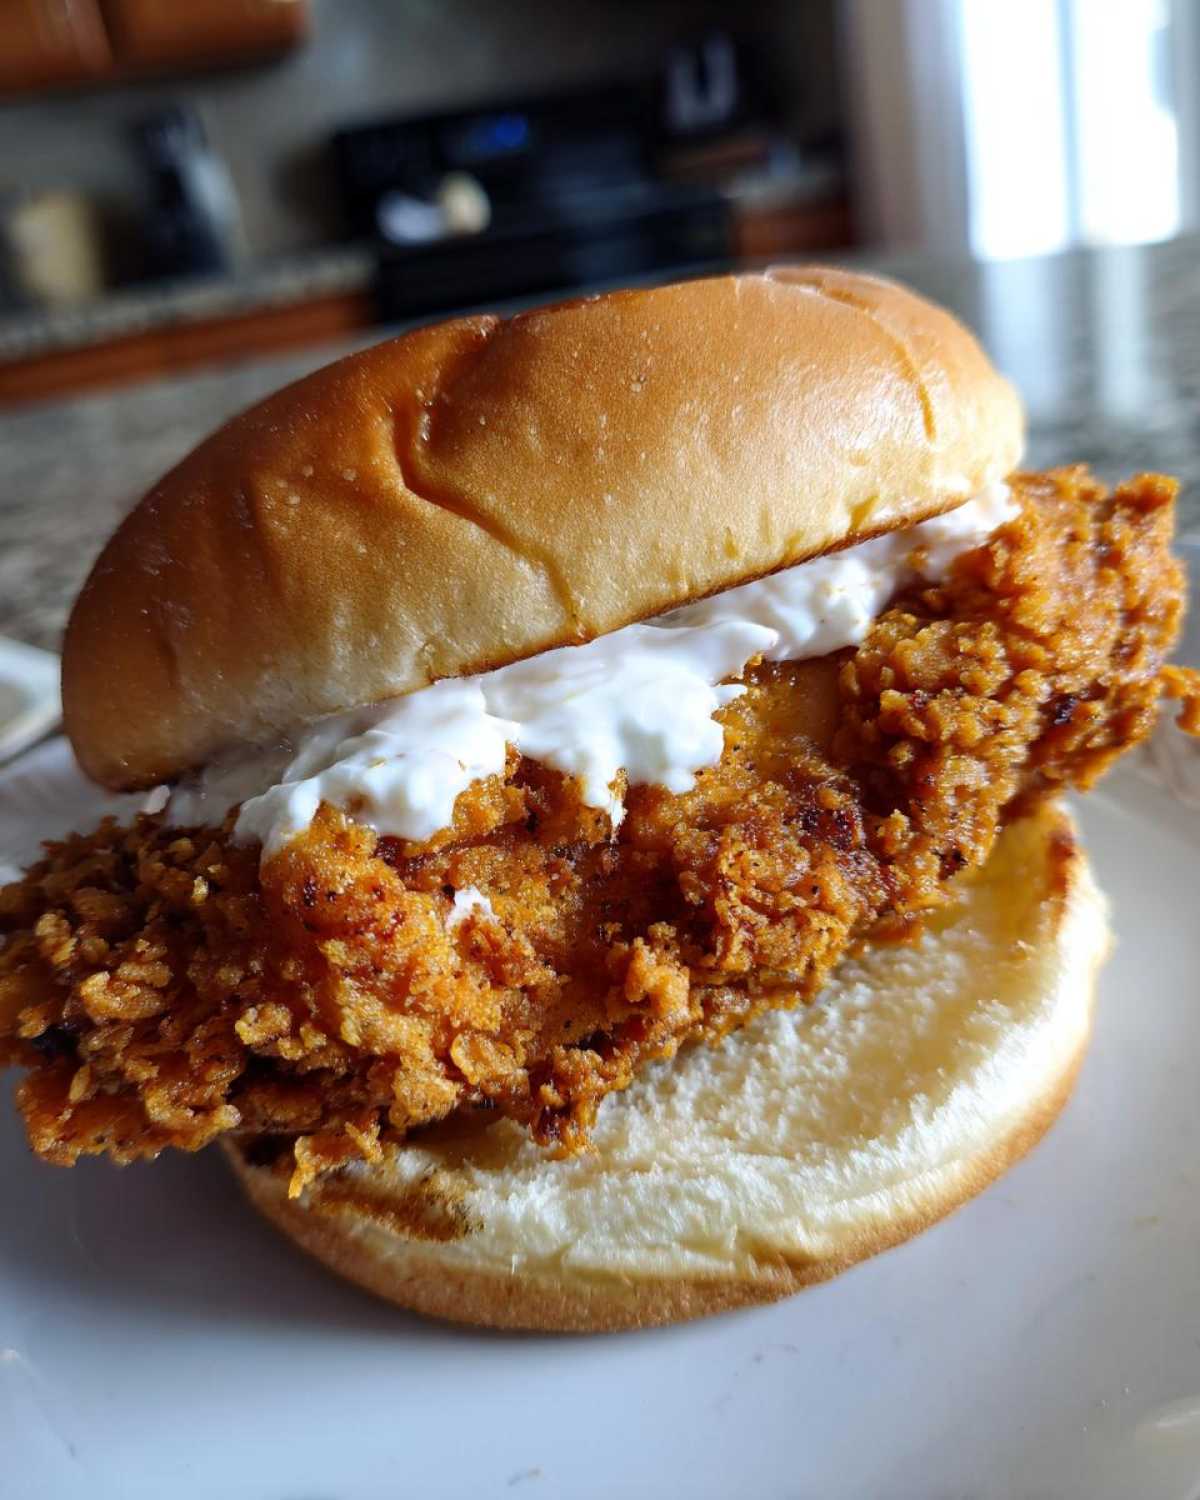
Tips for the Best Crispy Chicken Burger with Garlic Mayo
Even with the best recipe, a few little tricks can take this sandwich from great to legendary. I always follow these rules when I’m making a batch, especially if I know we won’t eat them all in five minutes.
First, definitely spring for those soft brioche buns. Their slight sweetness and rich texture are the perfect counterpoint to that sharp garlic mayo and the aggressive crunch of the chicken coating. Don’t skip the toasting!
If you plan on using an air fryer instead of deep frying—which is totally fine—you absolutely must spray the dredged chicken lightly with a neutral cooking spray before you pop it in. This mimics the effect of the oil and helps that coating turn golden and hard. If you want to see how I use my air fryer for other delicious things, take a look at my Air Fryer Gnocchi recipe!
Storage & Reheating Instructions for Crispy Chicken
Listen, I’m going to be honest with you: nothing beats the crunch of this chicken when it comes straight out of the fryer. That satisfying crackle disappears faster than free appetizers at a wedding. If you have leftovers, you absolutely must store the components separately. Don’t even think about assembling the burger until you are ready to eat it!
Keep your crispy chicken fillets in an airtight container, maybe with a paper towel below them just to wick up any overnight condensation. The garlic mayo should go in its own small, tightly sealed container in the fridge. If you try to refrigerate a fully made burger, you’ll end up with a mushy, sad sandwich by morning. We aren’t making sad sandwiches here!
Now for reheating—this is critical for restoring that incredible texture. Forget the microwave; that is the sworn enemy of crunch! It just steams the coating and makes it instantly soggy again.
Your best bet is using an oven or an air fryer. Preheat your oven to about 375°F (190°C) and set the chicken fillets on a wire rack placed on top of a baking sheet. This allows heat to hit all sides. Let them bake for about 8 to 10 minutes, checking them halfway through. If you’re using an air fryer, 350°F (175°C) for about 5 minutes usually does the trick to heat them through and wake up that coating.
Reassemble your burger right after reheating. Toast those buns, dollop on the fresh garlic mayo, and enjoy the nearly-fresh-made crunch you managed to save!
Frequently Asked Questions About This Crispy Chicken Burger with Garlic Mayo
I knew you’d have questions! When you’re chasing the perfect texture, sometimes you need a little clarification. We cover the absolute basics here regarding substitutions and how to tweak things if you need to, but honestly, sticking to the buttermilk and double-dredge combo is the path to glory.
Can I use the Air Fryer Crispy Chicken Burger method?
Oh, absolutely you can! If you’re trying to make an **Air Fryer Crispy Chicken Burger**, you can totally use the same exact dredging method we used for deep frying. The trick here, which I mentioned before, is that you need to give that coated cutlet a light spray with cooking spray before it goes into the basket. That little bit of fat helps the cornstarch and flour adhere and crisp up beautifully in the dry heat. You’ll want to flip them halfway through!
What if I want a Spicy Crispy Chicken Burger Variation?
I love that you’re thinking about turning this into a **Spicy Crispy Chicken Burger Variation**! It’s so easy to amp up the heat. You can double down on the spice in two places. First, add a little extra cayenne pepper right into that buttermilk marinade with the chicken—that helps flavor the meat from the inside out. Second, and this gives you more control, mix a good dash of your favorite hot sauce directly into the **Homemade Garlic Mayo Sauce** after you mix the main ingredients. That way, you get spice and tang in every bite!
If you are looking for more dinner ideas in general, I always keep my main dinner category refreshed with new things that I’m testing out over here: Check out my Dinner Category!
Sharing Your Incredible Crunch Chicken Sandwich Experience
Now that you have the blueprint for the most satisfying, crunchy chicken sandwich imaginable, I seriously need to know how it turned out! Did your neighbors hear your first bite? Did you achieve that beautiful, craggy texture on the outside while keeping the inside perfectly juicy?
When you make this **Incredible Crunch Chicken Sandwich**, please come back right here and drop a comment below. Tell me about your experience—I want to hear all the details about the crisp factor! Did you stick to the deep fry, or did you try one of the other methods we talked about?
And if you snapped a picture of that towering beauty, please share it! Tag me on social media so I can see how gorgeous your final **Crispy Chicken Burger with Garlic Mayo** looks. Showing off your creations really makes my day!
If you are looking for my absolute latest kitchen adventures and newest recipes, make sure you browse my main Blog!
PrintCrispy Chicken Burger with Garlic Mayo
A detailed recipe for making a highly crispy chicken burger using a double-dredging method, served with a homemade, thick garlic mayonnaise.
- Prep Time: 20 min
- Cook Time: 15 min
- Total Time: 35 min
- Yield: 4 servings
- Category: Main Course
- Method: Deep Frying
- Cuisine: American
- Diet: Low Fat
Ingredients
- 2 boneless, skinless chicken breasts, halved horizontally
- 1 cup buttermilk
- 1 teaspoon salt
- 1 teaspoon black pepper
- 1 teaspoon paprika
- 1/2 teaspoon cayenne pepper
- 1 cup all-purpose flour (for dredging, first bowl)
- 1 cup all-purpose flour (for dredging, second bowl)
- 1/2 cup cornstarch
- Vegetable oil, for frying
- 4 burger buns
- 4 slices cheese (optional)
- Lettuce leaves
- Pickle slices
- For Garlic Mayo: 1/2 cup mayonnaise
- 2 cloves garlic, minced very finely
- 1 teaspoon lemon juice
- 1/4 teaspoon salt
Instructions
- Pound the chicken halves to an even 1/2-inch thickness.
- In a shallow dish, mix the buttermilk, 1 teaspoon salt, 1 teaspoon pepper, paprika, and cayenne. Soak the chicken in this mixture for at least 1 hour, or up to 4 hours in the refrigerator.
- Prepare the dry dredge: Mix the first cup of flour, cornstarch, and remaining salt and pepper in one shallow dish. Place the second cup of flour in a separate shallow dish.
- Remove chicken from the buttermilk, letting excess drip off. Dredge the chicken thoroughly in the first flour mixture, pressing firmly. Dip it back into the buttermilk briefly, then dredge again completely in the second flour mixture, ensuring the coating is thick and craggy.
- Heat about 2 inches of vegetable oil in a deep skillet to 350°F (175°C).
- Carefully place the coated chicken into the hot oil, ensuring not to overcrowd the pan. Fry for 5 to 7 minutes per side, until golden brown and the internal temperature reaches 165°F (74°C).
- Remove chicken and place on a wire rack set over a baking sheet to drain excess oil.
- While the chicken rests, make the garlic mayo: Combine the mayonnaise, minced garlic, lemon juice, and 1/4 teaspoon salt in a small bowl. Mix well.
- Toast the cut sides of the burger buns lightly in a dry pan or under the broiler.
- Assemble the burger: Spread a generous amount of garlic mayo on both the top and bottom buns. Place lettuce and pickles on the bottom bun, top with the crispy chicken fillet, add cheese if using, and place the top bun on. Serve immediately.
Notes
- For extra crispiness, you can lightly spray the dredged chicken with cooking spray before frying if you are air frying instead of deep frying.
- If you prefer a spicy mayo, add a dash of hot sauce to the garlic mayo mixture.
- Use high-quality, soft brioche buns for the best texture contrast with the crispy chicken.
Nutrition
- Serving Size: 1 burger
- Calories: 650
- Sugar: 8
- Sodium: 950
- Fat: 35
- Saturated Fat: 7
- Unsaturated Fat: 28
- Trans Fat: 0
- Carbohydrates: 45
- Fiber: 2
- Protein: 40
- Cholesterol: 120