

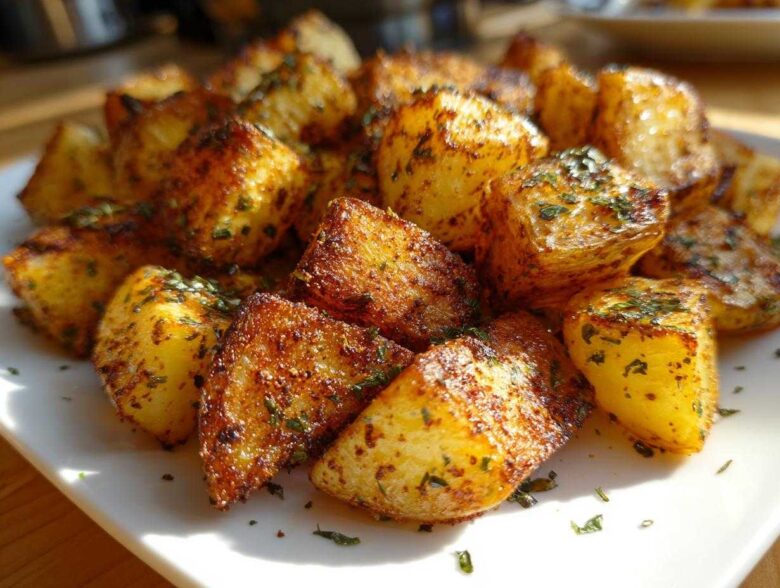
Oh, the tragedy of soggy breakfast potatoes! We’ve all been there, haven’t we? You look forward to a perfect, crunchy morning side dish, and what do you get? Hot, seasoned mush. That used to be our reality back in the ‘Cookery Kings’ early days—you know, before we figured things out! Chloe and I decided we weren’t going to accept mediocrity anymore. That’s why I’m sharing our absolute foolproof method for the best breakfast potatoes ever. Forget the stovetop struggle; we’re using the oven to bake these beauties until they hit ultimate crispiness!
Why This Oven Roasted Recipe Makes the Best Breakfast Potatoes Ever
Honestly, the oven is your secret weapon for truly epic breakfast potatoes. I know the skillet seems faster, but crowding that pan just invites steam, and steam is the enemy of crisp! We need hot, dry air to turn those cubes golden brown. This recipe, which I call the Best Breakfast Potatoes Ever, relies on aggressive heat—425°F makes a huge difference. By spreading everything out in a single layer, we guarantee maximum surface contact!
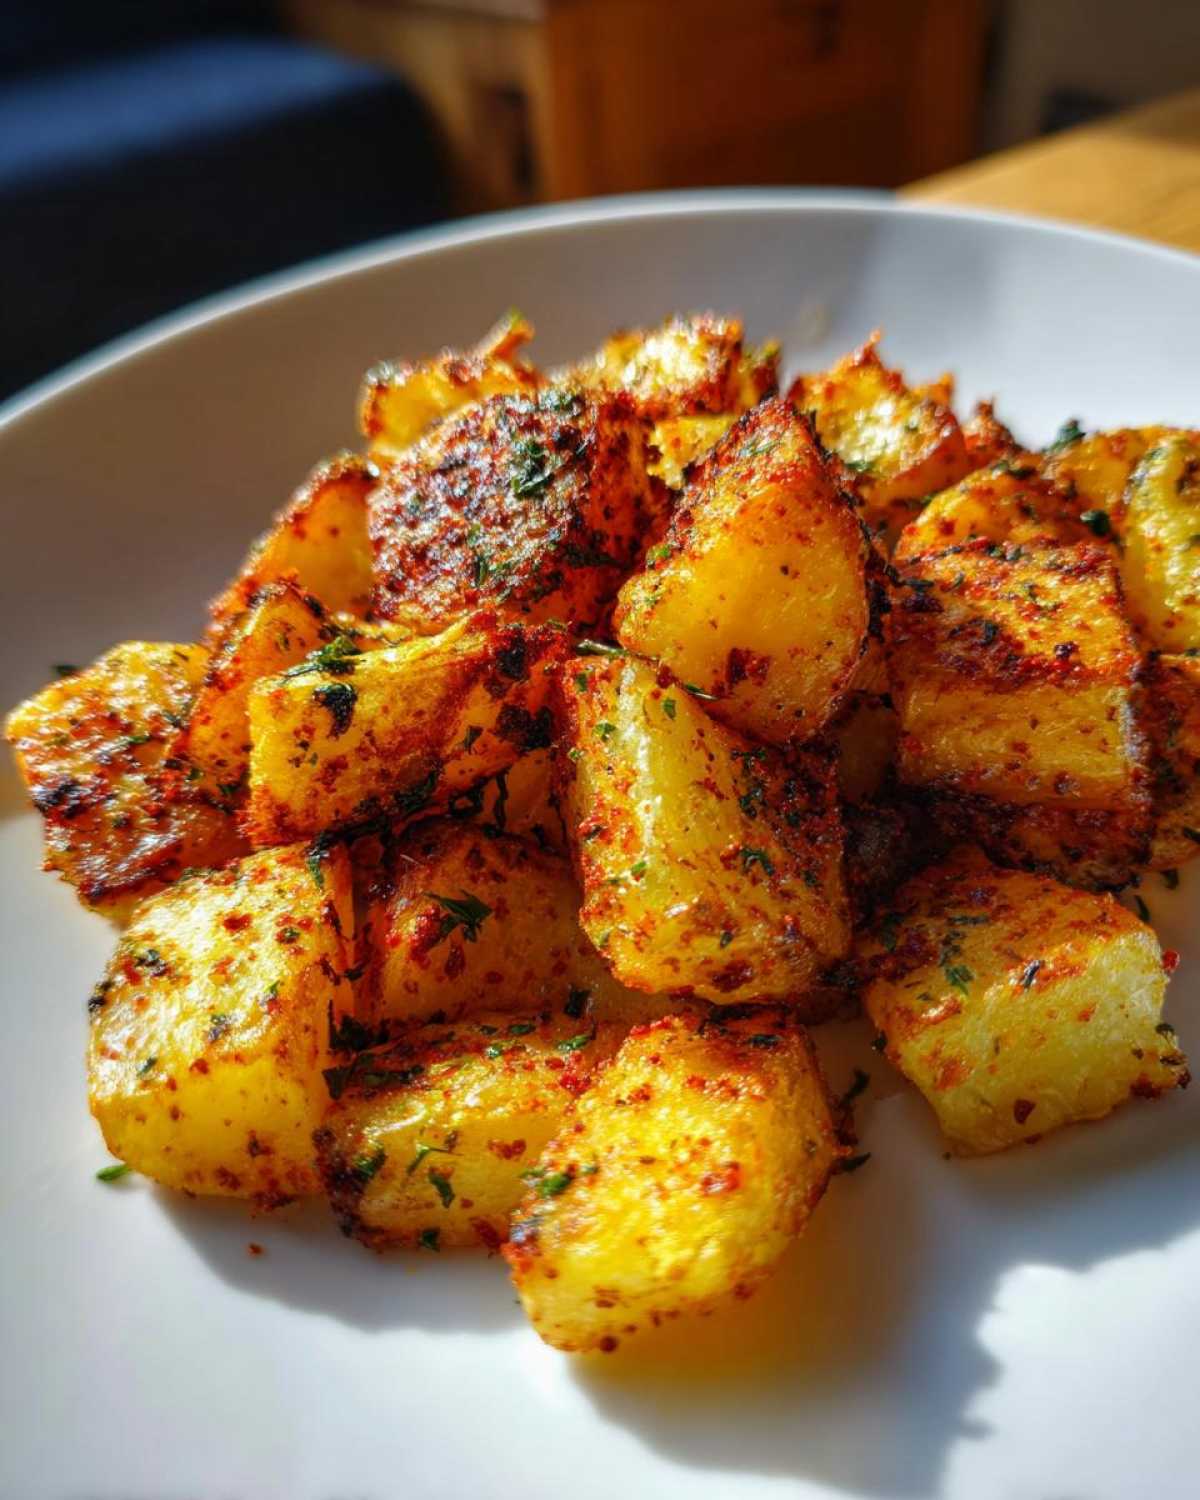
It’s all about achieving that perfect textural contrast. You want a shatteringly crisp exterior that gives way to a fluffy, soft interior. If you’re looking up guides because you’re sick of mushy failures, you’ve landed in the right place. We tackle that problem head-on by following a few non-negotiable steps, which is how we nail that tender inside crispy outside potatoes texture every single time. You’ll notice we skip the heavy casserole route for these, though if you love a good baked dish, you should check out my twice-baked delight!
Achieving Tender Inside Crispy Outside Potatoes
The real magic trick here, which I learned after way too many flat, sad potatoes, is getting rid of excess water before the oil even touches them. We either soak the cubed Yukon Golds for fifteen minutes or just skip straight to giving them the towel treatment. Removing that surface starch is essential. Think of it like this: water turns to steam, steam makes things soft. We want crisp, so we eliminate the water!
Gathering Ingredients for Flavorful Breakfast Potato Side Dish
Okay, let’s talk about what you need to grab before we fire up that oven! I’ve laid out the exact ingredients for this amazing Flavorful Breakfast Potato Side Dish. It’s so simple—mostly potatoes and spices! We need about two pounds of Yukon Golds, cut into these perfect little 1-inch cubes. Don’t forget the oil, salt, pepper, and our killer spice blend: garlic powder, smoked paprika, onion powder, and oregano. The best part? This recipe is naturally Gluten Free Breakfast Potatoes, so everyone at the table can enjoy them!
Ingredient Notes and Simple Seasoning Swaps
I insist on Yukon Golds because they hold their shape better than a Russet, giving us that ideal texture contrast. If you absolutely have to swap an herb, the oregano is really flexible. Honestly, swapping it out for dried rosemary would give you a more rustic feel, which is also delicious. If you have bacon fat instead of olive oil, use that—it adds an incredible layer of savory depth!
How to Prepare Crispy Breakfast Potatoes Using the Oven
Alright, here’s where we put all that prep work to use while making these amazing breakfast potatoes! First things first: crank that oven up! We need it ripping hot at 425°F—don’t even think about starting before it hits temp. I line my sheet pan with parchment paper too; cleanup is a dream, and I highly recommend checking out this guide on crispy oven roasted breakfast potatoes for quick oven tips. Remember that single-layer rule? It’s non-negotiable! If you pile them up, they steam, and we want gold, not mushy sadness! Before all this, I used to get so frustrated, I even wrote up a guide on caramelized onions just to practice patience, but potatoes are a different game!
The Critical Step: Drying Potatoes for Crispiness
We talked about this soaking trick, but I need to stress it again: get them dry! After soaking, grab your paper towels—and I mean *really* pat them down. We’re trying to eliminate every trace of water here. That surface starch has to go so the oil can work its magic and create that beautiful crust instead of a soggy coating. Trust me, a little extra drying time pays off huge.
Roasting and Flipping for Even Browning
Once they’re oiled and seasoned, they go straight into that blazing hot oven for a solid 20 minutes. Don’t peek too much! After that first blast, pull them out and flip every single piece over with a good spatula. This is crucial for getting all sides golden. Back they go for another 15 to 20 minutes until they look gorgeous. That’s how you make truly perfect Oven Roasted Breakfast Potatoes!
Tips for Success Making Easy Breakfast Potatoes Recipe
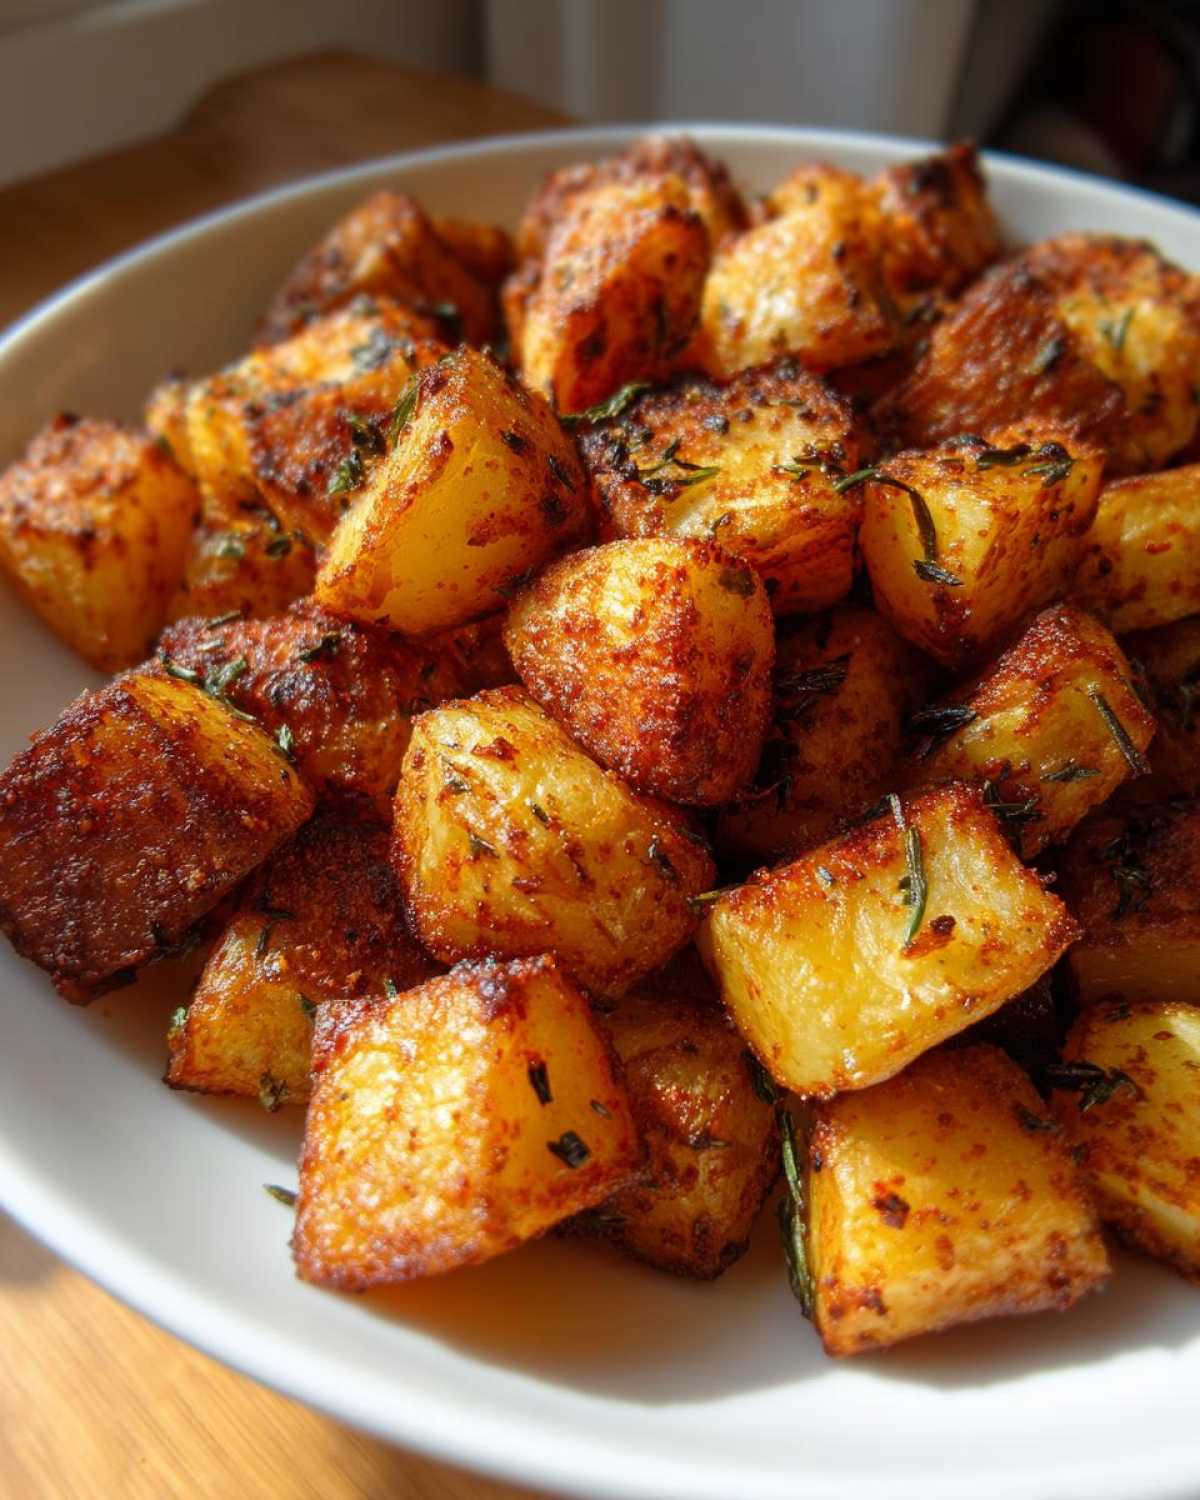
Even when you follow the instructions, sometimes things go sideways, right? That’s what being in the kitchen is all about! I remember one Saturday when Chloe insisted we could skip the flip because she wanted to watch the end of a movie. Big mistake! We pulled them out, and one side was perfect, but the other side was practically raw and pale. Never skip the flip on the first go-round; it ruins the whole promise of an Easy Breakfast Potatoes Recipe.
Here are my top non-negotiables for getting those beautiful results:
- Don’t Skimp on Oil: You need enough oil to coat them nicely, maybe 3 tablespoons for 2 lbs of potatoes. Dry potatoes absorb the oil faster than you think, and if they don’t have enough fat, they’ll just stick and burn unevenly! If you are looking for other simple oil-based recipes, check out my guide for easy garlic butter.
- Use the Biggest Pan You Own: Seriously, if you have to choose between using one overcrowded pan or two perfectly spaced pans, always pick two! Crowding equals steaming, and we already decided steaming means soggy potatoes. For more great tips on getting crispy results, take a peek at what the folks at Bake Grove suggest.
- Season Right Before Baking: As soon as they come out of the water/towel dry stage, oil them and season immediately. The longer the salted, wet potatoes sit, the more water they draw back up.
Variations: Making Garlic Herb Breakfast Potatoes or Skillet Breakfast Potatoes
Part of the fun of a great base recipe like this one is how easily you can tweak it! If you want to elevate these into a truly impressive Garlic Herb Breakfast Potatoes dish, just toss in a teaspoon of dried rosemary along with the other spices. If you’re feeling extra indulgent, a few strips of crumbled bacon tossed in for the last 10 minutes of roasting adds fantastic richness!
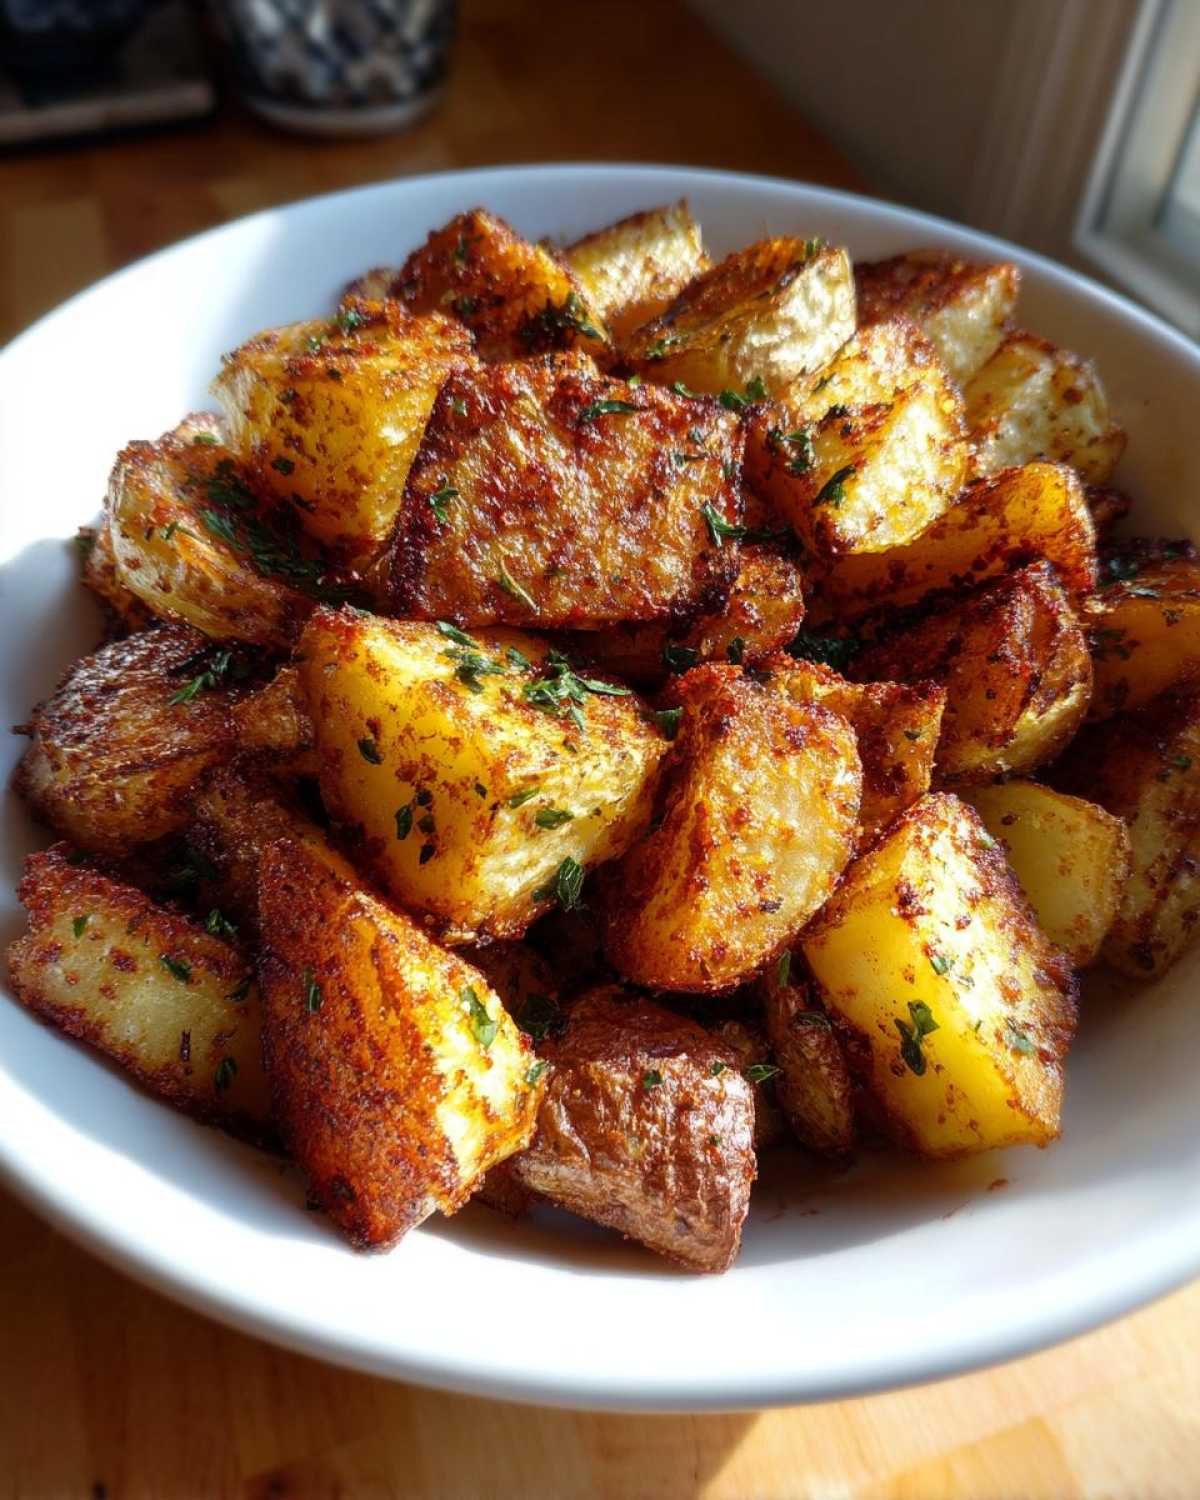
Now, what about those mornings when you’re running late and can’t wait for the oven to preheat? You can absolutely pivot to making these Skillet Breakfast Potatoes. Just use a large cast iron pan—it holds heat so well! Heat up your oil first over that medium-high heat until you see it shimmer slightly. Dump your seasoned potatoes in one layer (try not to overcrowd!) and then, and this is important, walk away! Let them sit untouched for about 7 minutes so that beautiful crust can form. Then you stir and let them sit again. It takes longer than the oven, but they still get wonderfully crispy.
I know sometimes the stovetop just feels like too much active cooking when you’re trying to wrangle toast and coffee. If you want to see more ideas for flavor boosters, check out my tips on caramelized onions—they are amazing mixed in with these roast potatoes too!
Serving Suggestions for Your Quick Morning Potato Recipe
So you have your beautifully golden, crispy breakfast potatoes—what’s next? These aren’t just sad little side pieces; they are the star filler for a great breakfast! For the ultimate classic plate, you absolutely need perfectly runny fried eggs piled right on top. That yolk mingling with the paprika spice blend? Heaven! They also pair wonderfully with crispy bacon or sausage links if you’re making a bigger spread.
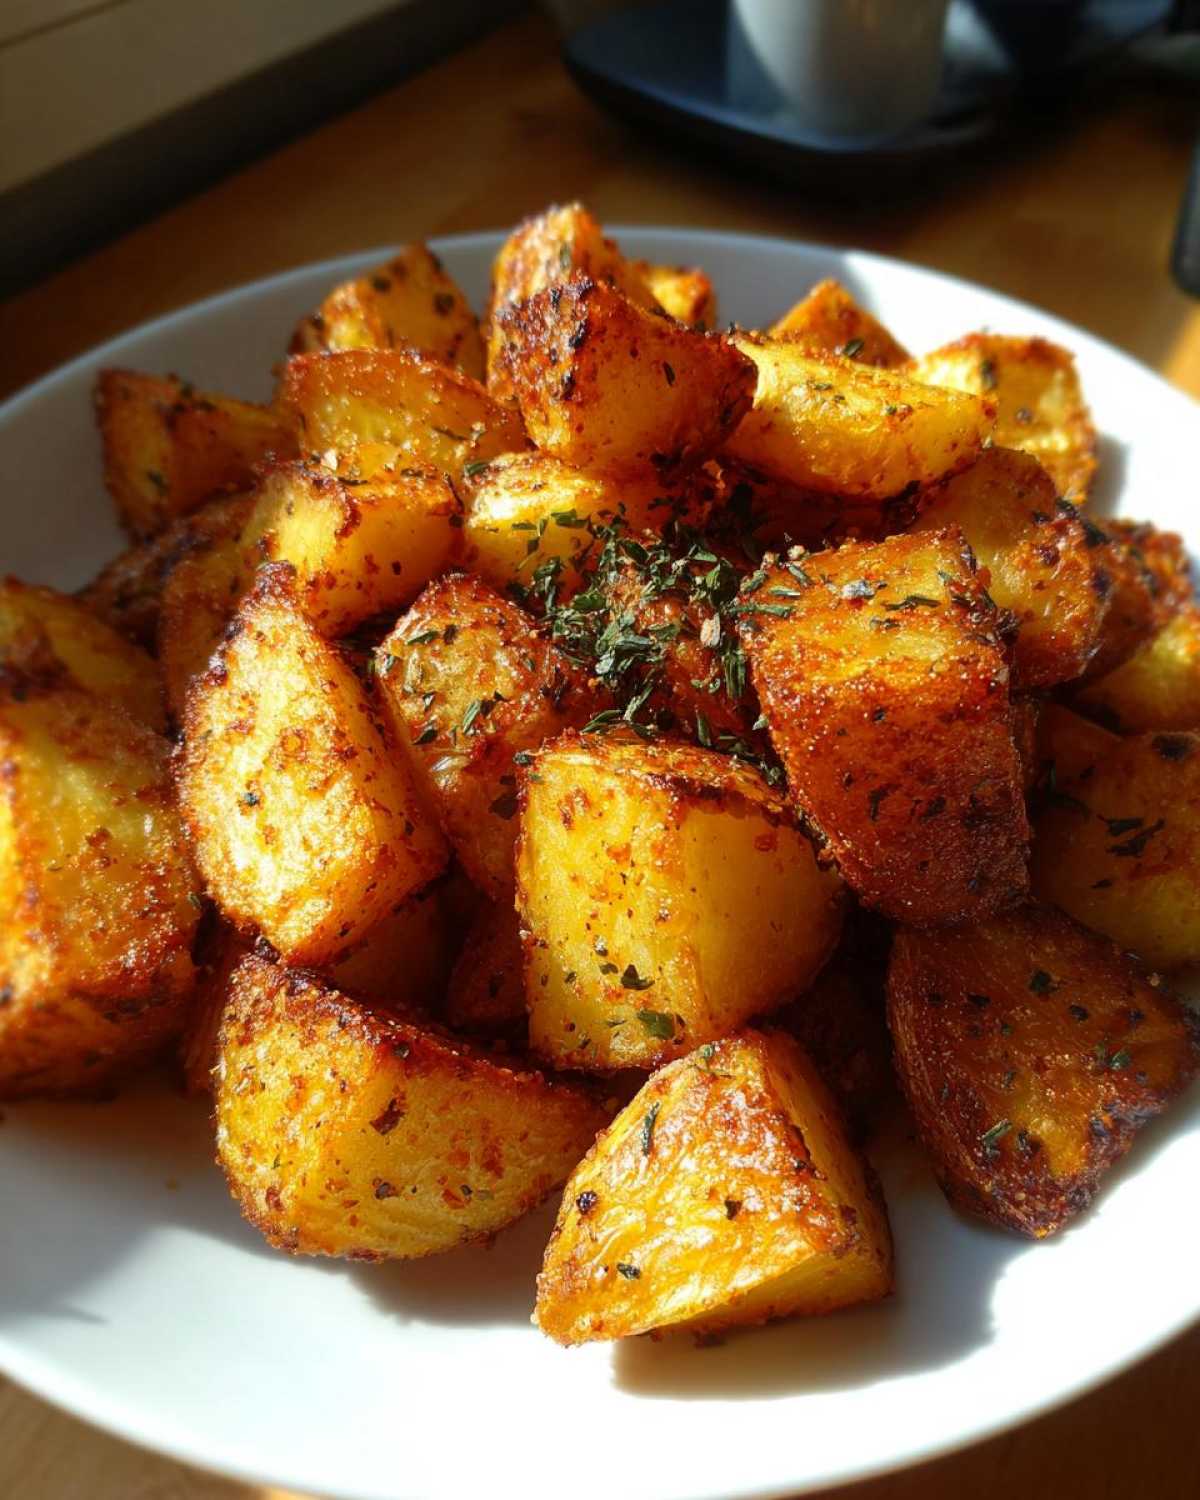
If you’re going for something lighter, smash a few pieces onto some buttered, toasted sourdough and top with sliced avocado and a sprinkle of red pepper flakes. It makes an incredible, fast brunch centerpiece. If you’re making something ahead, these potatoes are the perfect anchor for my make-ahead breakfast casserole!
Storage and Reheating Instructions for Leftover Breakfast Potatoes
Listen, if you somehow manage not to eat all these glorious, crispy breakfast potatoes in one sitting—which I highly doubt—you need to store them correctly! Pop any leftovers into a completely airtight container immediately. They need to be refrigerated, like, right away. Don’t leave them sitting out! The enemy of leftovers is moisture, so seal them up tight.
Now for reheating: we absolutely forbid the microwave! Microwaving is how you turn crispy gold back into sad, soft mush. Instead, spread those cold potatoes in a single layer back onto a baking sheet and put them into a 375°F oven for about 8 to 10 minutes. Better yet, if you have an air fryer, toss them in there—they crisp up almost like new! If you want the fastest crisp-up, you have to try my air fryer recipes; they work wonders on yesterday’s starches!
Frequently Asked Questions About Breakfast Potatoes
Can I use sweet potatoes instead of Yukon Golds?
You totally can! Sweet potatoes are delicious, but they behave a little differently than regular potatoes. They have more sugar, so they brown faster and can sometimes get a little softer rather than shatteringly crisp. If you use them for your breakfast potatoes, I recommend dropping the temperature down slightly to about 400°F (200°C) and checking them at the 30-minute mark. They still make a fantastic, slightly healthier side dish!
Can these be made ahead of time?
Yes, this is great for meal prep! You can roast them completely, let them cool, and store them in the fridge. Reheating them is the key to keeping that quality. For the best results, don’t use the microwave! Reheating them in the oven or, even better, using an air fryer will bring back that essential crispiness you worked so hard to achieve them with.
What’s the absolute best oil to ensure they are crispy?
For the highest heat roasting, you need an oil with a high smoke point. Olive oil is fine, but avocado oil is my top pick if you have it. It stays stable at that 425°F we use, allowing the potatoes to crisp up perfectly without the oil burning before the potatoes are done. That fat is essential for that tender inside crispy outside potatoes texture!
How do I adapt this for an Air Fryer Breakfast Potatoes Guide?
The air fryer is fantastic for this! For about 1.5 lbs of potatoes, treat this as your ultimate Air Fryer Breakfast Potatoes Guide. Toss them in oil and seasoning, but air fry in smaller batches—this is even more important in the air fryer than in the oven! Cook at 390°F for about 15-20 minutes total, shaking the basket every 5 minutes until they are beautifully golden. It’s faster and gets them super crunchy!
Nutritional Estimates for These Breakfast Potatoes
When we put together something this delicious, it’s only right that we give you a ballpark idea of what’s going into your body! Now, remember, I’m Chloe and Mia—we’re home cooks, not registered dietitians, so these numbers are just estimates based on the ingredients in the recipe above. If you skip the parsley garnish or use a different oil, the numbers will change a tiny bit. For a full breakdown of how these stack up versus other morning sides, you should check out my notes on healthy breakfast side dishes!
Here’s a general guide per one-cup serving:
- Serving Size: 1 cup
- Calories: 220
- Fat: 10g
- Saturated Fat: 1.5g
- Carbohydrates: 32g
- Fiber: 4g
- Protein: 4g
- Sodium: 350mg (This varies hugely based on how much salt you add—so go easy if you need to watch sodium!)
- Cholesterol: 0mg
See? These are really straightforward! Loaded up with fiber from the potatoes themselves and minimal sugar, these breakfast potatoes make a wonderful, satisfying base for any breakfast plate without weighing you down.
PrintThe Ultimate Crispy Oven Roasted Breakfast Potatoes: Flavor Secrets & Technique Guide
Learn how to make breakfast potatoes that are perfectly golden brown and crispy on the outside while staying tender inside. This easy oven-roasted method uses simple seasonings for a flavorful morning side dish.
- Prep Time: 10 min
- Cook Time: 40 min
- Total Time: 50 min
- Yield: 4 servings
- Category: Side Dish
- Method: Oven Roasting
- Cuisine: American
- Diet: Gluten Free
Ingredients
- 2 lbs Yukon Gold potatoes, scrubbed and cut into 1-inch cubes
- 3 tablespoons olive oil or avocado oil
- 1 teaspoon garlic powder
- 1 teaspoon smoked paprika
- 1/2 teaspoon onion powder
- 1/2 teaspoon dried oregano
- 1/2 teaspoon salt, or to taste
- 1/4 teaspoon black pepper, or to taste
- 1/4 cup fresh parsley, chopped (for garnish)
Instructions
- Preheat your oven to 425°F (220°C). Line a large, rimmed baking sheet with parchment paper for easy cleanup.
- Place the cubed potatoes in a large bowl. If you want extra crispy results, soak the potatoes in cold water for 15 minutes, then drain them completely and pat them very dry with paper towels. This step removes surface starch.
- In the bowl, drizzle the potatoes with the olive oil. Toss well to coat every piece evenly.
- In a small bowl, mix together the garlic powder, smoked paprika, onion powder, dried oregano, salt, and pepper.
- Sprinkle the seasoning mix over the oiled potatoes. Toss again until all the potatoes are evenly seasoned.
- Spread the seasoned potatoes onto the prepared baking sheet in a single layer. Do not overcrowd the pan; use two sheets if necessary. Crowding causes steaming, which prevents crispiness.
- Roast for 20 minutes.
- Remove the pan from the oven and use a spatula to flip the potatoes. Return to the oven and roast for another 15 to 20 minutes, or until they are deep golden brown and crispy.
- Remove from the oven, sprinkle with fresh parsley, and serve immediately as a flavorful breakfast potato side dish.
Notes
- For the best texture, ensure your potatoes are completely dry before adding oil and seasoning.
- Do not skip flipping the potatoes halfway through cooking; this ensures even browning on all sides.
- If you prefer a skillet breakfast potatoes method, cook them in a large cast iron skillet over medium-high heat, stirring only every 5-7 minutes to allow a crust to form.
- These are naturally gluten-free breakfast potatoes.
Nutrition
- Serving Size: 1 cup
- Calories: 220
- Sugar: 1
- Sodium: 350
- Fat: 10
- Saturated Fat: 1.5
- Unsaturated Fat: 8.5
- Trans Fat: 0
- Carbohydrates: 32
- Fiber: 4
- Protein: 4
- Cholesterol: 0