

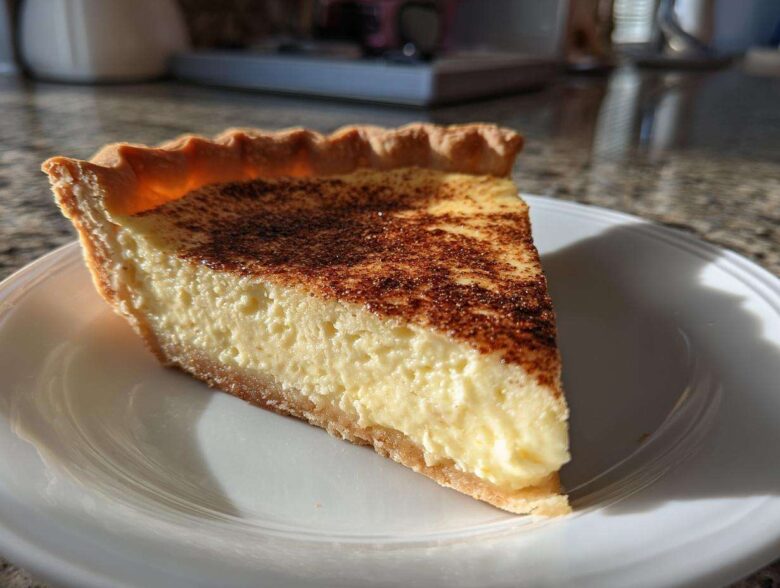
When you think of true, old-school comfort food, what immediately springs to mind? For Mia and me, it’s pie—and not the complicated kind! This Classic Old Fashioned Egg Custard Pie is such a staple in our lives now, but honestly, when I first tried making a custard pie that wasn’t runny or weirdly spongy, I felt like I’d won the lottery. It’s the easiest way to make a truly traditional dessert from scratch. Forget all those fussy recipes; this one hinges on simple pantry items and gives you the richest, creamiest slice that tastes exactly like grandma made it. Trust me, mastering this simple bake means you’ve conquered an essential piece of American baking. You can find all the history behind this recipe right here on the blog!
Why This Classic Custard Pie Recipe Works for Everyone
Seriously, if you’ve ever felt intimidated by baking, this is the recipe that turns things around. It’s unbelievably easy homemade pie territory! Mia and I love this recipe because it proves you don’t need fancy equipment to get an incredible result. It’s our go-to when we need a foolproof, traditional dessert.
- It uses basic ingredients, so pulling this together feels totally achievable.
- Mia double-checked every measurement, so you know your vanilla custard filling is going to be smooth!
Perfect for Holiday Baking Desserts
This pie is an absolute lifesaver during busy times! It’s one of those beautiful Thanksgiving pie recipes that people always ask for year after year. It’s the definition of a comfort food pie that tastes amazing with zero fuss.
Achieving a Creamy Dessert Pie Texture
The magic is in the ratio! Because we keep the dairy and egg ratio perfect, you automatically get that ultra-smooth interior. We’re talking about a genuine creamy dessert pie experience without needing a double boiler or any tricky tempering, which makes it the best custard pie contender!
If you’re looking for another simple classic, check out our Buttermilk Pie recipe too! It’s another piece of Southern baking heaven.
Gathering Your Ingredients for the Best Custard Pie
Alright, let’s get down to the fun part: shopping! What I love about this classic custard pie is that you probably have 90% of this stuff sitting in your pantry right now. This is the definition of a wonderful from scratch pie—no specialty stores needed, thank goodness, since I barely have time to leave the house some days!
You’ll only need eight core ingredients, plus that optional little bonus for the crust. I’ve listed them all out below, but I need you to pay close attention to a couple of spots where we can’t cut corners if we want that perfect slice.
Here is what you need to pull together this beautiful, easy homemade pie:
- 1 (9 inch) unbaked pie crust (Yes, I said unbaked! We bake it right in there!)
- 4 large eggs (Make sure they are large, this throws off the balance if they are smaller!)
- 3/4 cup granulated sugar
- 1/4 teaspoon salt
- 1 teaspoon vanilla extract
- 1/4 teaspoon ground nutmeg, plus extra for topping
- 2 cups whole milk (Don’t skimp here—whole milk is essential for that richness!)
- 1 tablespoon butter, melted (optional, for crust)
Ingredient Notes and Substitutions for Your Custard Pie
So, about those details! First, those eggs absolutely must be large. If you try to use medium, your filling might deflate weirdly, and we want sturdy, rich results for this baked custard dessert.
Next, the milk! Whole milk gives the best mouthfeel. Low-fat, skim, or milk alternatives just don’t have the fat content needed to support that beautifully smooth vanilla custard filling. Don’t even worry about it if you need to grab a store-bought shell; there’s no shame in making your own simple pie crust another day! If you *are* making your own, here’s a quick tip on making great buttery sauces that actually translates to getting the edges just right.
Expert Tip on the Crust: If you’re using a homemade crust, brush the bottom lightly with that melted butter first. It creates a tiny barrier that stops the custard from steeping the crust and turning it soggy before it’s done. It’s such a small step for such a big payoff!
Step-by-Step Instructions for Your Classic Custard Pie
Okay, here is where we turn those lovely ingredients into happiness! This isn’t a high-stress bake, but attention to detail is key to getting that perfect, smooth result we want in a creamy dessert pie. I learned the hard way that if you beat the milk in like you’re making whipped cream, you end up with foam bubbles all over the top, which is just not the vibe for this baked custard dessert. Go gentle!
Preparing the Pie for Baking
First things first, get that oven preheated! You want it at 375 degrees F (190 degrees C). Before you do anything else, grab that 9-inch unbaked pie shell. If you decided to use that melted butter trick I mentioned earlier (good call!), brush it right onto the bottom crust now. This gives us a little armor against the wet filling coming in!
Mixing the Vanilla Custard Filling
Grab your biggest bowl! We start with the eggs. Whisk those four eggs just until they get a little foamy and light—don’t beat them into oblivion. Next, gently whisk in the sugar, salt, that teaspoon of vanilla extract, and about a quarter teaspoon of nutmeg. Once that’s happy, start pouring in your two cups of whole milk really slowly while you continue whisking gently. Remember: slow and steady wins the race here to keep those air bubbles minimal. If you want an extra insurance policy on smoothness, strain the whole thing through a fine-mesh sieve into your pie shell. For more baking pointers, check out some of my favorite quick recipes that use butter!
Baking and Setting the Custard Pie
Once you pour that creamy mixture into the shell, sprinkle just a tiny bit more nutmeg right on top of the surface for that classic look. Pop it into the 375-degree oven and plan to bake it for about 40 to 50 minutes. Here’s the critical part: You’re looking for the edges to be set, but the very center should still have a slight wobble—like Jell-O, not liquid. Insert a knife near the center, and if it comes out clean, you’re golden! Do *not* forget to cool it completely on a rack afterward. If you cut it too soon, it will collapse into a puddle!
Tips for Success with Your Old Fashioned Pie
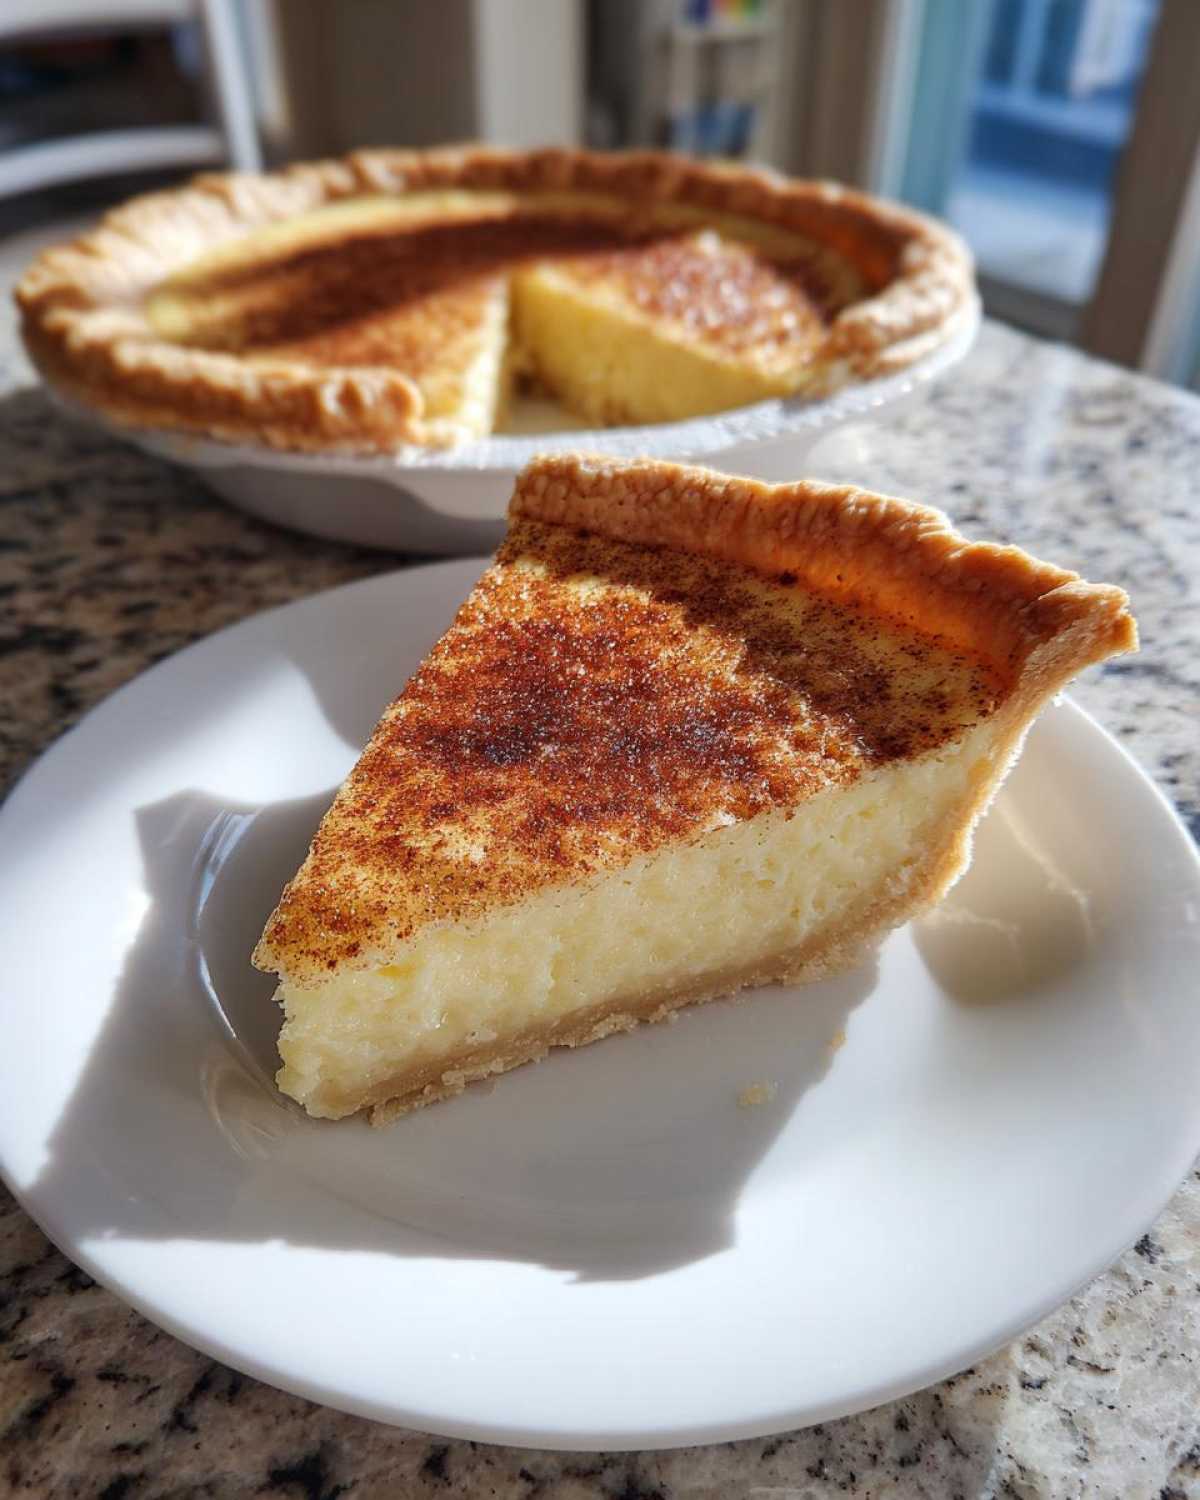
Even though this is an easy homemade pie, getting that picture-perfect finish can sometimes be tricky, right? That’s where the little bits of wisdom I’ve picked up—mostly through trial and, let’s be real, a few kitchen disasters—come into play. I always share these little secrets because I want your classic custard pie to come out looking just as gorgeous as it tastes!
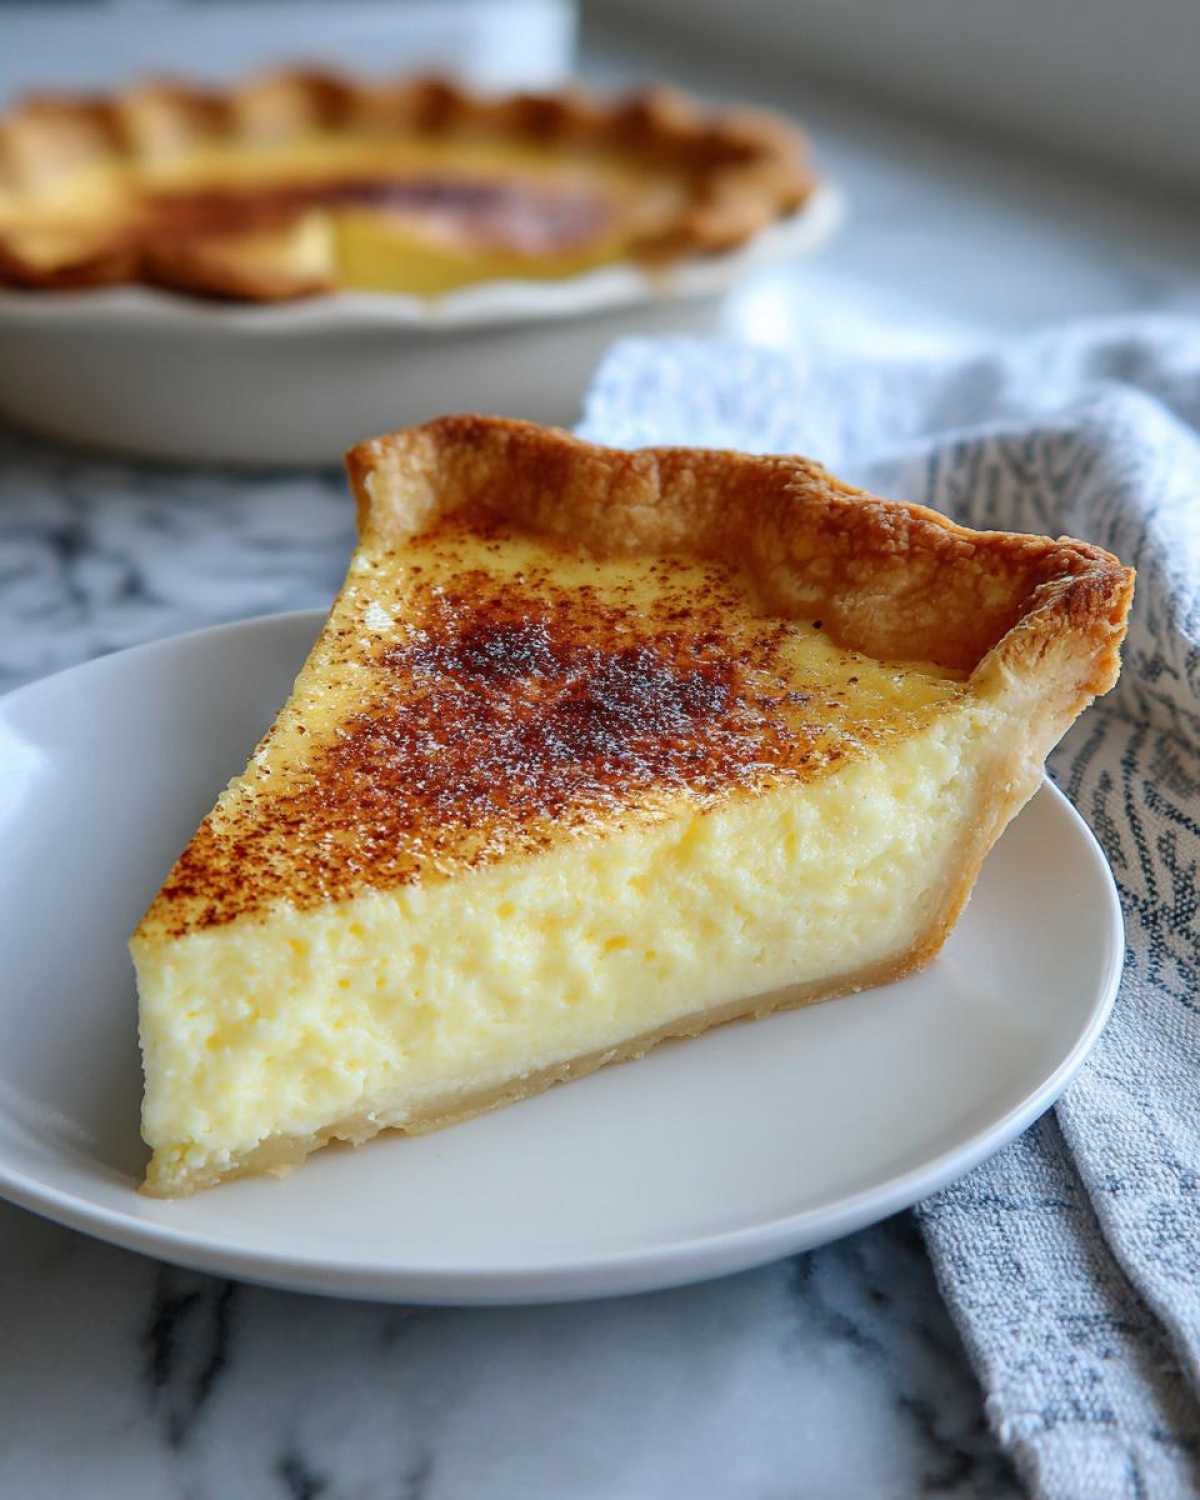
One of the best things you can do for a silky smooth result is filtering your liquid. If you’re worried about tiny bits of cooked egg white or just want the absolute smoothest vanilla custard filling possible, grab a fine-mesh sieve. Pouring the entire mixture through that strainer right before it goes into the shell is my go-to move. It guarantees you have a perfect blanket of baked custard dessert ready to go.
If you want to see how we nail creamy textures in other dishes, check out our favorites for the best deviled eggs—same principle: smooth is key!
Preventing Over-Browning on the Custard Pie Edges
This happens constantly, particularly if your oven runs a little hot, and it’s so frustrating seeing perfectly set filling next to a burnt crust! The solution is ridiculously simple and something my aunt taught me years ago. Just grab some aluminum foil and tear off strips about an inch wide.
When you notice the edges of your crust starting to get a little too brown—maybe halfway through the baking time—just create a loose ring or collar out of the foil and drape it carefully over the crust edges. It shields that delicate part from direct heat while letting the center finish baking properly. It’s the easiest way to protect your crust and makes sure your traditional dessert looks beautiful when it comes out!
Serving Suggestions for This Traditional Dessert
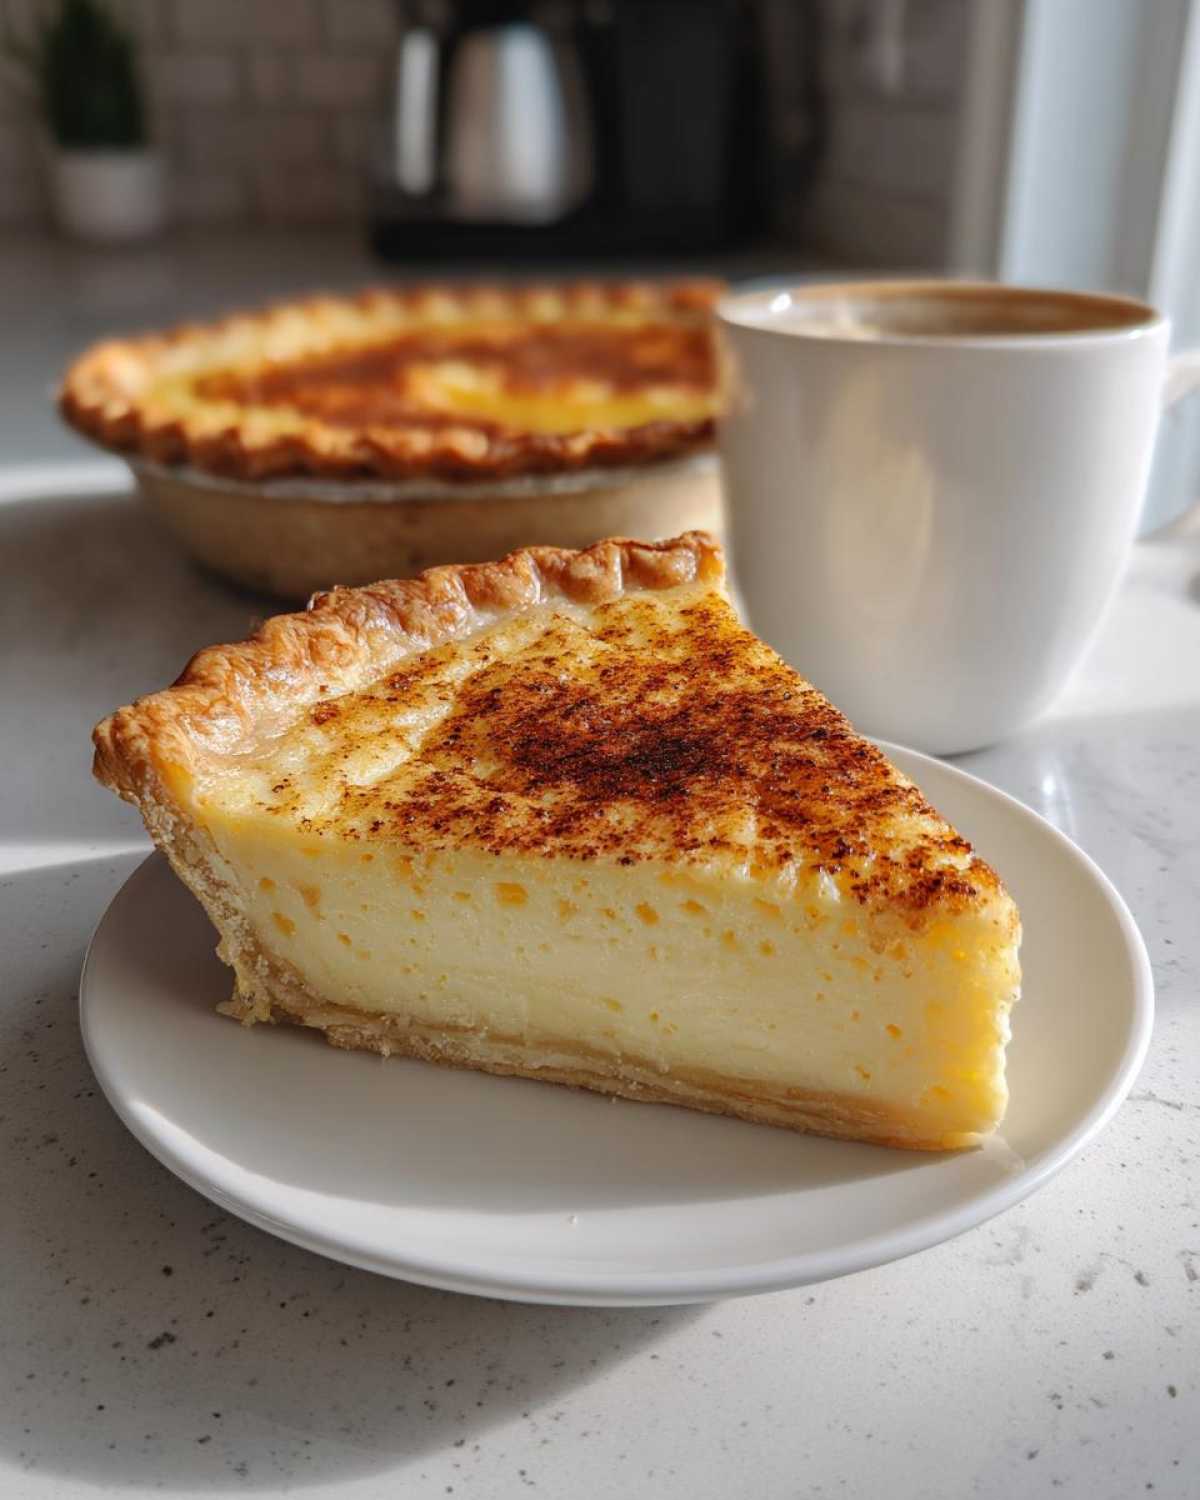
Whew! That beautiful classic custard pie is out of the oven and cooling—now for the fun part: deciding how to serve it! Because this pie is so wonderfully simple and features that gentle warmth from the vanilla extract and nutmeg, it pairs with just about anything without fighting the flavor profile. It’s more of a canvas than a centerpiece, although it looks gorgeous all on its own!
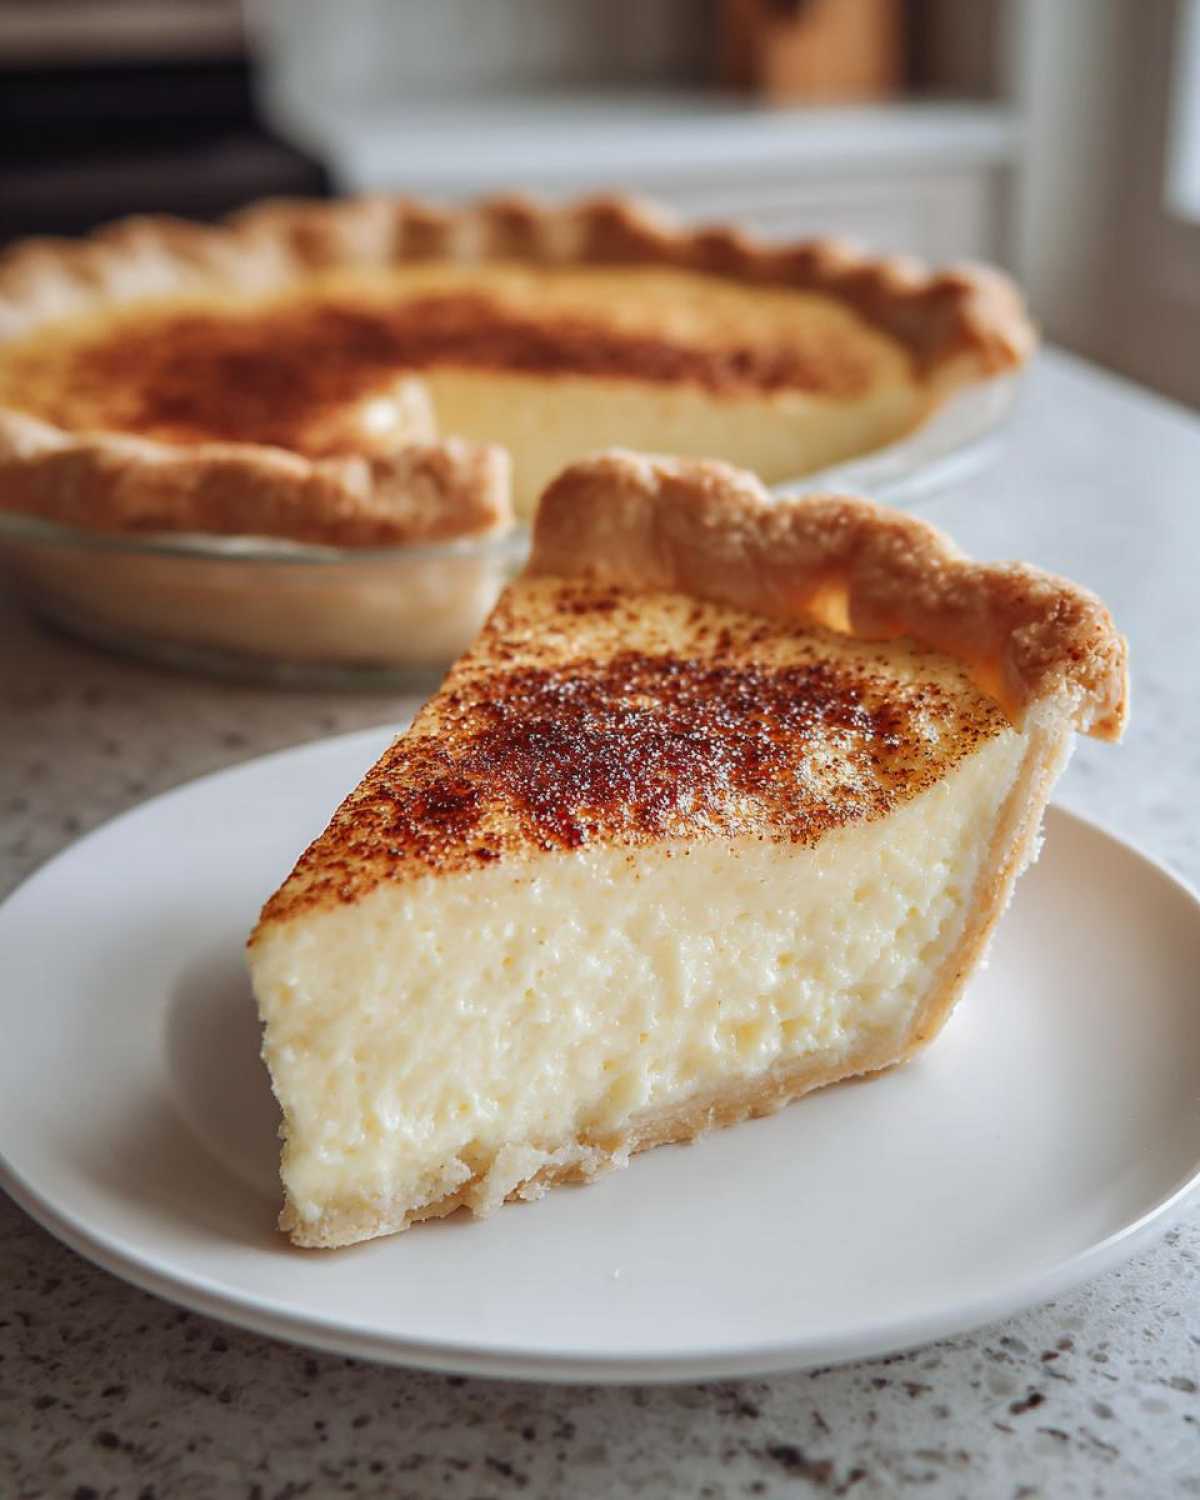
This is definitely one of my favorite options when I’m scrolling through my mental list of holiday baking desserts because it’s lighter after a big meal than a heavy chocolate cake or dense pecan pie. Plus, it’s completely satisfying!
Here are a few ways we love to enjoy this slice of heaven:
- Simply Chilled: Honestly, the way Grandma ate it—just slice it once it’s completely set and serve it cold. The custard firms up perfectly, giving you that wonderful, clean bite.
- Whipped Cream Cloud: Make a slightly sweetened, homemade whipped cream and pipe a delicate little swirl on top of each slice. It adds great texture contrast to the smooth filling.
- A Warm Drink Companion: Since this is such a classic, comforting flavor, it’s amazing alongside a warm, creamy drink. If you need something fun for the holiday table, you absolutely have to try making a batch of Coquito! You can find my favorite recipe for this amazing Puerto Rican holiday drink right here. It’s rich, spicy, and the perfect partner to a slice of simple pie.
Don’t stress about fancy sauces or toppings when serving this comfort food pie. Its perfection lies in its simplicity!
Storage and Reheating Instructions for Custard Pie
Okay, you’ve mastered the bake, and now you have this stunningly beautiful, perfectly set egg custard pie. Amazing work! But how do we keep this delicate beauty happy until it’s time to eat it? Since this is an egg-heavy filling, we have to be smart about storage. Forget leaving it on the counter like you might a fruit pie; this needs to chill out!
The absolute best way to keep your custard pie fresh and firm is to get it into the refrigerator as soon as it has cooled down completely on the counter—and I mean *completely* cool. It needs a good three to four hours minimum to fully set its creamy structure. Once cool, cover the whole thing loosely with plastic wrap, making sure the wrap doesn’t actually touch the nutmeg topping if you can help it, because that can make the spice look wet.
This pie honestly keeps beautifully in the fridge for about three or four days. It tastes just as fantastic cold the next day as it does when it’s freshly baked! It’s one of those fantastic make-ahead recipes, which is why I love it for busy weekends.
Now, let’s address reheating. My advice? Don’t. Seriously. This baked custard dessert is designed to be served chilled or at room temperature. Heating it up is just asking for trouble, and you risk turning that perfect, smooth texture into something a little rubbery or runny. It’s just not worth messing with the texture that you worked so hard to achieve!
However, if you absolutely *must* serve it warm for some reason—maybe you’re serving it alongside a piping hot dessert, which is a little unusual for this pie anyway—you have to be extremely gentle. Pop just one slice onto a plate and give it maybe 10 to 15 seconds in the microwave on a very low power setting. Focus only on warming the crust slightly, not heating the dense filling through. Otherwise, treat it like fine china: keep it cool and handle it carefully!
Frequently Asked Questions About Making Custard Pie
I knew you bread-and-butter bakers would have questions, and that’s totally fine! When we first started making this classic custard pie, I must have called Mia five times asking if I should add more sugar or if the edges were supposed to smell burnt. Don’t worry about being a beginner; we all started somewhere! I’ve gathered the most common things people ask when they are trying to master this traditional dessert below.
Can I make this old fashioned pie without a pie crust?
Oh, absolutely! If you are trying to keep things super light or maybe you’re focusing on being gluten-free or just don’t have a shell on hand, you can totally skip it. Just pour that filling mixture into individual ramekins or even a shallow baking dish. When you do this, it stops being a pie and becomes the most wonderful baked custard dessert! You’ll need to watch the timing closely, though; it usually takes a little less time to cook when it’s not locked inside a pastry shell, so start checking it around the 30-minute mark.
What makes this the best custard pie compared to others?
I truly think it comes down to the flavor balance. A lot of recipes get too heavy-handed with the sugar, or they skip the nutmeg entirely, and then you’re left with something that tastes only like very sweet milk! What makes ours the best custard pie is that perfect little blend of vanilla and nutmeg. It keeps the sweetness in check so you can really taste the richness of the eggs and the whole milk. It’s a true, straightforward, classic custard pie—nothing fancy needed!
How do I prevent my egg custard tart from cracking?
Cracks are the bane of every baker’s existence, aren’t they? Usually, cracking in an egg custard tart comes from two main culprits: either you baked it way too long, or you shocked it with a huge temperature change. Remember my rule about the middle having a *slight jiggle*? Trust me on that jiggle! It might look underdone when you pull it out, but that carried-over heat will finish the setting process. Also, make sure it cools slowly on the counter before you even think about putting it into the fridge. Slow cooling stops the structure from shrinking too fast and cracking the top layer. If you’re looking for other comforting bakes, check out my cookie recipes for those gooey pecan pie cookies—they need careful cooling too! They are dangerously good!
Nutritional Estimates for This Creamy Dessert Pie
Now, listen up, because while this is pure, unadulterated comfort food, I know some of you like to keep track of ingredients, and that’s totally fair! Please remember that these numbers are just estimates based on my ingredient choices—using a store-bought crust versus homemade changes things, of course. We always try to give you the best starting point so you know what you’re working with in this wonderful creamy dessert pie.
Here is a rough idea of what you’re looking at per generous slice:
- Serving Size: 1 slice
- Calories: 280
- Sugar: 25g
- Fat: 12g (6g Saturated)
- Protein: 10g
This pie is wonderfully balanced for a traditional treat, but always double-check if you make major swaps! Knowing the facts is just as important as enjoying the flavor, right?
Share Your Classic Custard Pie Creations
And that, my friends, is everything you need to know to whip up the most comforting, perfect slice of classic custard pie! Honestly, seeing a pie come out of the oven perfectly set like this makes my entire week. It’s simple baking, but boy, does it deliver on that homey, traditional dessert feeling.
Now that you’ve conquered the oven, we absolutely want to see what you made! Chloe and I live for the success stories. Did you stick to the classic nutmeg topping, or did you get adventurous? Did this become your instant favorite among your holiday baking desserts?
Please, snap a picture! Tag us on social media so we can squeal with delight over your smooth, creamy filling. If you want to leave a rating or comment right here on the recipe card, that helps other new bakers feel brave enough to try this easy homemade pie, too. Head over to our main blog page if you want to share your thoughts generally about starting your cooking adventures!
If you want to see how another great baker handled this recipe, you can check out the beautiful version over at Citrus Oven—they did a fantastic job on theirs too! Go take a peek.
We’re so glad you’re baking with us! Let us know how you liked this wonderfully simple slice of comfort!
PrintClassic Old Fashioned Egg Custard Pie with Vanilla and Nutmeg

Make this classic old fashioned egg custard pie for a simple, comforting dessert. The creamy vanilla filling and warm nutmeg topping create a traditional treat perfect for any gathering.
- Prep Time: 15 min
- Cook Time: 50 min
- Total Time: 65 min
- Yield: 8 servings
- Category: Dessert
- Method: Baking
- Cuisine: American
- Diet: Vegetarian
Ingredients
- 1 (9 inch) unbaked pie crust
- 4 large eggs
- 3/4 cup granulated sugar
- 1/4 teaspoon salt
- 1 teaspoon vanilla extract
- 1/4 teaspoon ground nutmeg, plus extra for topping
- 2 cups whole milk
- 1 tablespoon butter, melted (optional, for crust)
Instructions
- Preheat your oven to 375 degrees F (190 degrees C). If you are using a homemade crust, brush the bottom lightly with melted butter.
- In a large bowl, whisk the eggs until they are light and slightly frothy.
- Add the sugar, salt, vanilla extract, and 1/4 teaspoon of ground nutmeg to the eggs. Whisk until the mixture is well combined.
- Slowly pour in the whole milk while continuing to whisk gently. Mix just until the ingredients are incorporated; avoid creating too many air bubbles.
- Pour the custard mixture carefully into the unbaked pie shell.
- Sprinkle a light layer of extra ground nutmeg over the top of the custard filling.
- Bake for 40 to 50 minutes. The pie is done when a knife inserted near the center comes out clean, and the edges are set but the very center still has a slight jiggle.
- Cool the pie completely on a wire rack before slicing. This allows the custard to fully set.
- Serve chilled or at room temperature.
Notes
- For a smoother custard, you can strain the final mixture through a fine-mesh sieve before pouring it into the crust.
- If the pie crust edges start to brown too quickly during baking, cover them loosely with aluminum foil strips.
- This pie is a fantastic traditional dessert and pairs well with holiday baking menus.
Nutrition
- Serving Size: 1 slice
- Calories: 280
- Sugar: 25
- Sodium: 200
- Fat: 12
- Saturated Fat: 6
- Unsaturated Fat: 6
- Trans Fat: 0
- Carbohydrates: 32
- Fiber: 1
- Protein: 10
- Cholesterol: 120