

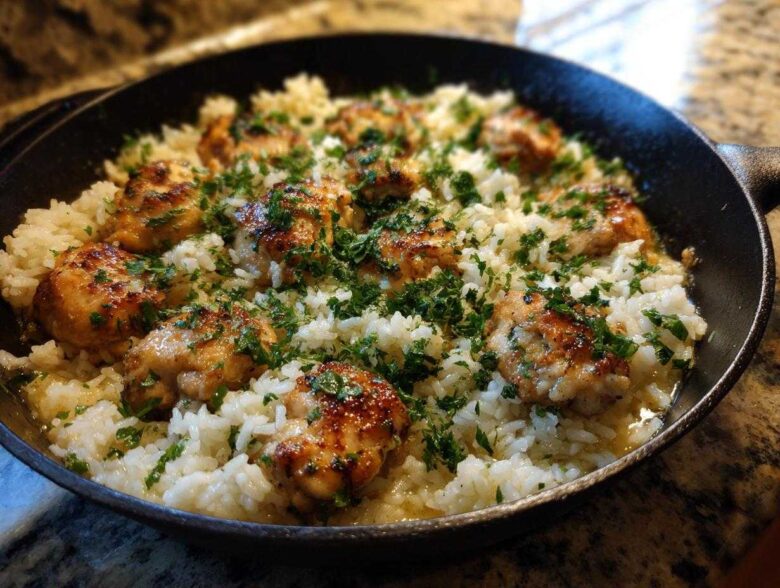
Oh my gosh, if you’re anything like me, the clock hitting 5:00 PM sends a little wave of panic through your skull. You want something delicious, something that tastes like you spent ages cooking, but you only have maybe thirty minutes before someone starts asking what’s for dinner. Trust me, I’ve spent years tinkering with these one-pan meals, trying to find the absolute sweet spot between flavor explosion and cleanup ease. You should definitely check out my guide on making the best simple garlic butter recipe to understand the foundations here!
Well, stop the presses, because I finally nailed it. This **Garlic Butter Rice with Chicken Skillet** is the answer to every stressed-out weeknight cook’s prayers. We’re talking tender chicken, fluffy rice that soaks up all that rich sauce, and that incredible, savory punch of garlic butter? It all happens in one deep skillet. Seriously, you’re going to feel like a culinary genius when you wipe down one pan at the end of the night. I promise this recipe is gold!
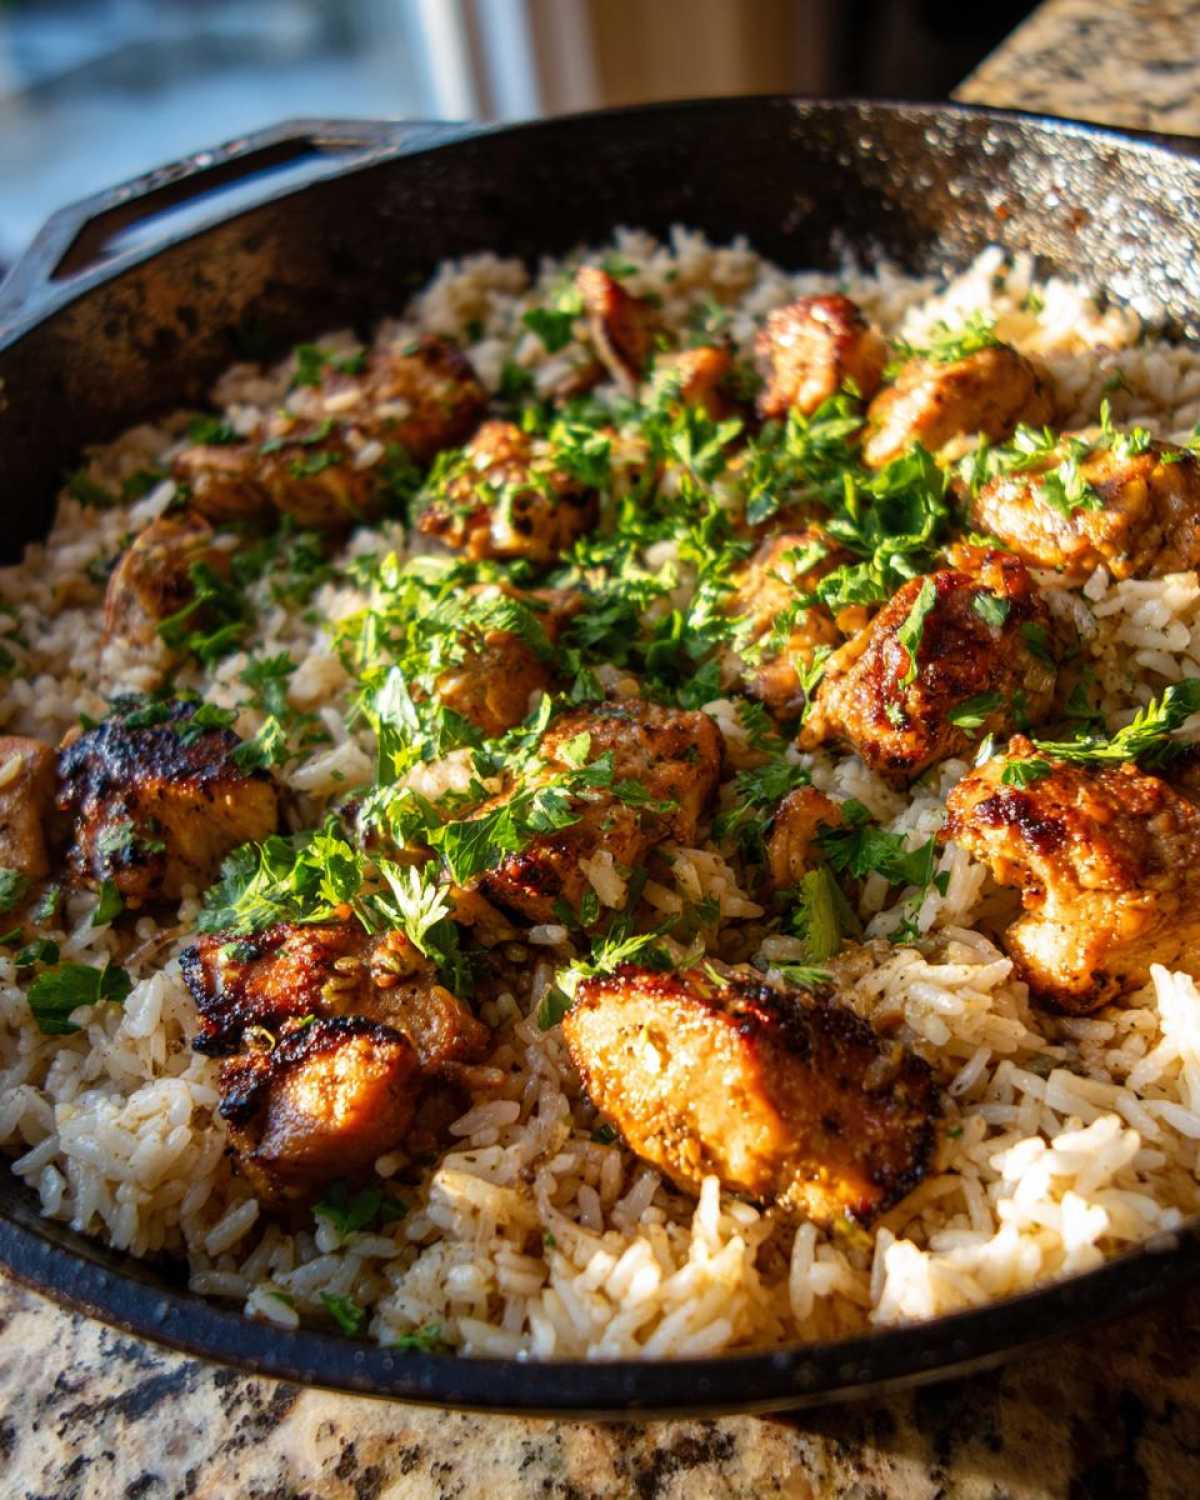
Why This Garlic Butter Rice with Chicken Skillet Works So Well
Why mess around with three different pots when you can do it all right here? This recipe slaps because it’s fast, flavorful, and frankly, lazy in the best way. Cleanup is basically non-existent!
- Flavor is King: That incredible garlic butter saturates everything. It’s savory heaven!
- Speed Demon: We’re aiming for about 30 minutes total cook time. Perfect for when you’re starving.
- One and Done: Because this is the ultimate Weeknight Chicken and Rice Skillet Meal, you just wash one pan. That’s my favorite benefit, hands down.
Essential Ingredients for Your Garlic Butter Rice with Chicken Skillet
Okay, let’s talk about what you need to pull this miracle dinner off. Since everything is happening in that one pot, the quality of your core ingredients really shines through – especially that garlic butter! Don’t skimp here; this is where the magic starts.
I’ve broken down exactly what goes in. Notice that the butter is divided? That’s important for building layers of flavor, so pay attention to the ‘divided’ part!
- 1.5 lbs boneless, skinless chicken breasts, cut into 1-inch pieces
- 1 tablespoon olive oil
- 4 tablespoons unsalted butter, divided (Trust me, use good butter here; it’s too important not to!)
- 4 cloves garlic, minced (And yes, use fresh! Do not use the jarred stuff for this flavor stage. It won’t be the same.)
- 1 small yellow onion, finely chopped
- 1.5 cups long-grain white rice, uncooked (Rinsed? Nope! We want that starch for creamy texture later, so leave it alone!)
- 3 cups chicken broth (Low sodium is usually my go-to, so I can control the salt later.)
- 1 teaspoon dried Italian seasoning
- 0.5 teaspoon salt
- 0.25 teaspoon black pepper
- 0.25 cup fresh parsley, chopped (For garnishing—it adds that gorgeous pop of green at the end!)
If you want to get really deep into onion flavor building after you pull the chicken out, I absolutely adore how real caramelized onions add depth to savory dishes. You can check out my full guide on caramelized onions if you have an extra five minutes before starting!
Step-by-Step Guide to Making the Garlic Butter Rice with Chicken Skillet
This is where the magic really happens, friends, and guess what? It’s all happening in one vessel! If you have a few minutes to get your chicken seasoned up before you start cooking, you can check out my easy tips on getting super juicy chicken in just 10 minutes. But for this Quick Skillet Chicken and Rice Recipe, speed is key, so get your things ready!
Searing the Chicken for Flavor
First things first, grab your chicken pieces and make sure they’re seasoned up nicely with that salt and pepper. Next, you need some serious heat—medium-high! Drop your olive oil and one tablespoon of that beautiful butter into your big, deep skillet. Once it’s hot and shimmering, toss in the chicken. We aren’t trying to cook it all the way through yet, just get it beautifully browned on all sides. That browning creates the *fond*, which is the flavor glue that sticks to the bottom of the pan. Once browned, take the chicken out and set it aside. It’s fine if it’s a little pink inside; we’ll finish it later in the sauce.
Building the Garlic Butter Base and Toasting the Rice
Now, turn that heat down slightly to medium. Throw in the rest of that butter—the glorious remaining 3 tablespoons. Let it melt entirely. Toss in your chopped onion and let it soften up, which only takes about three minutes. Then comes the star: the minced garlic! Add that in, but watch it like a hawk. Garlic burns faster than anything, and burnt garlic tastes bitter. About one minute until it smells absolutely amazing is perfect. Now—the rice! Stir the uncooked rice right into that fragrant garlic butter. You want to toast those little grains for about sixty seconds, coating every piece perfectly. This step is crucial for preventing mushy rice later in the **Garlic Butter Rice with Chicken Skillet**!
Simmering and Cooking the Garlic Butter Rice with Chicken Skillet
Time to introduce the liquid. Pour in your chicken broth and toss in that Italian seasoning. Give everything a good stir, making sure you scrape up all those yummy browned bits from the bottom—that’s concentrated flavor right there! Bring this mixture up to a gentle simmer. Once it’s bubbling lightly, nestle your partially cooked chicken right back into the rice mixture. Cover that skillet TIGHTLY, turn the heat way down to low, and just walk away! Don’t touch it, don’t peek! Let it covered steam for 18 to 20 minutes. This long, undisturbed time finishes cooking the chicken and steams the rice perfectly. When the time is up, kill the heat and let it sit, still covered, for another five minutes before you lift the lid. That resting period is the final secret to fluffy rice!
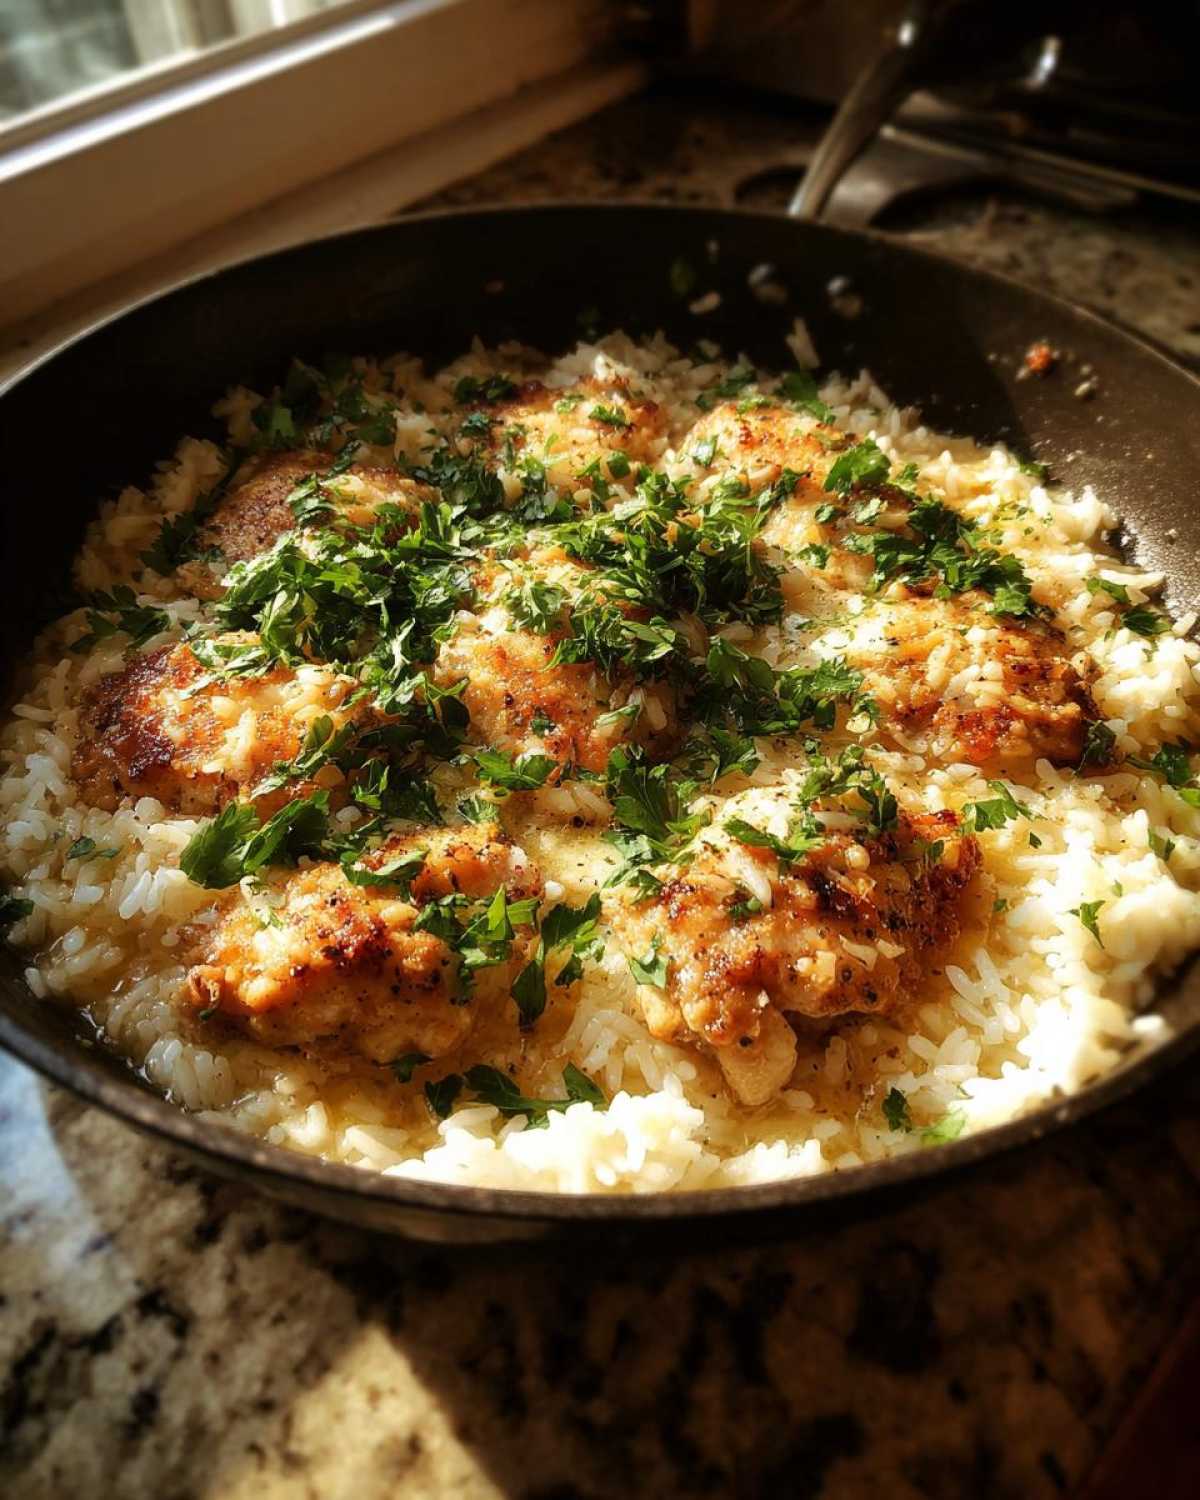
Pro Tips for Perfect Garlic Butter Rice with Chicken Skillet Results
Even though this is such a simple recipe, those little details are what separate ‘pretty good’ from ‘I need this recipe saved forever.’ I’ve learned these tricks the hard way over years of trying to make rice perfectly in a skillet. Listen to me for these tips, and you won’t have to worry about gummy rice or tricky chicken!
First off, you absolutely need a solid pan. If you’re grabbing the thinnest, flimsiest skillet you own, this isn’t going to work well. The heat distribution needs to be even, so use a heavy-bottomed stainless steel or cast iron skillet. This prevents hot spots where your rice might scorch while the center is still wet.
The number one mistake people make when learning How to Make Garlic Butter Rice is lifting that lid during the 18-minute simmer time. Don’t do it! You are trapping the steam that actually cooks the rice. If you lift the lid, that steam escapes, and you’re left with crunchy rice on top and raw broth underneath. If you think it needs more time, just add five minutes while keeping the cover firmly in place. Patience truly is your main ingredient here.
If your rice seems too dry before the 18 minutes are up, that usually means your heat was a touch too high during the simmer. If you absolutely must add liquid, add warm broth or hot water, not cold! Cold liquid shocks the rice grains and slows down the cooking process unevenly. Add just a splash, put the lid back on immediately, and continue cooking on the lowest possible setting.
As for the chicken, if you’re worried it’s either burning or staying pink, you can always pull it at the 5-minute sear mark when it’s just barely golden on the outside. When you return it to the pan to simmer low and slow, make sure the thicker pieces are submerged a little more into the broth so they finish cooking safely and stay juicy. We want perfectly cooked chicken nestled in perfectly cooked rice!
If you want to explore another fantastic short-cooking rice method that incorporates lots of flavor, you’ve got to check out my recipe for easy Spanish rice; the technique of toasting the grain first applies there, too!
Variations for Your Garlic Butter Chicken Skillet Dinner
I love that this **Garlic Butter Chicken Skillet Dinner** is so flexible! Once you master the basic ratio of rice to liquid, you can start throwing in extras to keep things exciting week after week. Don’t feel like you have to stick to the script; think of this as a starting point for your own skillet masterpiece.
Here are a few ways I like to mix things up when I get cooking fatigue. It’s all about simple additions that boost nutrition or flavor without adding extra steps:
- Veggie Power-Up: Frozen vegetables are your best friend here. About five minutes before you take the skillet off the heat—right before the final 5-minute rest—toss in a cup of frozen peas or some chopped broccoli florets. Just stir them in and put the lid back on. The residual steam will cook them perfectly, and they won’t get mushy like they would if you added them earlier.
- Spinach Fold-In: If you’re using spinach, you want to add it at the very end after you’ve fluffed the rice. I like to use a whole bag of fresh baby spinach; it looks like too much, but it wilts down into nothing! Stir it vigorously until it disappears into the hot rice. It adds beautiful color and tons of iron without changing the texture much.
- Protein Swap: Chicken breasts are my usual go-to, but you can absolutely use boneless, skinless chicken thighs if you like a richer, darker meat flavor. If you’re feeling adventurous, try swapping the chicken for shrimp! Since shrimp cooks ridiculously fast, you’ll only want to sear it for 1-2 minutes per side before setting it aside. Then, add it back in right before the final 5-minute resting lid period.
- A Little Kick: Want some heat in your garlic butter chicken skillet dinner? Stir in about a teaspoon of red pepper flakes right along with the minced garlic. It blooms in the butter and gives the whole dish a nice warmth that plays surprisingly well with the savory rice.
These small changes will keep serving this dish exciting. It’s still the same easy cleanup, but now you’ve got variety!
Equipment Needed for This Easy One Pan Garlic Rice Chicken
Look, the beauty of this **Garlic Butter Rice with Chicken Skillet** is that it doesn’t require you to haul out every gadget from the cupboard. Honestly, if you just have one good, deep pan, you’re nearly there! Getting your gear ready beforehand means you won’t be scrambling later, especially when that garlic is ready to go!
Here’s the short list of what I keep on the counter when I make this:
- A Large, Deep Skillet or Dutch Oven: This is the main player. It needs to be deep enough to hold the rice, the liquid (three cups of broth!), and the chicken without splashing everywhere when you stir. Oven-safe is a bonus, though we don’t bake this one, it means the material is usually sturdy enough to handle the high heat required for the initial chicken sear.
- Measuring Cups and Spoons: Since we’re cooking the rice *in* the pan, precision matters for the liquid ratio. Make sure you have cups for your broth and spoons handy for that divided butter and seasoning. Guessing on the broth is how you end up with soup instead of rice!
- Cutting Board and Sharp Knife: You’ll need a place to chop your onion and cube up that chicken before everything hits the hot pan.
- A Good Lid: This is critical! You need a lid that fits your skillet tightly. Remember, the magic steam cooker happens when that lid seals tight so no moisture escapes during those 18-20 minutes of simmering. If your skillet doesn’t have one, check your pot collection; a universal fitted lid works wonders here.
- Wooden Spoon or Heat-Safe Spatula: You’ll need something sturdy to scrape up those tasty browned bits (the fond!) when you’re toasting the rice and garlic.
That’s it! No fancy stand mixers or immersion blenders needed for this one. Keep it simple, keep it in the pan, and keep cleanup fast. Isn’t that just the best way to get a delicious dinner on the table?
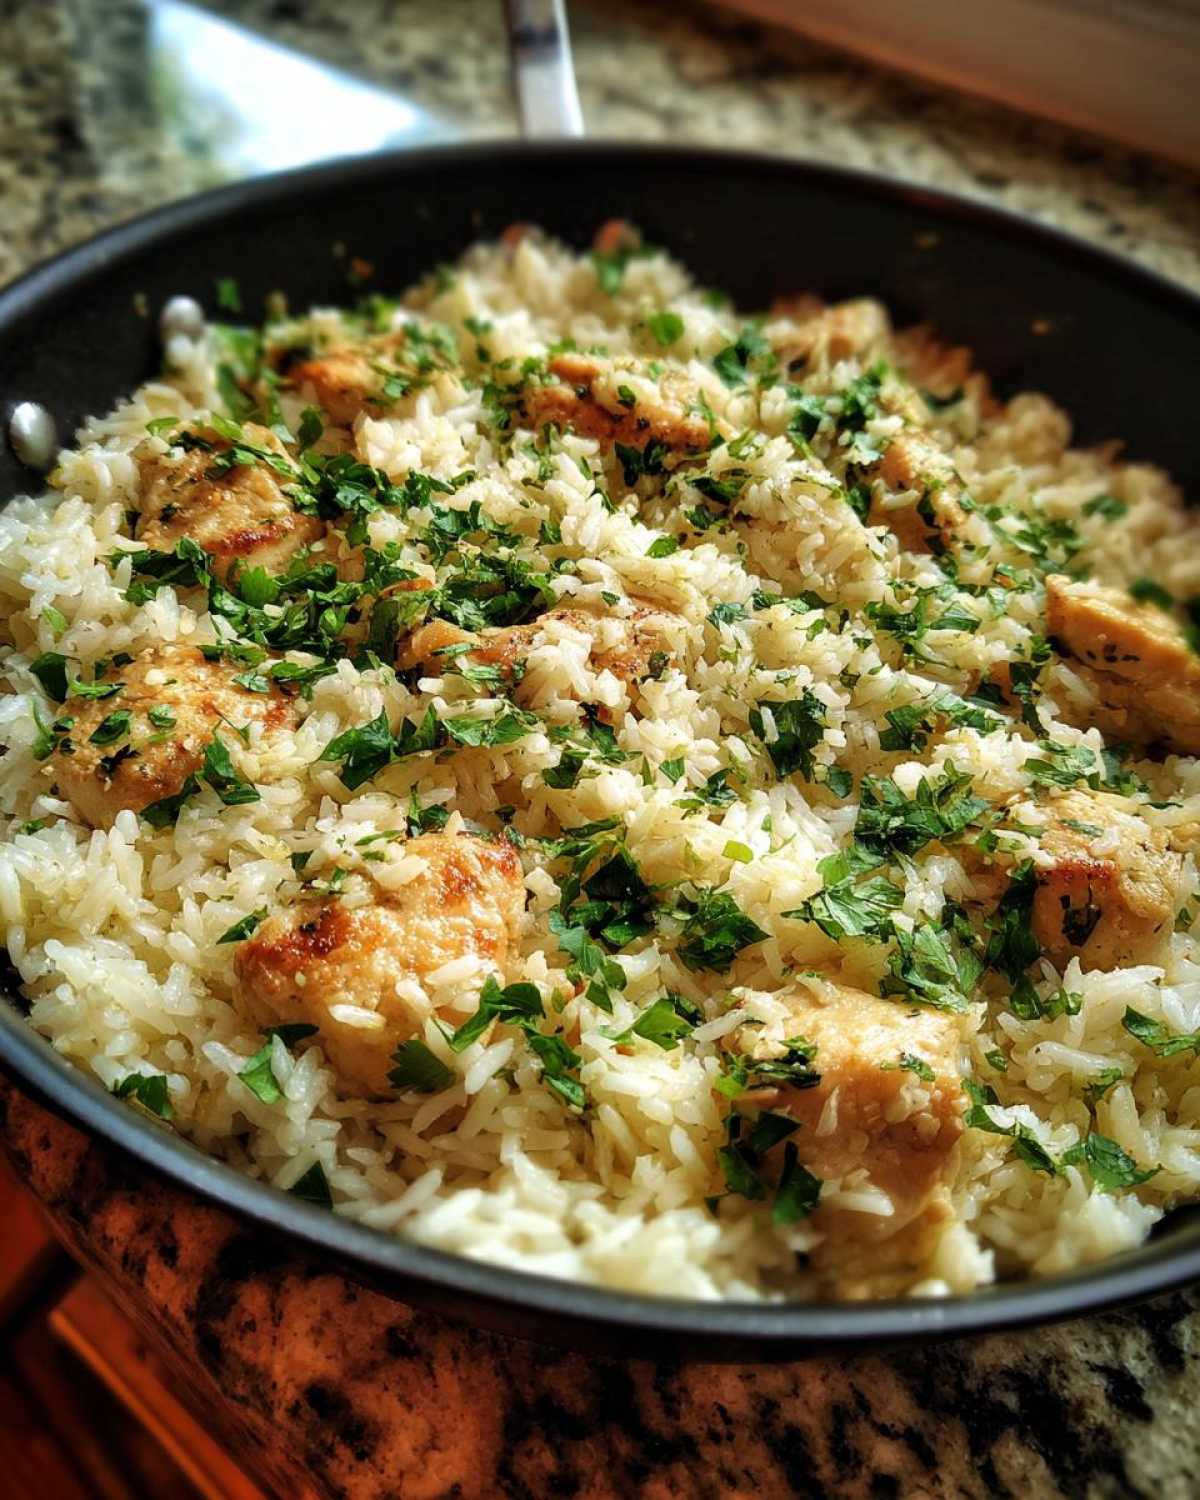
Storage and Reheating the Flavorful Chicken and Rice One Pan
One of the best things about a hearty, savory skillet meal like this **Flavorful Chicken and Rice One Pan** is that it often tastes just as good, if not better, the next day! Leftovers for lunch? Yes, please! But you do need to treat rice right when you store it, especially if you want to avoid that dried-out, crumbly texture.
When you’ve finished devouring it and there’s still some left in the pan, let it cool down a bit on the counter first. Don’t put piping hot food straight into the fridge; that messes with the temperature stability. Once it’s just warm, scoop the remainder into an airtight container. I try to use smaller, shallower containers instead of deep ones—that helps it cool faster and more evenly in the fridge, which is important for food safety!
This skillet meal should keep wonderfully in the refrigerator for about three to four days. After that, the texture just starts to degrade, you know? Try to stick to eating it within that window. It’s the perfect easy meal to grab when you’re having a busy day later in the week.
Reviving Leftovers on the Stovetop
My absolute favorite way to reheat this is on the stovetop, specifically because it brings back that lovely saucy texture the rice had on day one. You don’t want to blast it in the microwave until it’s hard, which is what happens when rice dries out!
Take the amount you want to eat and put it back into your skillet or a small saucepan over medium-low heat. The key is moisture reintroduction! Add just a splash—maybe a tablespoon or two to start—of warm chicken broth or even just plain hot water. Stir it gently as it heats up. The steam trapped by the low heat rehydrates the rice grains beautifully, making the whole dish creamy again without turning it into mush. Keep stirring slowly and adding tiny splashes of liquid as needed until it’s heated through evenly.
If you’re just planning on microwaving a single serving, that’s fine too! Just put a damp paper towel over the top of the bowl before zapping it. That little bit of trapped steam does the trick in the microwave, keeping it from drying out too fast. You can always find more great recipes that store and reheat well over on my main dinner category page!
Frequently Asked Questions About the Garlic Butter Rice with Chicken Skillet
I get so many questions about this recipe because people are always a little nervous about cooking rice right in the skillet instead of separately. It feels a bit risky, right? But once you get the hang of the liquid ratio, you’ll be making glorious one-pot meals all the time. These questions pop up the most!
Can I use brown rice in this Garlic Butter Rice with Chicken Skillet?
That is such a common question! You absolutely *can*, but you need to mentally prepare for a longer cook time. White rice is happy with 18-20 minutes covered on low heat, but brown rice is way thirstier and denser. If you swap it out, you’ll need to bump up your cooking time significantly—I’d start checking around 40 to 45 minutes covered, and you might even need an extra half-cup of hot broth added halfway through the simmer time.
You have to check the liquid levels carefully because if it dries out before the grains are soft, you’re going to end up with a burnt bottom layer. If you want that creamy flavor profile but need something faster, sometimes people try to mimic that richness using a quick sauce, sort of like how I make this amazing homemade Alfredo sauce, but for this dinner, sticking to the broth gives you that lovely, slightly starchy clinginess.
How do I make this a 30 Minute Chicken Skillet Meal?
If you’re genuinely pushing for that 30-minute window—meaning in the pan from start to finish—you need to be super organized before you even turn the stove on. This is where prep work saves the day!
First, use pre-cut chicken or even chicken tenders. If you have to chop up breasts, that eats up your time quickly. Second, when you get to the searing stage for the chicken, crank that heat up to medium-high! You want that sear to happen fast, not a slow cook. You’re just looking for good browning on the outside; it’s okay if it’s still rawish in the center because it finishes cooking later.
The biggest time saver is prep: have your onion chopped, your garlic minced, and your broth measured out before you even turn on the heat. If you’re prepped and ready to go, you can absolutely hit that 30-minute mark for a super tasty **Garlic Butter Chicken Skillet Dinner**!
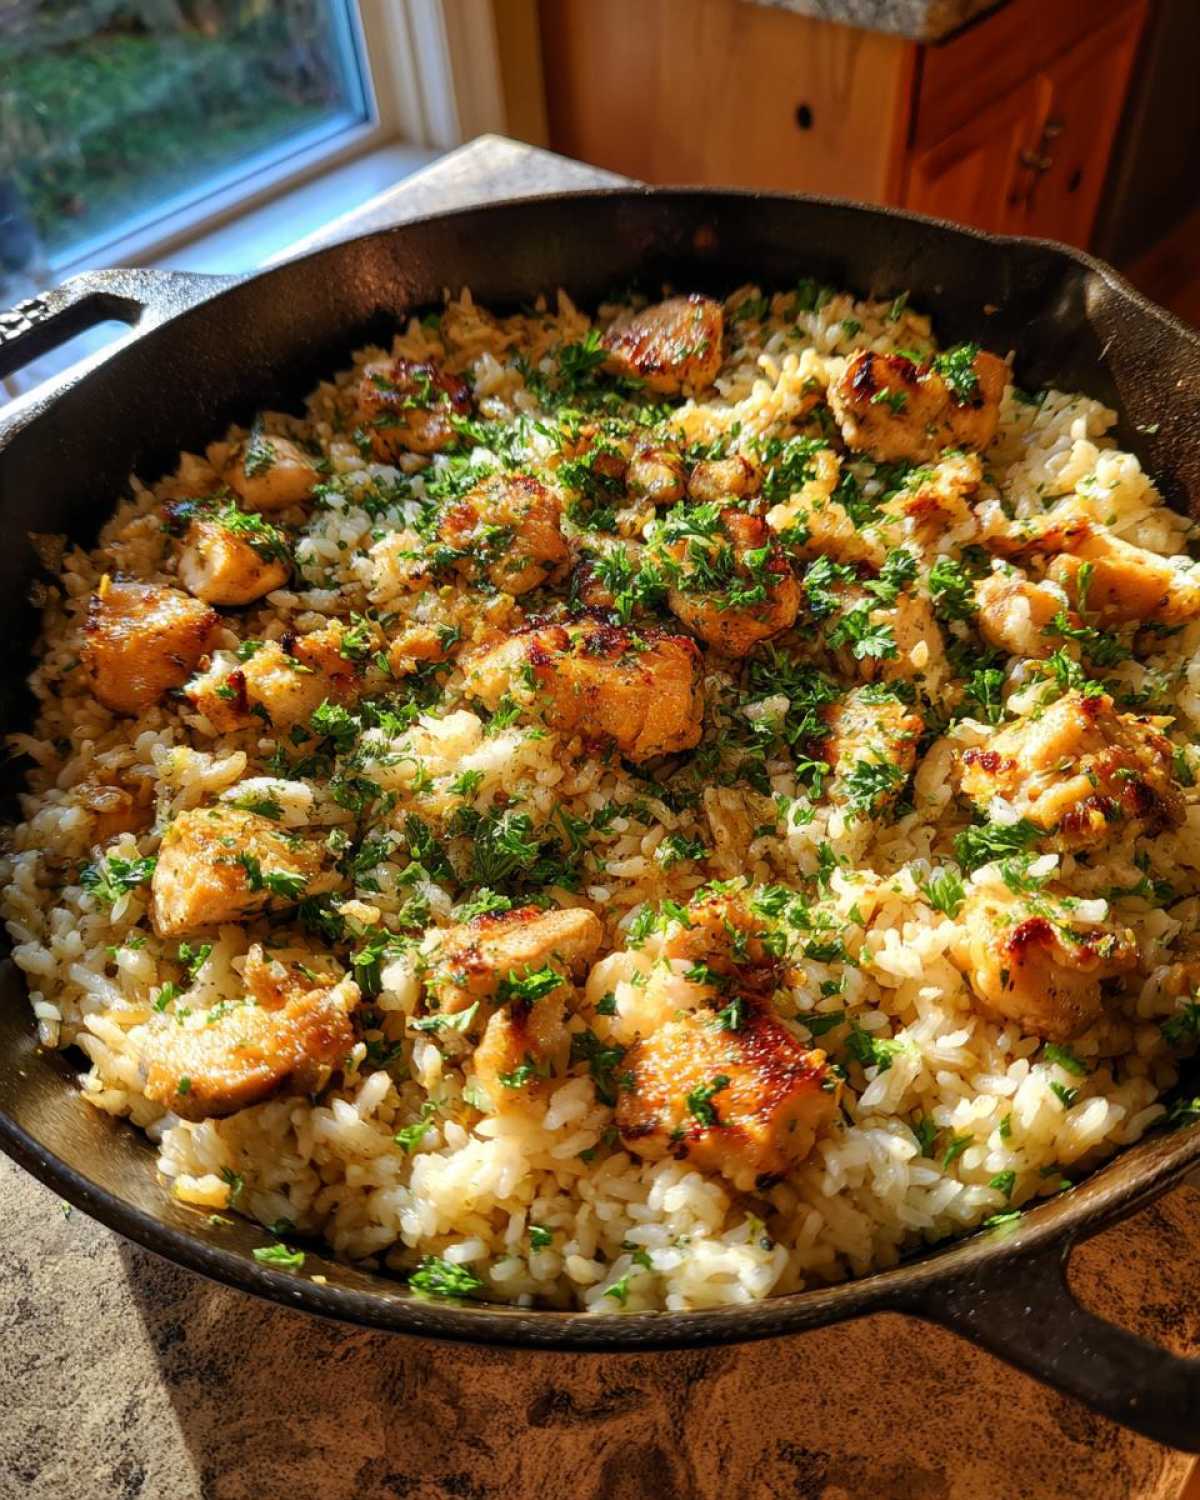
Nutritional Estimates for This Skillet Dinner Recipe
Now, I always tell people that when you’re cooking something this incredibly flavorful, you don’t really want to think about the numbers, right? We’re cooking for flavor and speed here! But since I know some of you like to track things—or just want to convince your partner this is a healthy choice—I ran these numbers through my calculator once everything is divided up into those four servings.
Keep in mind, these are just ballpark figures for the **Garlic Butter Rice with Chicken Skillet**. The exact sodium content or fat level can change depending on the brand of broth you buy or exactly how much butter decides to stick to the rice versus clinging to the serving spoon! Always check your specific product labels for the most accurate counts. For the full breakdown, you can always check my official recipe disclaimer, but here’s the snackable version:
- Serving Size: 1 serving
- Calories: About 550
- Protein: A solid 42g! That chicken really stacks up.
- Fat: Around 18g total (Remember, a lot of that is the good butter flavor!).
- Saturated Fat: Roughly 9g.
- Carbohydrates: About 55g.
- Fiber: A small boost at 2g.
- Sugar: Very low, just about 3g, mostly natural from the onion and broth balance.
- Cholesterol: Around 130mg.
- Sodium: About 650mg (This is why I always recommend low-sodium broth!).
It’s a wonderfully balanced meal for a weeknight! You get good protein from the chicken, solid energy from the rice, and all that delicious garlic flavor without tons of added sugar. Enjoy it guilt-free, because honestly, it’s worth every single calorie!
PrintGarlic Butter Rice with Chicken Skillet
A simple, one-pan recipe for tender chicken and flavorful rice cooked together in a garlic butter sauce.
- Prep Time: 10 min
- Cook Time: 30 min
- Total Time: 40 min
- Yield: 4 servings
- Category: Dinner
- Method: Skillet Cooking
- Cuisine: American
- Diet: Low Lactose
Ingredients
- 1.5 lbs boneless, skinless chicken breasts, cut into 1-inch pieces
- 1 tablespoon olive oil
- 4 tablespoons unsalted butter, divided
- 4 cloves garlic, minced
- 1 small yellow onion, finely chopped
- 1.5 cups long-grain white rice, uncooked
- 3 cups chicken broth
- 1 teaspoon dried Italian seasoning
- 0.5 teaspoon salt
- 0.25 teaspoon black pepper
- 0.25 cup fresh parsley, chopped (for garnish)
Instructions
- Season the chicken pieces evenly with salt and pepper.
- Heat the olive oil and 1 tablespoon of butter in a large, deep skillet over medium-high heat.
- Add the seasoned chicken to the skillet and cook until browned on all sides and mostly cooked through, about 5-7 minutes. Remove the chicken from the skillet and set it aside.
- Reduce the heat to medium. Add the remaining 3 tablespoons of butter to the skillet. Once melted, add the chopped onion and cook until softened, about 3 minutes.
- Add the minced garlic and cook for 1 minute until fragrant. Do not let the garlic burn.
- Stir in the uncooked rice, coating it well with the garlic butter mixture. Cook for 1 minute.
- Pour in the chicken broth and add the Italian seasoning. Bring the mixture to a simmer, scraping up any browned bits from the bottom of the skillet.
- Return the partially cooked chicken to the skillet, nestling it into the rice mixture.
- Cover the skillet tightly, reduce the heat to low, and cook for 18-20 minutes, or until the liquid is absorbed and the rice is tender. Do not lift the lid during this time.
- Remove the skillet from the heat and let it stand, covered, for 5 minutes.
- Fluff the rice gently with a fork. Garnish with fresh parsley before serving directly from the skillet.
Notes
- For richer flavor, use low-sodium chicken broth.
- If the rice seems dry before the 18-minute mark, add a splash more broth or water.
- You can substitute chicken thighs for breasts if desired; adjust cooking time slightly.
Nutrition
- Serving Size: 1 serving
- Calories: 550
- Sugar: 3
- Sodium: 650
- Fat: 18
- Saturated Fat: 9
- Unsaturated Fat: 9
- Trans Fat: 0
- Carbohydrates: 55
- Fiber: 2
- Protein: 42
- Cholesterol: 130