

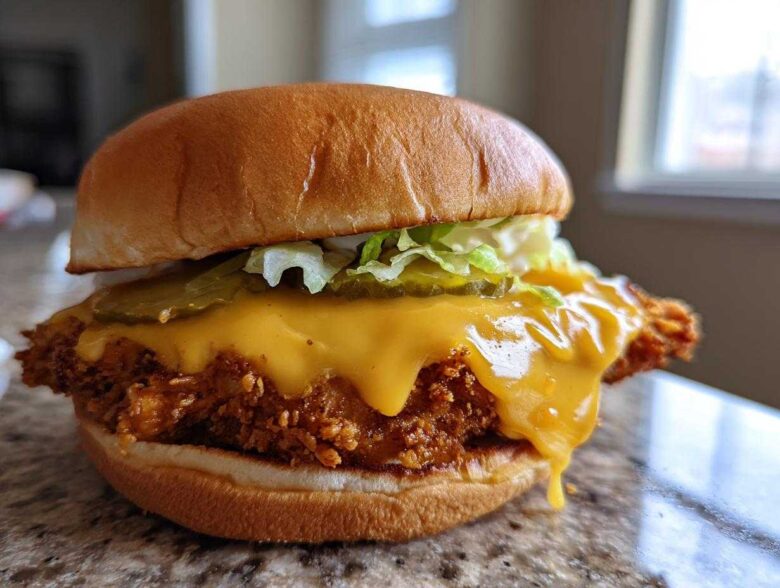
Honestly, achieving that legendary, shatteringly crisp crust on a chicken burger without drying out the meat inside feels like a trade secret, right? Well, I’ve cracked the code so you don’t have to spend years testing dredging stations! This isn’t just any sandwich; this is the ultimate, restaurant-style Crispy Chicken Burger with Melty Cheese that actually tastes better than anything you can order out. After years of trying different breading methods, I finally perfected the technique for this Crispy Chicken Burger with Melty Cheese, and trust me, the secret starts long before the frying oil gets hot.
It’s all about balancing that incredible crunch factor with the ultimate moisture from the buttermilk soak. I’m going to show you exactly how to get the breading to stick so well you’ll hear it crunch three rooms away. Come on back, I’ll walk you through the whole thing, starting with making sure your chicken is super juicy thanks to a quick soak. You’ll want to check out my tips on getting that perfect marinade ready first, it really makes a difference right here!
Why This Crispy Chicken Burger with Melty Cheese Recipe Works
I know there are a million ways to make fried chicken for a burger, but this particular method just beats them all. It’s not just about throwing stuff in a fryer; it’s about structure and moisture protection! If you follow these steps, you’re guaranteed a restaurant-grade Crispy Chicken Burger with Melty Cheese every single time. No more sad, limp coatings here!
- The chicken stays insanely juicy, even after frying.
- The coating forms a serious, crunchy armor that doesn’t fall off.
- Cheese melts perfectly thanks to a little bit of residual heat magic.
The Buttermilk Marinade for Juicy Chicken
Seriously, don’t skip the buttermilk bath. It’s the foundation for any great buttermilk marinated chicken burger you’ll ever make. The lactic acid in the buttermilk acts like a gentle attacker, breaking down the tough proteins in the chicken fibers. This is essential for tenderizing the thick breast pieces.
You need to give this at least two hours in the fridge, but honestly, four to eight hours is where the real magic happens. If you rush it, the meat stays closer to standard texture instead of getting that wonderful, yielding tenderness we are aiming for!
Secret to Crispy Chicken Coating
This is where most home cooks miss the mark! We aren’t just using flour; we’re using a blend of one cup all-purpose flour cut with half a cup of cornstarch. That cornstarch is the secret weapon for extra shattering crispiness! You need to whisk that mixture really well so the paprika and powders are evenly distributed.
The most important part of this secret to crispy chicken coating is how you handle the dredge. Don’t just toss it in! You need to press that flour mixture onto the chicken pieces with force, really massaging it in. Better yet? Go for the double-dredge technique I describe later. That extra layer creates thickness, and thickness equals ultimate crunch!
Ingredients for Your Crispy Chicken Burger with Melty Cheese
Okay, let’s get the shopping list sorted! Getting the right cast of characters together is crucial for an amazing Crispy Chicken Burger with Melty Cheese. I’ve broken down what you need into three simple groups so you don’t forget anything important. Remember, quality ingredients mean quality crunch!
For the chicken itself, you’ll need 2 boneless, skinless chicken breasts, and you must slice them horizontally so you get 4 thinner cutlets. That way, they cook fast and stay juicy. Don’t forget the buttermilk and a splash of hot sauce for the base marinade.
The breading mix is straightforward: 1 cup of flour, 1/2 cup cornstarch, salt, pepper, paprika, garlic powder, and onion powder whisked together. For the toppings, grab your 4 buns, some shredded lettuce, dill pickles, and that essential spicy sauce mix we whip up later! You can see my thoughts on using an air fryer, but for this classic version, we stick to the oil.
Choosing the Best Cheese for Melting on Burgers
This is a huge point for the best melty cheese chicken sandwich tutorial! For this recipe, I give you two great choices: classic American or sharp cheddar. American cheese is the king of melting; it gets that gorgeous, drippy blanket effect over the hot chicken with zero fuss. Cheddar gives you a bit more flavor punch, but you have to work a little faster!
My biggest tip for the perfectly melted cheese burger topping? Take the chicken out of the oil when it’s *just* done—I mean, when the internal temperature hits 165°F. Immediately place the cheese slice on top and loosely cover it with foil for sixty seconds. That trapped heat does all the work! Done perfectly, you never get that greasy separation; you just get pure, gooey perfection.
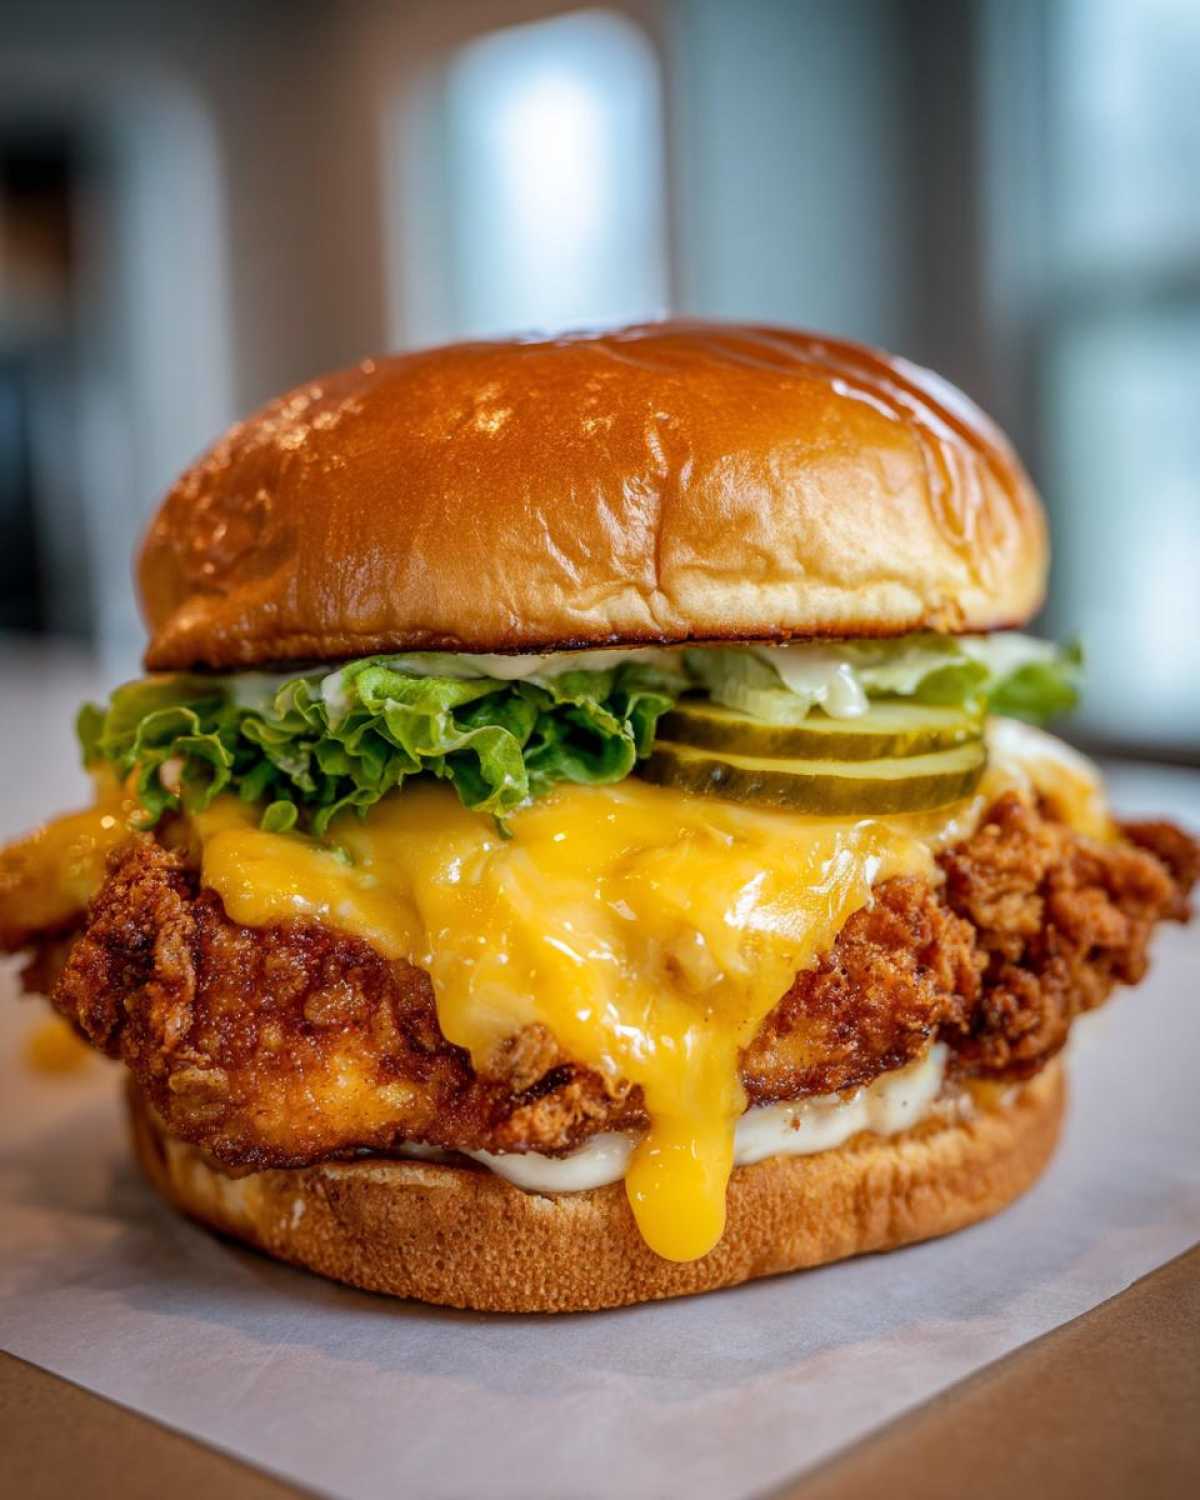
Step-by-Step Instructions for the Ultimate Crispy Chicken Burger Guide
Alright, deep breaths! This is where we turn our beautifully marinated chicken into the star of the show. Cooking time is critical here. We need that golden-brown exterior on our Crispy Chicken Burger with Melty Cheese while keeping that center unbelievably juicy. Make sure you’ve got your oil ready—we are aiming for a steady 350°F (175°C) in a Dutch oven or deep skillet. If you’re looking for other flavor boosters, I have an amazing garlic butter recipe you can use on your buns!
First things first, pull your chicken out of that buttermilk bath and let the excess drip off, but don’t pat it dry—we need that wet surface for the coating to grab onto. Then, get ready to coat these bad boys!
Mastering the Double-Dredge Technique
This technique is what separates a good crunch from a legendary one! Once you’ve done your initial thorough dredge in the seasoned flour mix, press that coating on firmly. We want texture, not flakes! For the true double-fried chicken sandwich technique experience, dip the coated piece *briefly* back into the remaining buttermilk—just a quick dunk! Then, immediately back into the flour mixture again, pressing hard so you build up those craggy, crunchy bits.
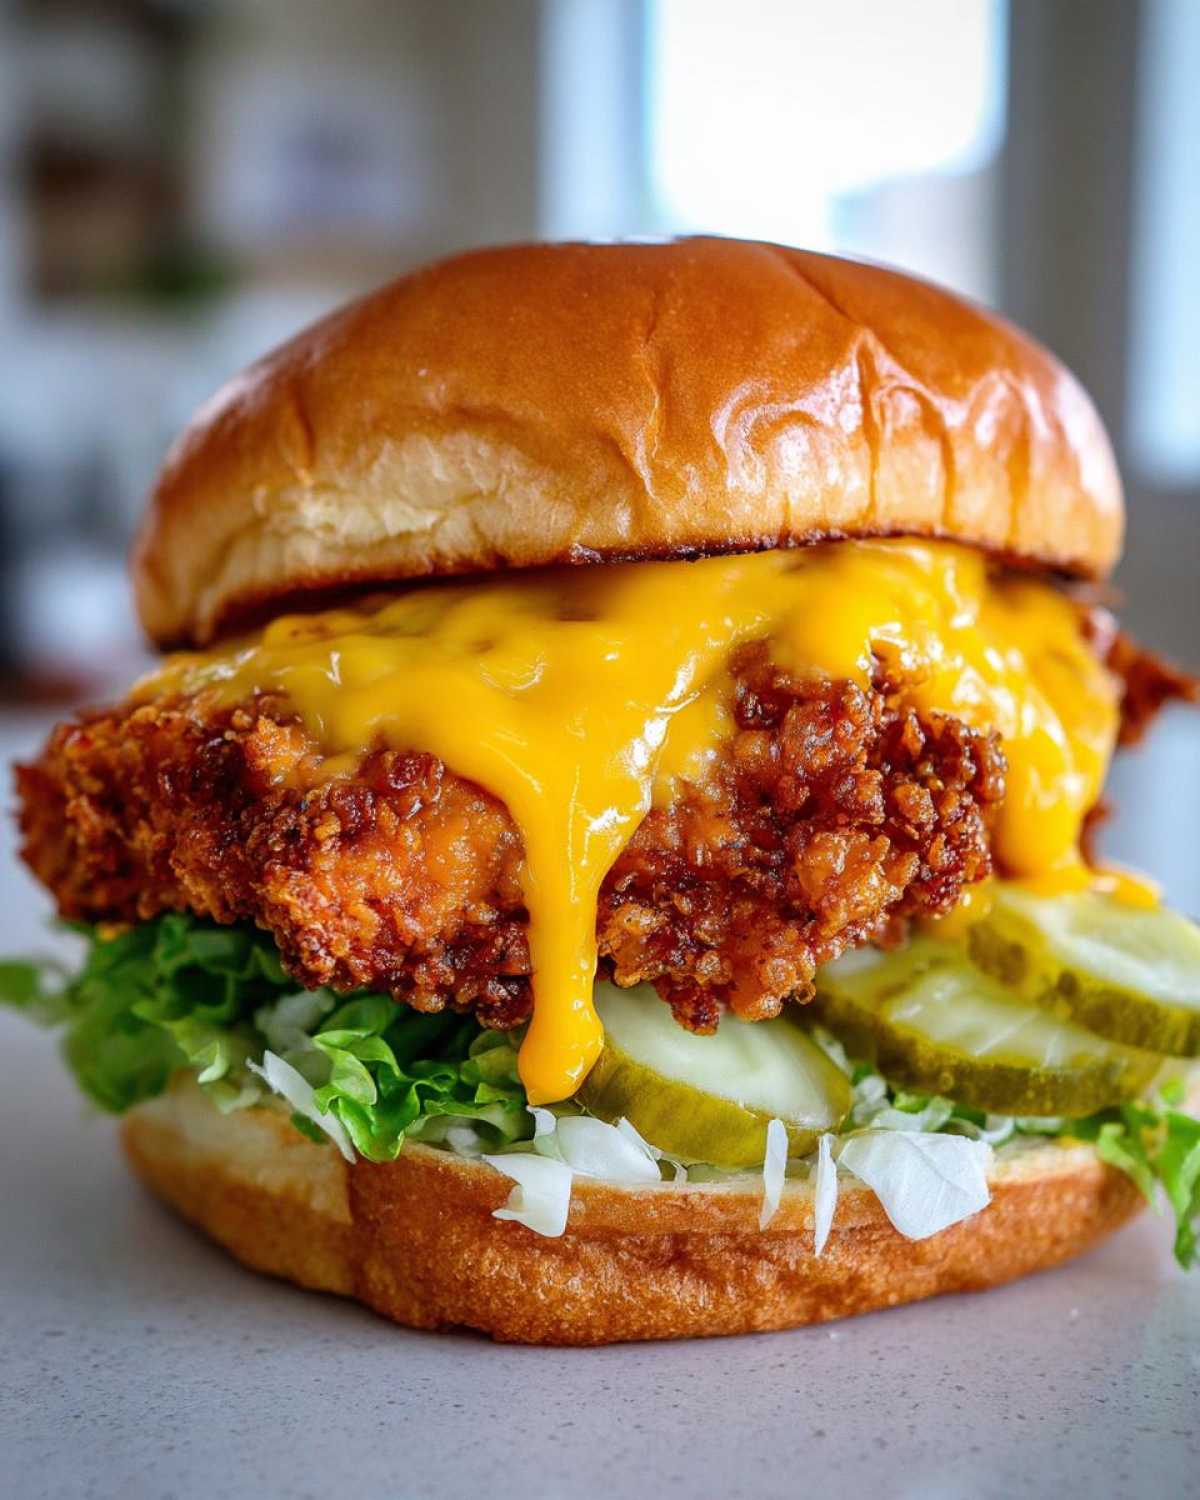
When you drop these craggy cutlets into the 350°F oil, do it gently so you don’t splash! Fry them for about five to seven minutes per side. You must pull them out when they hit 165°F internally. The absolute final step before presentation is draining them! Place the fried chicken directly onto a wire rack set over a baking sheet. This allows air to circulate underneath; if you put them on paper towels, the bottom gets soggy immediately. We want crispiness everywhere!
Achieving Melty Cheese Topping for Sandwiches
The moment the hot chicken lands on that rack, that’s your cue! Immediately place your slice of cheese—American or cheddar—right on top of that piping hot coating. If you wait even a minute, the residual heat won’t be enough to conquer the cheese.
Here’s the trick for the best melty cheese topping for sandwiches: loosely tent the entire wire rack with a piece of foil for about 60 seconds. Don’t seal it tight—we just need to trap the steam and heat. When you peek, you’ll see the cheese has turned into that perfect, gooey waterfall over your crust. If you try to melt it in the pan or microwave, you risk turning the exterior less than ideal. Trust me on the foil tent!
Tips for Success with Your Homemade Chicken Burger with Melted Cheese
I’ve put all my best little secrets, the ones that stop disasters from happening, right into the recipe notes, but let me call out a few highlights for your perfect Crispy Chicken Burger with Melty Cheese. First and foremost, remember the thermometer! Food safety is a must. You simply have to hit 165°F internally. Don’t guess—a quick poke tells you everything and saves a lot of worry about undercooked poultry.
For that ultimate crunch, you absolutely must use the double-dredging method I detailed earlier. That second press of flour builds the walls strong enough to withstand the frying! If you’re trying to keep the grease down, you can absolutely swap out the frying for the air fryer route. Just cook those breaded cutlets at 400°F (200°C) for about 15 to 20 minutes, flipping halfway through, until they look golden and sound crunchy. For more air frying inspiration, check out my guide on air fryer whole chicken—same principles apply for crispiness!
Assembly: Building the Perfect Crispy Chicken Burger with Melty Cheese
We’ve done the hard work—now it’s time to build a masterpiece! Before we lay everything down, quickly whip up the sauce by mixing mayonnaise and sriracha together. That spicy kick transforms the whole experience. You can find my thoughts on other easy homemade chicken sandwich sauce ideas elsewhere on the site!
Lightly toast those buns first, that prevents sogginess too! For the final assembly of your Crispy Chicken Burger with Melty Cheese, layer smart: start with the sauce on both bun halves. Put the shredded lettuce down on the bottom bun first—it acts as a little waterproof shield. Then comes the hot chicken, cheese and all, followed by those sharp pickle slices right on top of the dairy blanket. Pop the top bun on and get ready for world-class crunch!
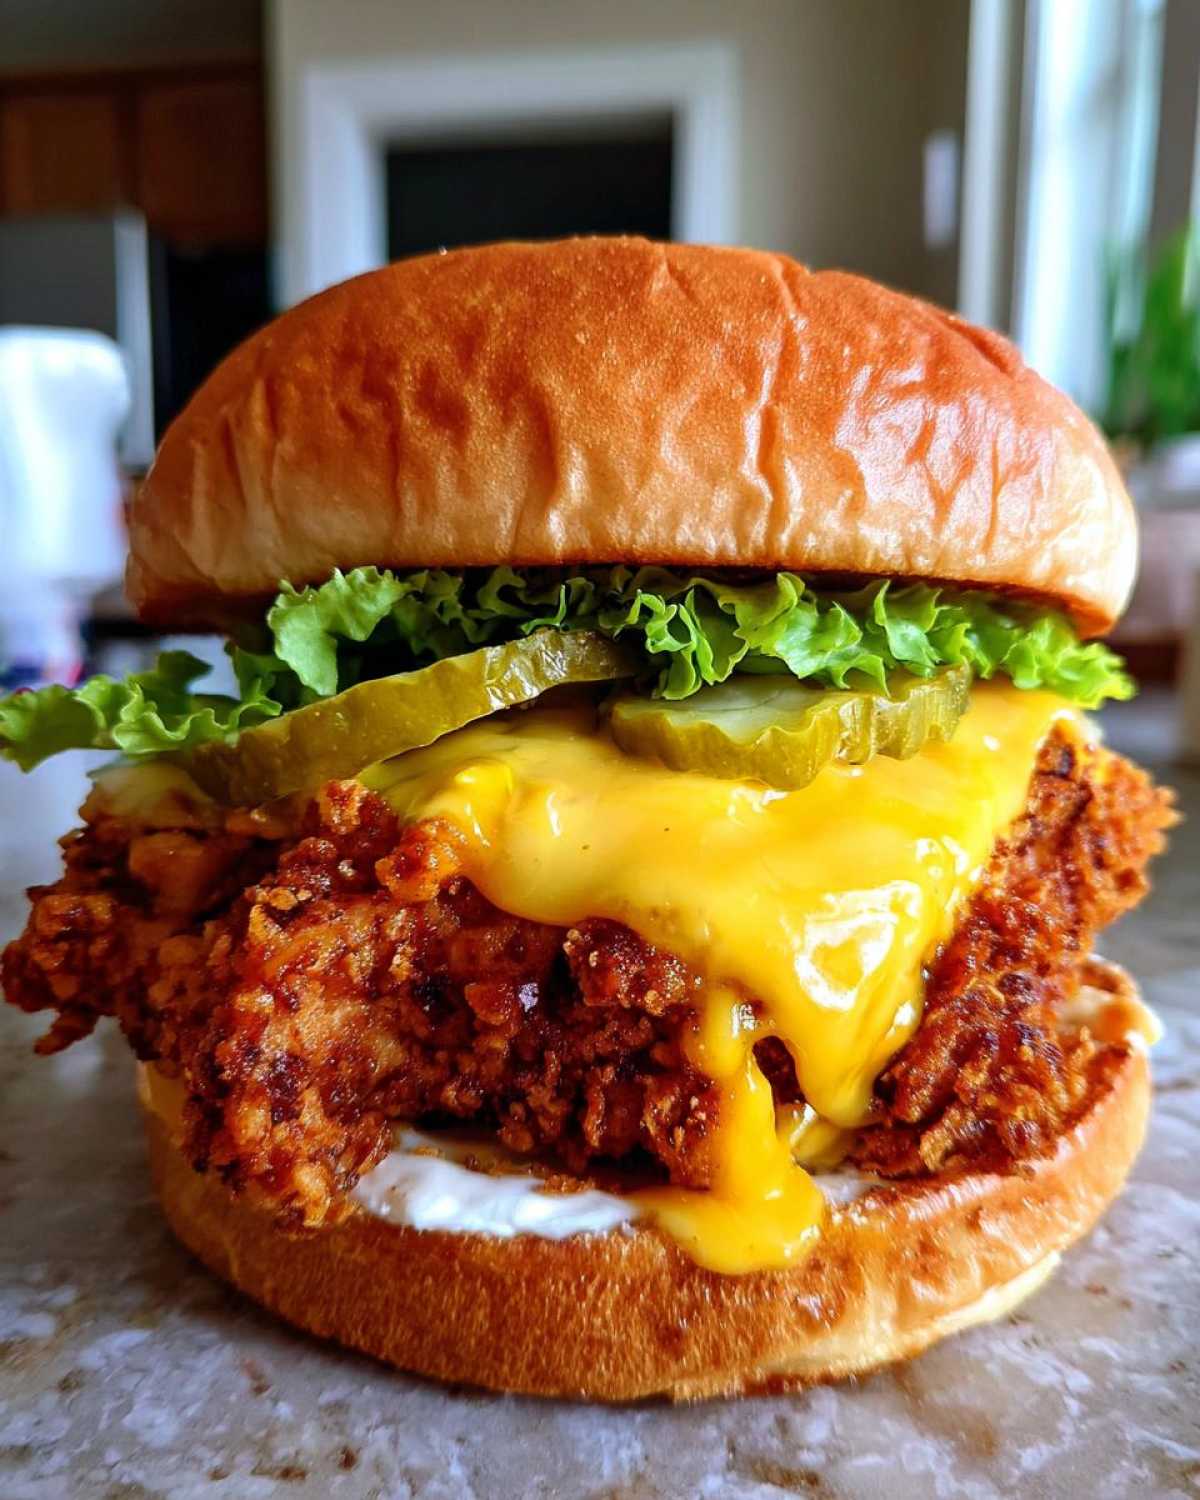
Serving Suggestions for a Savory Fried Chicken Sandwich Meal
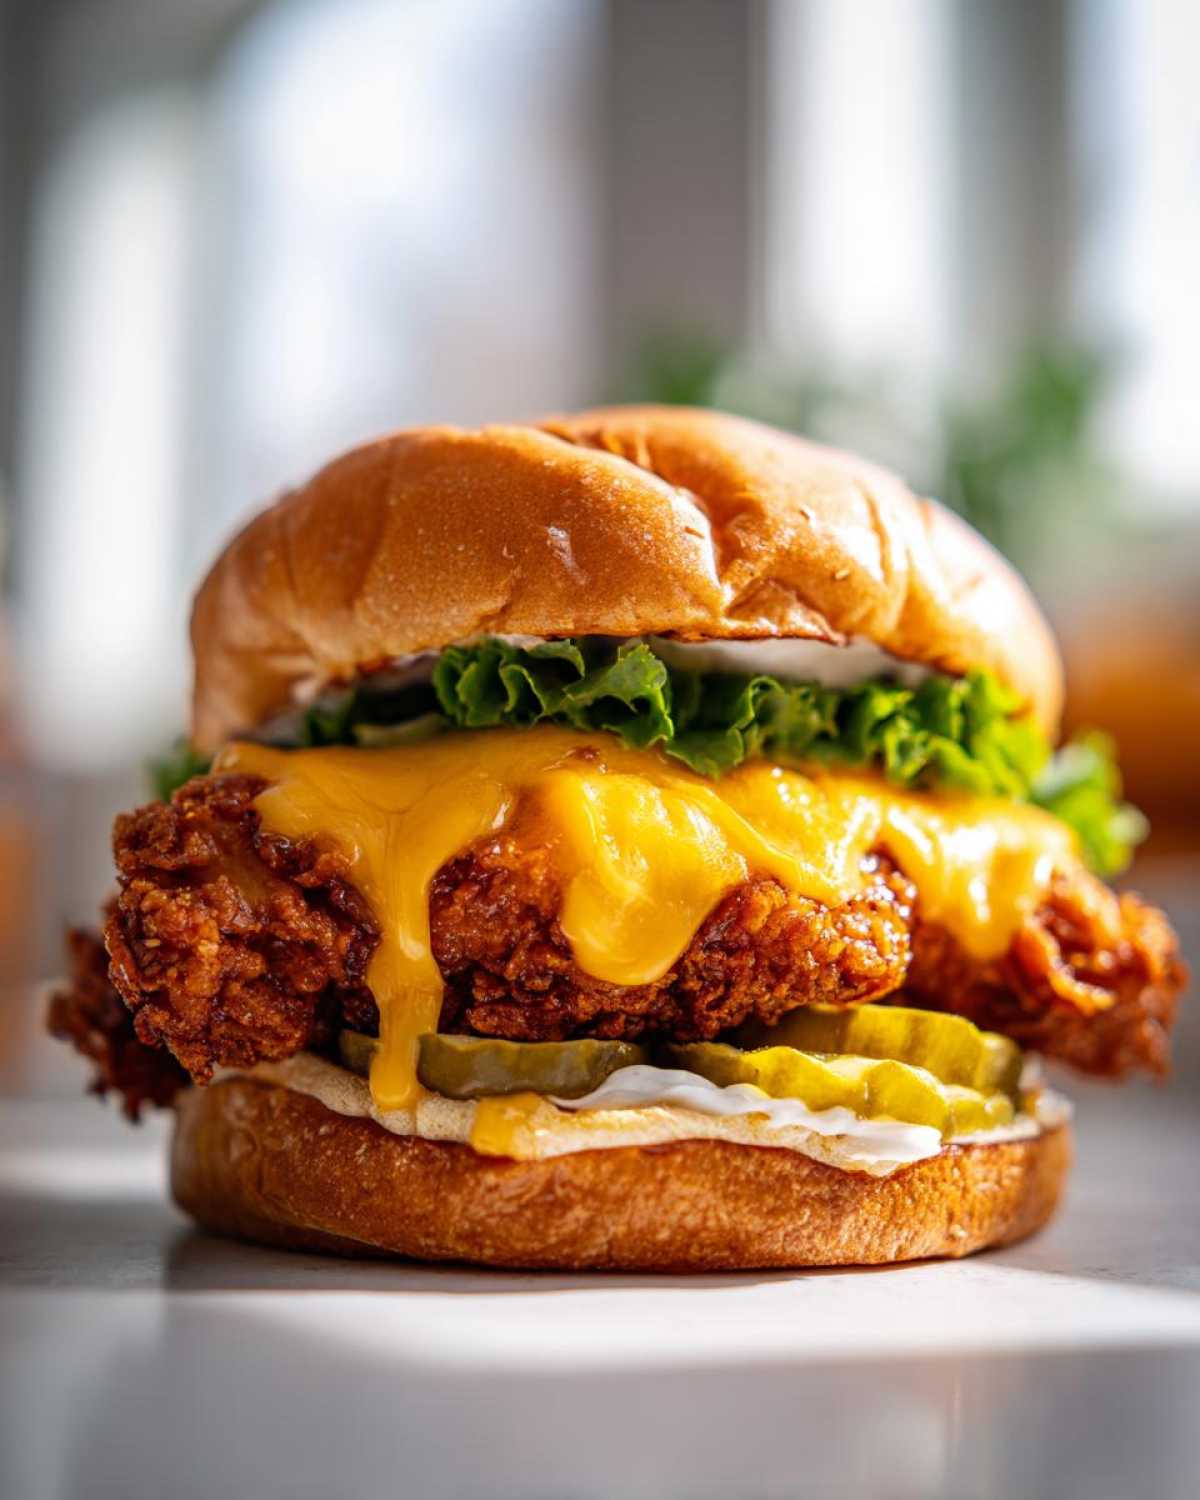
You finally have the best Crispy Chicken Burger with Melty Cheese in hand, but what about the supporting cast? A burger this epic deserves sides that can hold their own but shouldn’t try too hard to outshine the main event! When I make this sandwich, I always aim for something cool and crunchy to balance the heat and richness of that fried coating and cheese.
For a true, classic American diner feel for your savory fried chicken sandwich meal, you absolutely cannot go wrong with thinly sliced, super crispy coleslaw. The sharp vinegar tang cuts right through the richness of the frying oil and the cheese.
If you’re looking for something heartier, skip the standard potato chips. I love making a batch of my oven-roasted Mexican potatoes—they’re coated in spices and get deeply crispy without the fuss of deep frying them again. You can find the recipe for those right here!
Finally, if you’re keeping it simple, just a basket of quick, lightly salted sweet potato fries is a fantastic match. The sweetness plays so nicely against the savory, slightly spicy mayo we used on the bun. Enjoy the whole spread!
Storage and Reheating Instructions
Listen, this Crispy Chicken Burger with Melty Cheese is best eaten fresh. I mean, that crunch is fleeting! If you have leftovers, don’t even think about wrapping a whole assembled burger in plastic—it’ll steam itself into mush, and you’ll lose all that hard-earned crispiness.
Wrap the chicken patty and the bun separately in paper towels, then into a zip-top bag. The microwave is your enemy here; it makes the crust soggy instantly. For reheating that amazing crunch, use the oven at 350°F for about 8 minutes, or better yet, pop that cold patty into an air fryer for 4 minutes. That blast of dry heat revives the coating beautifully!
Frequently Asked Questions About Making the Best Crispy Chicken Sandwich Recipe
I get asked so many questions about getting this sandwich perfect—which I love! Answering these little things is how we all get better at cooking, right? If you’re looking for more deep-dive techniques, I have a great guide on homemade chicken nuggets that uses similar breading principles.
Can I use chicken thighs instead of breasts for this recipe?
Oh, absolutely! Chicken thighs are actually fantastic because they are naturally juicier than breasts, so they are harder to overcook. If you use boneless, skinless thighs instead of cutting the breasts, you’ll need to add a little more time to your frying, usually about 2 to 3 minutes extra per side. Since thighs have a bit more fat, they also get a richer flavor! It’s a great way to mix up your best crispy chicken sandwich recipe.
What is the best oil temperature for frying the chicken?
This is one of the most critical details for the crunch level! You must keep that oil right at 350°F (175°C). If the oil is too cool—say, below 325°F—the coating soaks up oil like a sponge and you end up greasy, sad chicken. Nobody wants that! If the oil is too hot, significantly above 375°F, the outside burns black before the center is even close to being cooked through. It’s a balancing act, so trust your thermometer!
How long can the chicken marinate in buttermilk?
I mentioned this earlier, but it bears repeating because timing matters! You need a minimum of two hours for the buttermilk to start doing its tenderizing work on the meat. That’s okay in a pinch. However, for the absolute juiciest result for your homemade chicken burger with melted cheese, aim for four hours. I’ve gone as long as eight hours overnight, and it’s spectacular. I wouldn’t push it much past eight, though, because the marinade can start to get a little aggressive with tenderness!
Recipe Metrics and Nutritional Estimates
So, you’ve made the best Crispy Chicken Burger with Melty Cheese ever, and now you need to know how much time you actually invested! I’m listing the key stats right here so you can plan your kitchen time better next time around. I always keep a close eye on the Total Time because that includes that essential buttermilk wait!
Here’s a quick rundown of the time commitment and what you yield from this recipe. Remember, even though the prep is fast, that marinating time is non-negotiable for prime taste and texture. I always check out the About Us page if I need a reminder on why testing techniques matters so much!
- Prep Time: 20 minutes (Active time only, of course!)
- Cook Time: 20 minutes
- Total Time: 2 hours 40 minutes (Yes, that includes chilling!)
- Yield: This makes 4 incredibly satisfying servings.
Estimated Nutritional Information (Per Serving)
Now, for the numbers! It’s good to know what you’re diving into. Since we are frying the chicken and using real butter in the bun toast (if you do that!), these figures are a bit higher than a standard grilled sandwich. But hey, we earned that crunch!
These estimates are based on the exact ingredients listed, so if you use a giant brioche bun or extra mayonnaise, your numbers will shift a bit. This is a treat, after all!
- Calories: Around 650
- Fat: About 35g (Remember, this includes the goodness from the oil!)
- Protein: A solid 40g—keeps you feeling full!
- Carbohydrates: Roughly 45g
- Sodium: Averaging 950mg (The buttermilk and salt add up, so keep an eye on that if you’re sensitive!)
Please remember, these are estimates based on standard ingredient sizes. If you build a truly monster burger, the numbers will change! But for a perfect, restaurant-style crispy chicken sandwich, these are our guiding stars.
PrintCrispy Chicken Burger with Melty Cheese
Follow this guide to make a restaurant-style crispy chicken burger featuring a juicy, buttermilk-marinated chicken breast coated in a crunchy breading and topped with perfectly melted cheese.
- Prep Time: 20 min
- Cook Time: 20 min
- Total Time: 2 hours 40 min
- Yield: 4 servings
- Category: Main Course
- Method: Frying
- Cuisine: American
- Diet: Low Lactose
Ingredients
- 2 boneless, skinless chicken breasts, halved horizontally
- 1 cup buttermilk
- 1 tablespoon hot sauce
- 1 cup all-purpose flour
- 1/2 cup cornstarch
- 1 teaspoon salt
- 1 teaspoon black pepper
- 1 teaspoon paprika
- 1/2 teaspoon garlic powder
- 1/2 teaspoon onion powder
- 4 slices cheddar or American cheese
- Vegetable oil, for frying
- 4 burger buns
- Mayonnaise, for sauce
- 1 tablespoon sriracha, for sauce
- Dill pickle slices, for topping
- Shredded lettuce, for topping
Instructions
- Place the chicken pieces in a bowl. Pour the buttermilk and hot sauce over the chicken. Cover and refrigerate for at least 2 hours, or up to 8 hours.
- In a shallow dish, whisk together the flour, cornstarch, salt, pepper, paprika, garlic powder, and onion powder. This is your dry dredge.
- Remove the chicken from the marinade, letting excess drip off, but do not pat dry.
- Dredge each piece of chicken thoroughly in the dry mixture, pressing the coating onto the chicken. For extra crispiness, dip the coated chicken back into the remaining buttermilk mixture briefly, then dredge again in the dry mixture, ensuring full coverage.
- Heat about 2 inches of vegetable oil in a deep skillet or Dutch oven to 350°F (175°C).
- Carefully place the chicken pieces into the hot oil, ensuring you do not overcrowd the pan. Fry for 5 to 7 minutes per side, until golden brown and the internal temperature reaches 165°F (74°C).
- Remove the chicken and place it on a wire rack set over a baking sheet to drain excess oil.
- While the chicken is still hot, immediately place one slice of cheese on top of each piece. Cover the rack loosely with foil for 1 minute to allow the cheese to melt completely.
- Lightly toast the burger buns.
- Mix mayonnaise and sriracha together to create a spicy sauce. Spread the sauce on both halves of the toasted buns.
- Assemble the burger: bottom bun, sauce, lettuce, crispy chicken patty with melted cheese, pickles, and top bun.
Notes
- For maximum crispiness, use the double-dredging technique described in step 3.
- If you prefer air frying, cook the breaded chicken at 400°F (200°C) for 15-20 minutes, flipping halfway through, until cooked through and crispy.
- American cheese melts the smoothest for a classic look, but sharp cheddar adds more flavor.
- Use a meat thermometer to confirm the chicken is cooked to 165°F internally.
Nutrition
- Serving Size: 1 burger
- Calories: 650
- Sugar: 5
- Sodium: 950
- Fat: 35
- Saturated Fat: 10
- Unsaturated Fat: 25
- Trans Fat: 0
- Carbohydrates: 45
- Fiber: 2
- Protein: 40
- Cholesterol: 150