

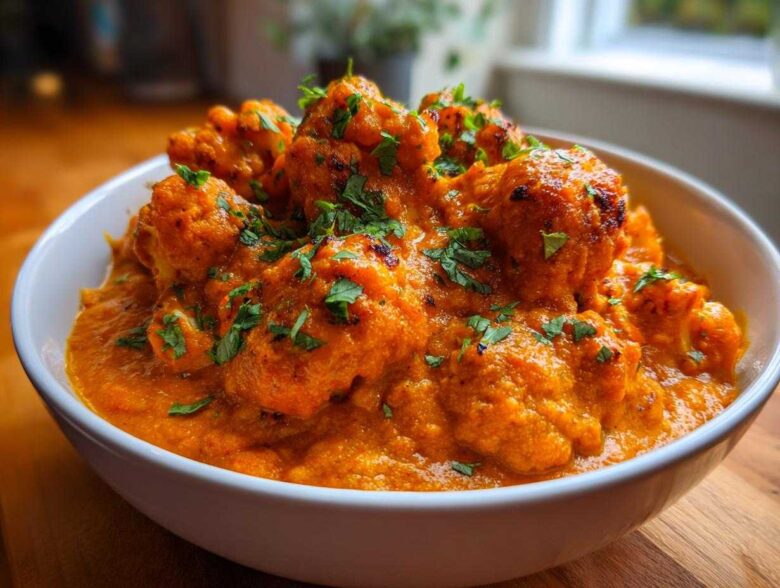
You know that feeling when you just *need* that creamy, rich, slightly smoky flavor of Tikka Masala, but you’re trying to keep things plant-based? I used to think that deep, comforting gravy was impossible without heavy dairy or yogurt. Trust me, I spent way too many evenings experimenting and coming up just short! But I finally nailed it. This version, my **Vegan Cauliflower Tikka Masala** recipe, hits every single note perfectly. I’m serious—it has the depth and velvety texture you dream about. The secret weapon is how we treat the cashews to create that amazing cashew cream base. Plus, it took me ages to get the spice blend just right, balancing the earthy garam masala with a little kick. This is the one you’ll be making every week, I guarantee it. I’m so excited for you to try the recipe I found over on our About Us page!
Why This is the Best Vegan Cauliflower Tikka Masala Recipe
Look, I’ve tried just plopping veggie broth and spices together, and it never tastes right. This recipe shines because we aren’t taking any shortcuts on flavor or texture. It tastes like the restaurant version, but completely plant-based! You’ll find that the steps feel totally doable, even on a busy night.
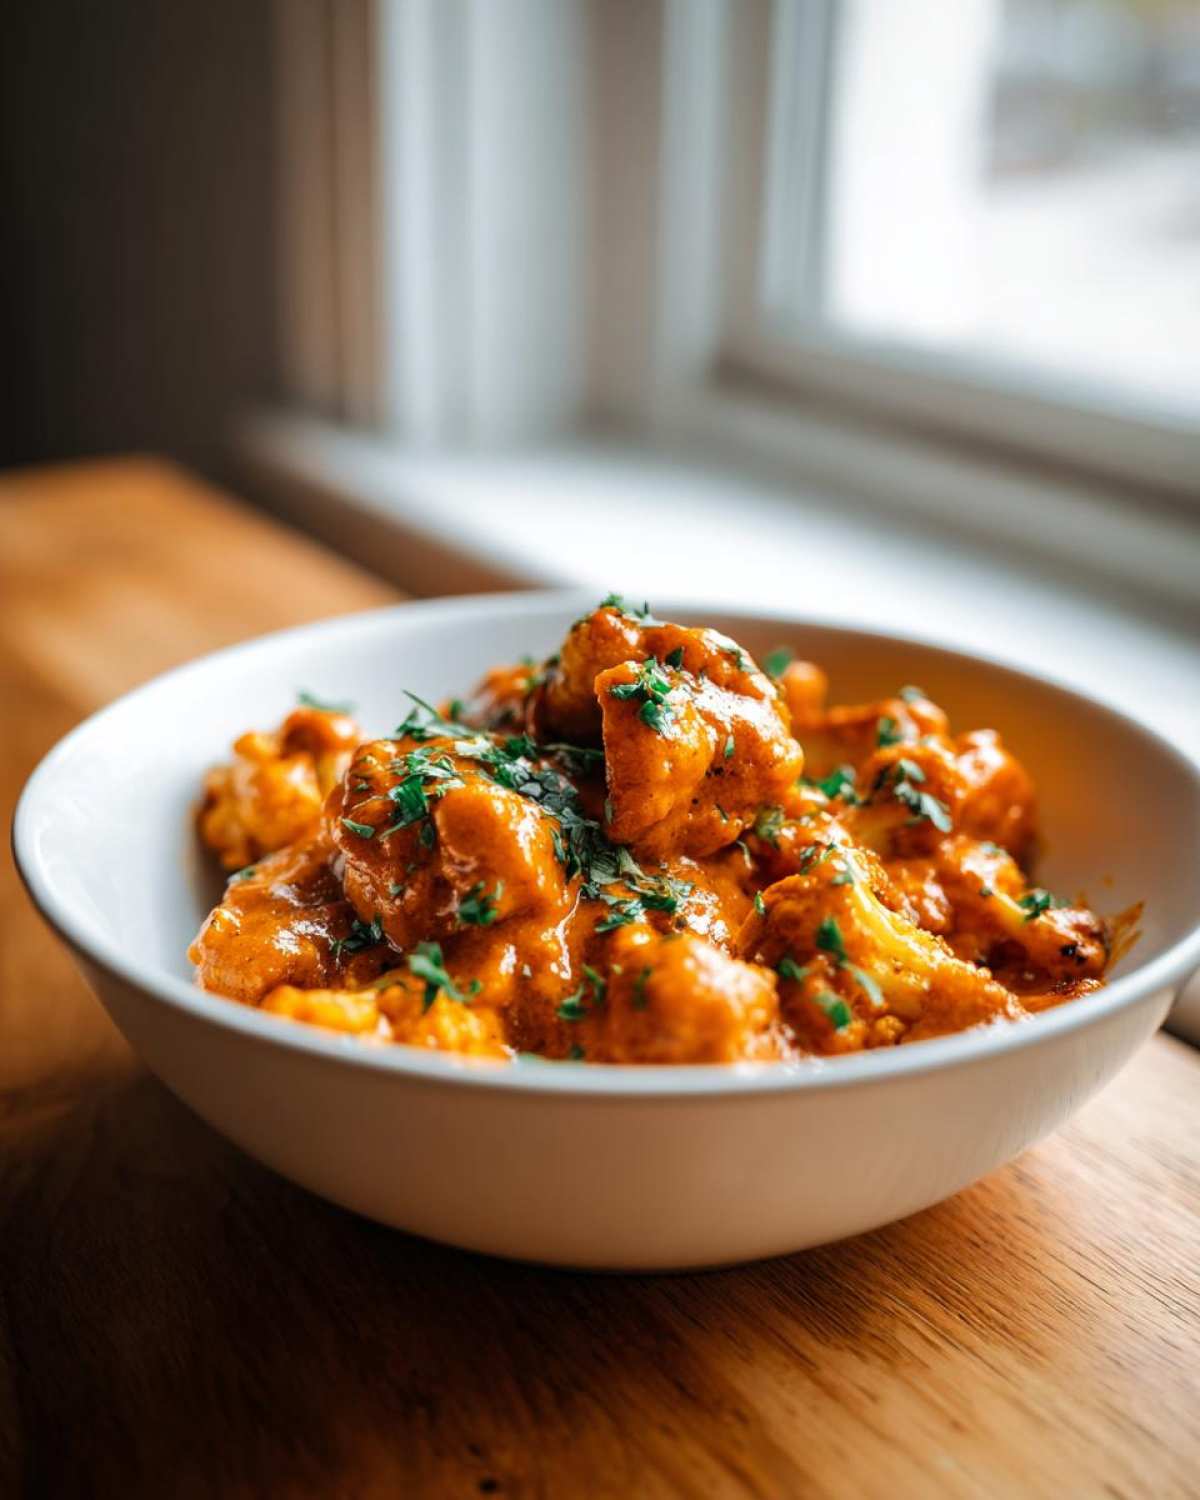
- Authentic, deep flavor from perfectly bloomed spices.
- Rich, luxurious texture thanks to our homemade cashew cream.
- The cauliflower gets slightly caramelized when roasted, adding great dimension.
Achieving Creaminess Without Dairy in Your Vegan Cauliflower Tikka Masala
This is where most people mess up the **Dairy Free Cauliflower Curry** element. Forget about shaking in plain coconut milk; that changes the whole profile! We use soaked raw cashews blended until they are outrageously silky. This creates a neutral, rich base that mimics heavy cream without imparting too much coconut flavor. If you really can’t do nuts, full-fat canned coconut milk is the backup, but trust me, the cashew route is supreme here.
Essential Ingredients for Authentic Vegan Cauliflower Tikka Masala
To get that real, deep flavor in your **Vegan Cauliflower Tikka Masala**, you need to be precise with what you bring to the party. We start with one large head of cauliflower, making absolutely sure we cut it into nice, even florets for roasting. Don’t forget the raw cashews; they must be soaked in hot water for at least 30 minutes—this is non-negotiable for our creamy texture! For the base, you’ll need a chopped onion, fresh garlic, and grated ginger. Then come the spices: cumin powder, coriander powder, garam masala, and just a pinch of chili powder to give it some pep.
The sauce itself needs diced tomatoes, vegetable broth, and nutritional yeast for that cheesy, savory depth. If you’ve ever made my caramelized onions, you know I appreciate good base building; I even wrote a whole guide on how to get that perfect deep-brown base! We use just a touch of maple syrup to balance the acidity from the tomatoes. Everything comes together beautifully.
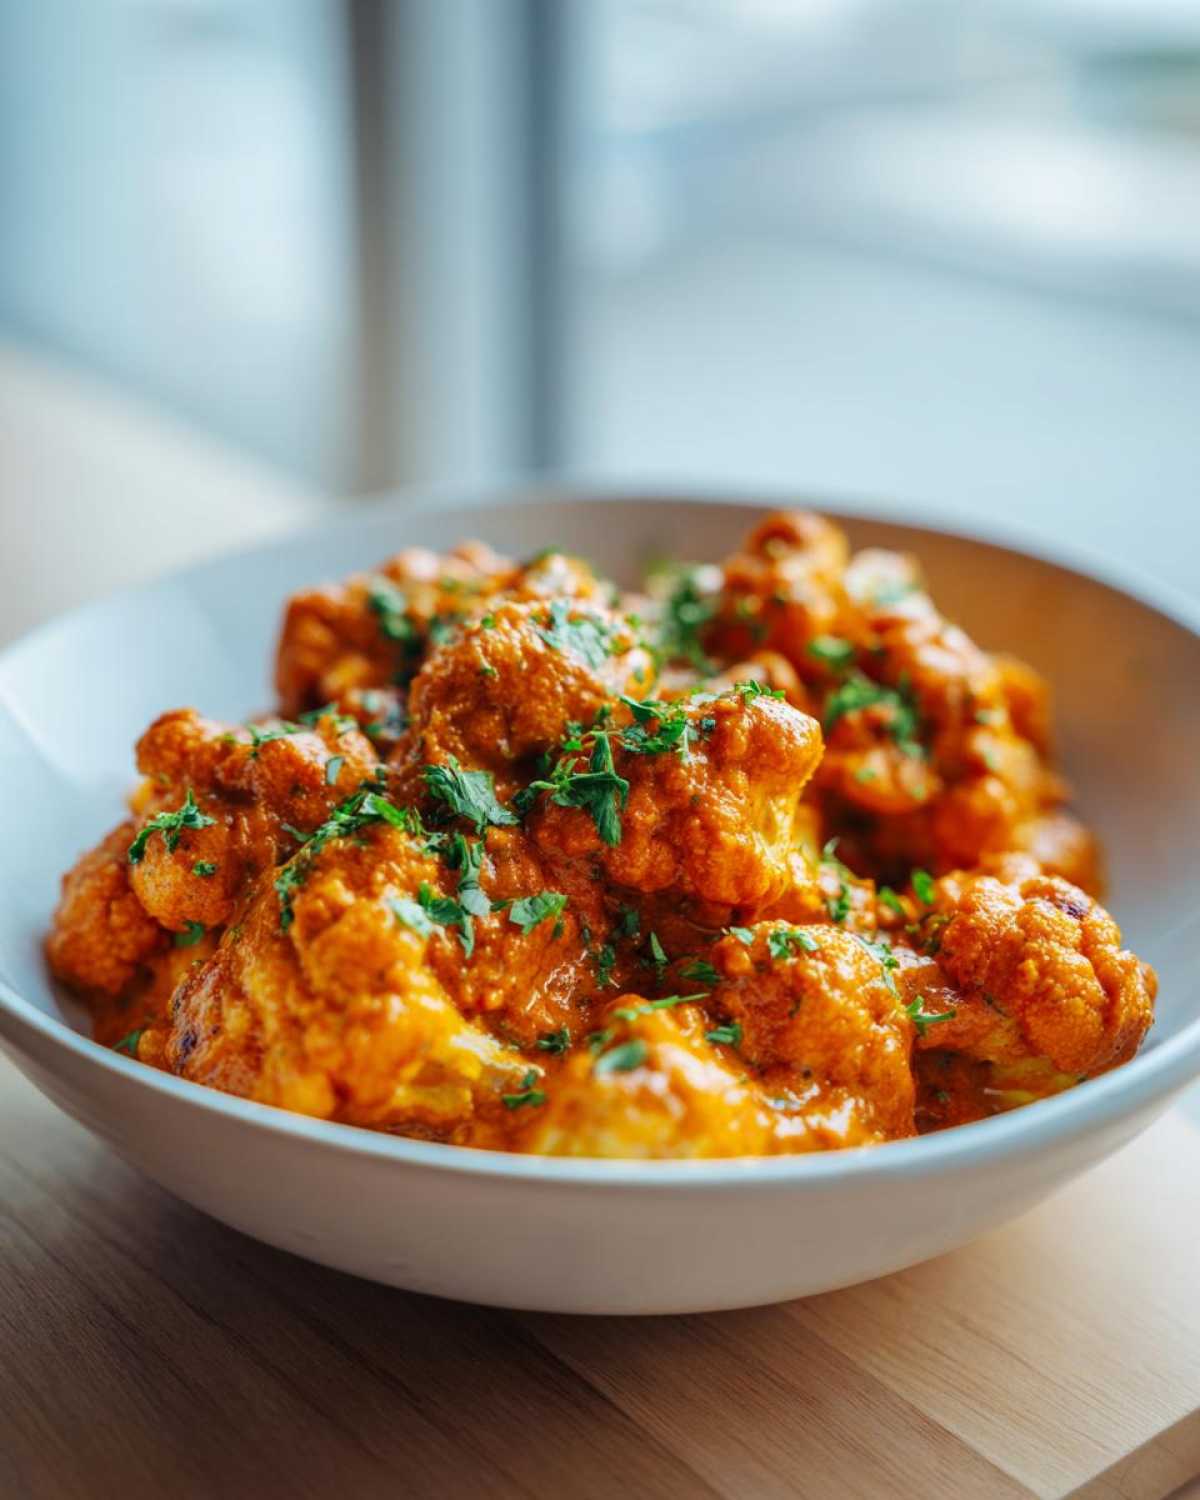
Ingredient Notes and Substitutions for Your Dairy Free Cauliflower Curry
Okay, ingredient swaps! If raw cashews are an issue, you can absolutely swap them out for 1 cup of full-fat coconut milk. Just know the flavor leans a bit more tropical—still delicious for your **Dairy Free Cauliflower Curry**, though! Also, the cauliflower is the star, but if you wanted to shake things up later, this exact sauce is amazing with tofu. Think of it as a wonderful **Tofu Tikka Masala Alternative** next time you’re grocery shopping. Just ensure you roast that tofu cube style!
How to Prepare the Roasted Cauliflower Curry Recipe
This is where the magic starts, and trust me, roasting the cauliflower first makes all the difference in texture. You want your oven cranked up to 400°F (200°C) before you do anything else! Toss those florets with a bit of olive oil, salt, and that turmeric—it gives them a lovely golden hue. Spread them out on a baking sheet and let them go for about 20 minutes. They should look tender and get those gorgeous little brown spots. It adds such a depth you just don’t get from boiling. While they roast, you can get cracking on the sauce. Speaking of depth, if you ever tackle a rich tomato dish, focusing on building that flavor complexity is key, kind of like in my creamy roasted tomato soup guide!
Making the Creamy Cashew Base for Your Vegan Cauliflower Tikka Masala
Once you drain those soaked cashews—remember, soaking is crucial—it’s time to blend! Do yourself a huge favor: use the highest speed blender you have for this step. We want zero grit for the ultimate **Cashew Cream Sauce for Curry**. Toss the cashews in with about half a cup of fresh water. Blend it until it’s totally smooth, almost like heavy cream straight from the carton. Set this velvety mixture aside while you start the stovetop work, because that cream doesn’t want to sit around long!
Building the Flavor Base: Spices and Simmering for the Quick Vegan Curry Sauce
Now for the aromatic foundation that makes this a true **Weeknight Vegan Indian Dinner** favorite. Heat your oil in a big pot, sweat down those onions until they’re soft—about five minutes—then toss in the garlic and ginger for just one minute until you can really smell them. Here’s the most important part for authentic flavor: add your cumin, coriander, garam masala, and chili powder *after* the aromatics but *before* the wet stuff. You have to cook those dry spices for only about 30 seconds, stirring constantly! If you let them burn, your amazing **Quick Vegan Curry Sauce** turns bitter, so be quick!

Tips for Success When Making Vegan Cauliflower Tikka Masala
Listen, even the best recipe hits a snag sometimes if you rush it. If you are truly pressed for time and can’t spare those 20 minutes for roasting, you can totally steam the cauliflower instead. Just steam it for about 8 minutes until it’s fork-tender, then toss it into the sauce. It still works great!
My biggest tip, though, is to always taste before you serve. Stir in that maple syrup, then grab a spoon. Does it need more salt? Is the spice kicking enough? Adjust it right there at the end—that’s how the best cooks perfect things! This simple move elevates your **Vegan Cauliflower Tikka Masala** from good to absolutely unforgettable.
Serving Suggestions for Your Indian Main Course Vegan Dinner
So, you’ve got this gorgeous, rich **Vegan Cauliflower Tikka Masala** simmering away—what do you serve it with? It truly shines next to fluffy, lightly salted basmati rice; that’s my go-to side dish every time. But for truly great scooping, you absolutely need some bread, right? Dipping that last bit of gravy is the best part of any curry, honestly.
You have to make some warm naan bread to go with this fantastic **Indian Main Course Vegan** dish! I have a recipe for homemade naan bread that works perfectly here, even if you’re keeping everything plant-based. Just make sure you brush it with a little vegan butter replacement after it comes out of the oven. Perfection!
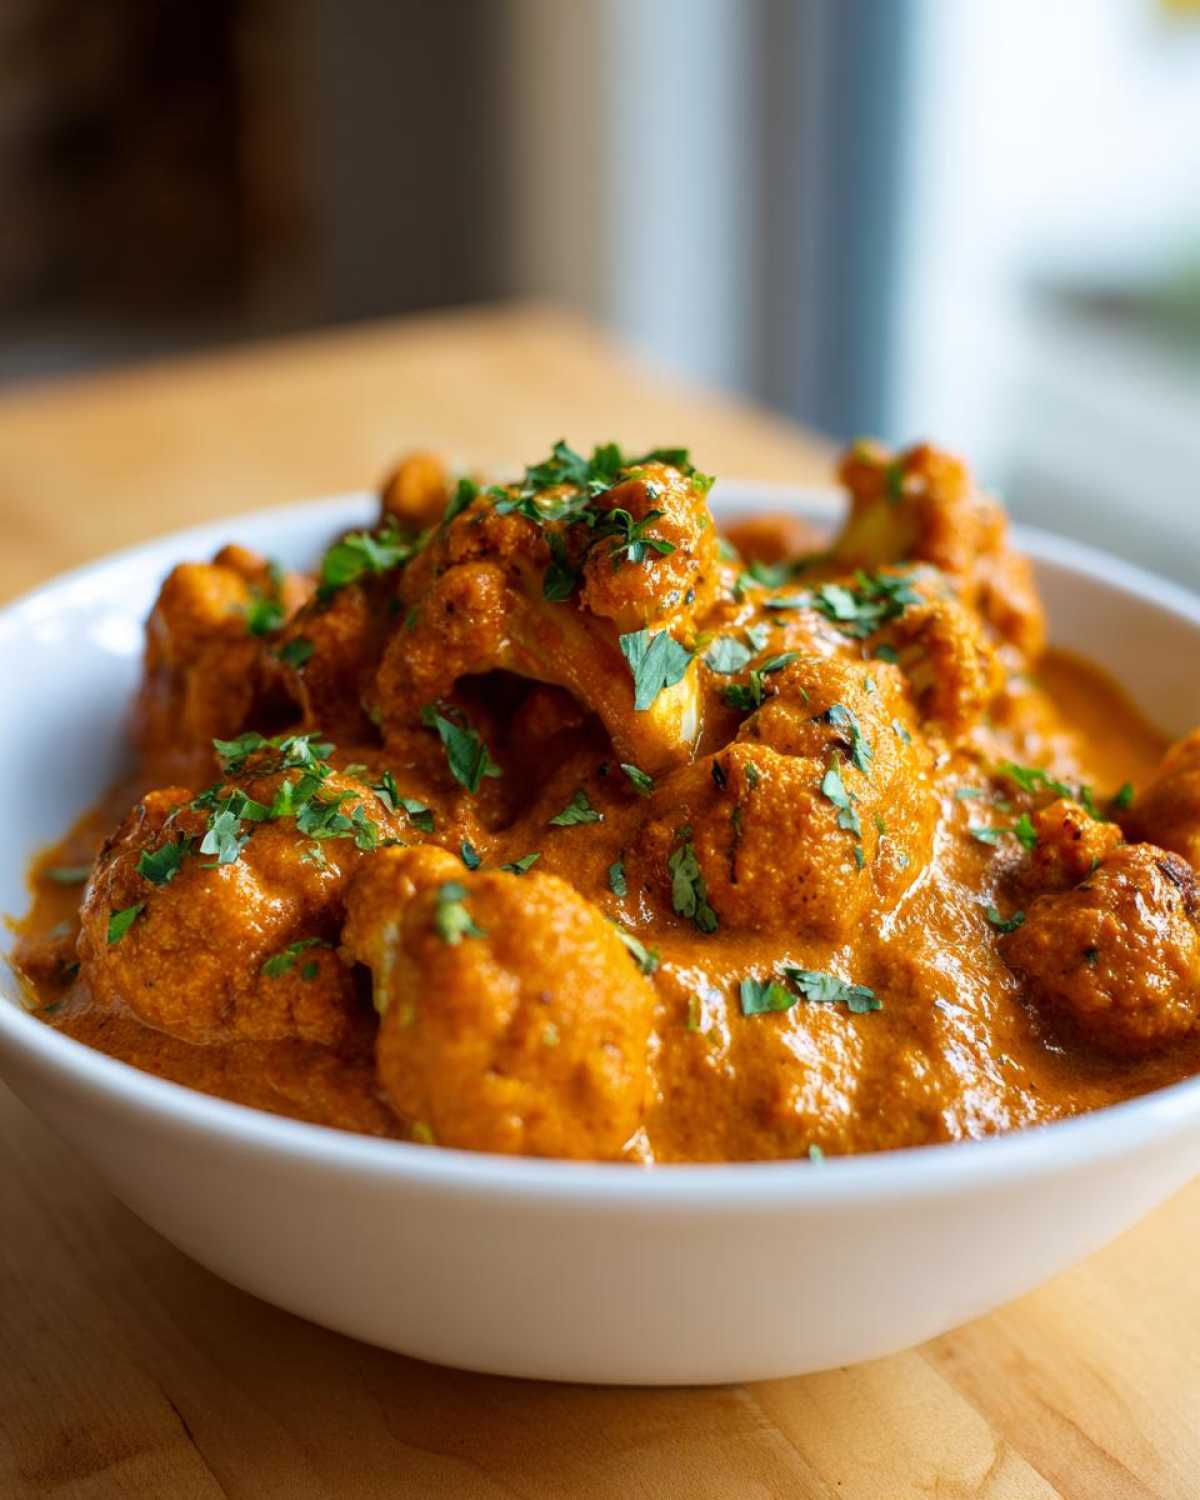
Storage and Reheating Instructions for Leftover Vegan Cauliflower Tikka Masala
Listen, this **Creamy Vegan Indian Curry** is even better the next day, just like many hearty stews! You’ll want to store any leftovers in an airtight container, of course. I typically let it cool down on the counter for about an hour—never put piping hot food right into the fridge, that’s a big no-no! It keeps beautifully, tasting great for four to five days.
When you’re ready to enjoy it again, skip the microwave if you can. The stovetop is your best friend here. Gently reheat the **Vegan Cauliflower Tikka Masala** over medium-low heat, stirring often. This keeps that cashew cream perfectly smooth and prevents it from getting grainy or breaking apart. If it seems a little thick when reheating, just splash in a tiny bit of water or broth to loosen it up!
Frequently Asked Questions About This Easy Plant Based Tikka Masala
I know you might have a few little questions swirling around before you dive into the cooking process. That is totally normal! It took me countless tries to get this just right. Here are the things people ask me most often about making this fantastic **Easy Plant Based Tikka Masala**. And hey, if you want to see all my latest kitchen adventures, hop over to the main blog page!
How long does it take to make this Weeknight Vegan Indian Dinner?
The great news is that this is truly a **Weeknight Vegan Indian Dinner** contender! If you stick to the recipe, the total time you’re looking at is about 50 minutes. The bulk of that time is just letting the cauliflower roast nicely in the oven—that takes 20 minutes on its own. The sauce assembly is super fast once you get the hang of blooming those spices. It comes together faster than you think!
What is the difference between Tikka Masala and Butter Chicken (Vegan Version)?
That’s a brilliant question, because in the vegan world, we often look at both sauces as similar! The biggest difference is how rich and heavy the base gets. Traditional Tikka Masala almost always uses a more pronounced tomato base, which gives it that beautiful orange-red color, even when we make it vegan. Vegan Butter Chicken usually leans heavier on the cream substitute (like cashew or coconut) and tends to be a bit milder and richer. Our **Vegan Cauliflower Tikka Masala** has that perfect tomato-spice punch!
Can I add protein, like chickpeas or tofu, to my Vegan Cauliflower Tikka Masala?
Absolutely, you can bulk this up if you want a heartier meal! If you’re using canned chickpeas, just drain them well and toss them right into the sauce along with the roasted cauliflower during that final 5 to 10-minute simmer. This lets them soak up all that amazing gravy flavor. If you’re using tofu, cut it into cubes and roast it right alongside the cauliflower for those last 10 minutes of roasting time—that way, it gets firmer and holds its shape better when mixed in.
Nutritional Estimate for This Healthy Vegan Cauliflower Dish
Now, I always tell people that when you’re cooking with whole foods, especially using homemade creamy elements like our cashew base, the exact numbers can wiggle around a bit depending on the size of your cauliflower or how much oil you use. So please take this as a lovely guideline!
These estimates are based on serving this **Healthy Vegan Cauliflower Dish** into four generous portions. It’s a pretty great breakdown for a main course, if you ask me. We are looking at about 420 calories per serving, which isn’t bad for something this rich and satisfying. You get a good bump of protein—around 15 grams—mostly thanks to those ground cashews!
Here’s what the numbers generally look like for one serving:
- Calories: 420
- Fat: 25g (only about 4g of that is saturated fat, which is fantastic!)
- Carbohydrates: 45g
- Protein: 15g
- Cholesterol: 0mg (Since it’s vegan, that zero cholesterol mark is easy to hit!)
- Fiber: 10g
It’s a wonderfully filling **Indian Main Course Vegan** option that keeps you going without weighing you down. You’re getting tons of flavor from those spices and nutrients from the vegetables!
Share Your Experience Making This Vegan Cauliflower Tikka Masala
Well, that’s it! We’ve reached the end of the map for our creamy, dreamy **Vegan Cauliflower Tikka Masala**. I truly hope this recipe brightens up your dinner rotation. Please, don’t be shy!
Once you’ve made it, come back and leave a rating—I always love seeing those 5 stars! Did you tweak the chili powder? Did you try a different sweetener? Tell me all about your adjustments in the comments below, or tag me on social media so I can see your gorgeous bowls! Contact me anytime here: Let’s chat about curry.
PrintCreamy Vegan Cauliflower Tikka Masala

A simple recipe for a rich, dairy-free Cauliflower Tikka Masala using a cashew cream base for authentic texture.
- Prep Time: 15 min
- Cook Time: 35 min
- Total Time: 50 min
- Yield: 4 servings
- Category: Dinner
- Method: Stovetop
- Cuisine: Indian
- Diet: Vegan
Ingredients
- 1 large head cauliflower, cut into florets
- 1 tablespoon olive oil
- 1 teaspoon salt
- 1 teaspoon turmeric powder
- 1 cup raw cashews, soaked in hot water for 30 minutes
- 1 tablespoon vegetable oil
- 1 large onion, chopped
- 3 cloves garlic, minced
- 1 tablespoon fresh ginger, grated
- 1 teaspoon cumin powder
- 1 teaspoon coriander powder
- 1 teaspoon garam masala
- 1/2 teaspoon chili powder (adjust to taste)
- 1 (14.5 ounce) can diced tomatoes, undrained
- 1 cup vegetable broth
- 1/2 cup water
- 1/4 cup nutritional yeast
- 1 tablespoon maple syrup or sugar
- 1/4 cup fresh cilantro, chopped for garnish
Instructions
- Preheat your oven to 400°F (200°C). Toss the cauliflower florets with 1 tablespoon olive oil, salt, and turmeric. Spread on a baking sheet and roast for 20 minutes until tender and slightly browned.
- While the cauliflower roasts, drain the soaked cashews. Blend the drained cashews with 1/2 cup of fresh water until completely smooth to create the cashew cream. Set aside.
- Heat 1 tablespoon of vegetable oil in a large pot or Dutch oven over medium heat. Add the chopped onion and cook until soft, about 5 minutes.
- Add the minced garlic and grated ginger. Cook for 1 minute until fragrant.
- Stir in the cumin, coriander, garam masala, and chili powder. Cook the spices for 30 seconds, stirring constantly.
- Pour in the diced tomatoes, vegetable broth, and the remaining 1/2 cup of water. Bring the mixture to a simmer.
- Stir in the prepared cashew cream and nutritional yeast. Mix well until the sauce is smooth and creamy.
- Add the roasted cauliflower florets to the sauce. Stir gently to coat. Simmer for 5 to 10 minutes to allow the flavors to combine.
- Stir in the maple syrup. Taste and adjust salt or chili powder as needed.
- Serve hot, garnished with fresh cilantro.
Notes
- For a quicker preparation, you can steam the cauliflower instead of roasting it. Steam for about 8 minutes until fork-tender.
- If you do not have cashews, you can substitute with 1 cup of full-fat coconut milk for creaminess, though the flavor profile will change slightly.
- Serve this curry with basmati rice or warm vegan naan bread.
Nutrition
- Serving Size: 1 serving
- Calories: 420
- Sugar: 10
- Sodium: 550
- Fat: 25
- Saturated Fat: 4
- Unsaturated Fat: 21
- Trans Fat: 0
- Carbohydrates: 45
- Fiber: 10
- Protein: 15
- Cholesterol: 0