

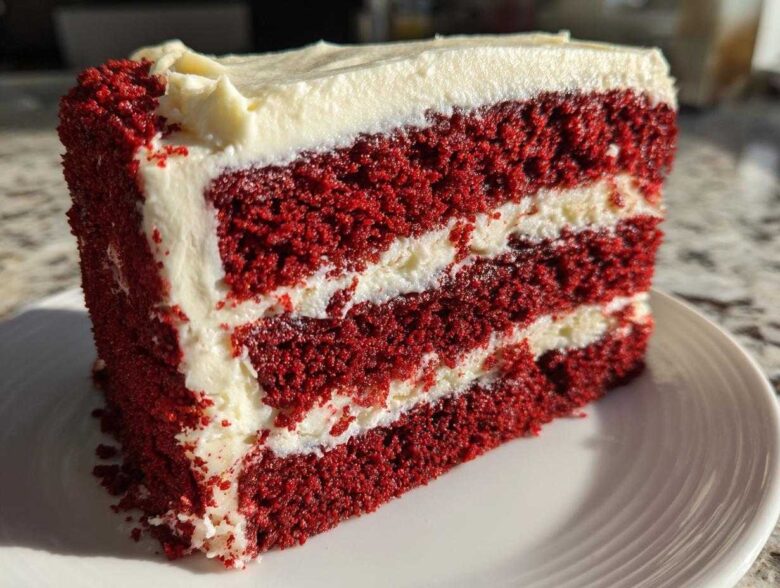
I am so excited you’re here because we are finally tackling the queen of layer cakes—the one that makes everyone stop, stare, and ask for the recipe! Forget dry, disappointing layers; we are making the **Best Authentic Southern Red Velvet Cake** from scratch. Seriously, this cake is pure elegance. When I pull those deep red layers out of the oven, smelling the faint cocoa and that signature tang, I just feel like a domestic superstar. It’s such a showstopper dessert, perfect for birthdays or just making a Tuesday feel special. If you want to know more about how Mia and I got from burnt toast to baking royalty, check out our story over at the About Us page! Get ready to bake up something truly magnificent, focusing on ultimate moisture and fluffiness!
Why This Is the Best Authentic Southern red velvet cake Recipe
Okay, listen up, because this isn’t just any cake mix knock-off; this is the real deal—an authentic Southern red velvet cake. The secret to getting that incredible, melt-in-your-mouth tenderness is really all about chemistry, you guys. These old-fashioned recipes knew things that modern blogs totally skip over!
We use both buttermilk and white vinegar, and they are crucial. When the acid from those two hits the baking soda, it reacts beautifully, giving us that signature lift without making the crumb tough. It keeps the cake light while complementing the cocoa powder. If you want to see how serious we get about other Southern staples, you have to check out my go-to Southern Buttermilk Pie recipe.
Achieving That Perfect Fluffy red velvet cake Texture
Texture is everything when it comes to a fluffy red velvet cake. You absolutely cannot rush the creaming of the butter and sugar; that’s where you’re whipping in the air that holds everything up! Also, treat that batter gently once you add the flour mix. I mean it—stop mixing the second you see no more white streaks.
Overmixing develops gluten, and gluten means chewy, sad layers. We don’t do sad layers here! We want the softest, most velvety cake texture possible, and that comes from gentle folding and letting the baking soda/buttermilk magic do its thing.
Ingredients for Your Moist red velvet cake Recipe
Okay, let’s get organized! Baking this beautiful red velvet cake is super easy, but you need to have everything measured and ready, especially since the batter comes together fast. Don’t try to substitute the quality ingredients here; they are what make this cake so rich and satisfying. We’ll group everything so you can have your counter space organized before you start whipping!
For the Cake Layers
- 2 1/2 cups all-purpose flour
- 1 teaspoon baking soda
- 1 teaspoon salt
- 1 tablespoon unsweetened cocoa powder
- 1 cup unsalted butter, softened
- 1 1/2 cups granulated sugar
- 2 large eggs
- 1 teaspoon vanilla extract
- 1 cup buttermilk
- 1 teaspoon white vinegar
- 1/2 cup vegetable oil
- 1 bottle (1 ounce) red food coloring
For the Homemade Cream Cheese Frosting
This is the only frosting that belongs on a true Southern cake, hands down. The tanginess of this homemade cream cheese frosting cuts through the richness of the cake perfectly!
- 16 ounces cream cheese, softened
- 1/2 cup unsalted butter, softened
- 1 teaspoon vanilla extract
- 1/4 teaspoon salt
- 4 cups powdered sugar
How to Make the Best red velvet cake From Scratch
Alright, time to assemble this masterpiece! Making the red velvet cake from scratch is truly satisfying, and I promise it’s not hard—it just requires keeping your bowls straight! Remember, we want that famous soft texture, so patience when mixing is vital, even though the recipe itself moves pretty fast.
Preparing the Cake Batter
First things first, get that oven roaring at 350°F (175°C) and grease up those 9-inch pans. Now, whisk your dry things: flour, soda, salt, and that tiny bit of cocoa powder. In the big bowl, cream the butter and sugar until they look light and fluffy—this takes about three minutes with a mixer, don’t skimp on this aeration step!
Once the eggs go in one by one, mix well, then stir in the vanilla. Next comes the fun part: the liquids! Whisk the buttermilk, vinegar, oil, and all that vivid red coloring together separately. Then, you add the dry mix and the liquid mix alternately to the creamed base, starting and ending with dry. Mix gently until *just* combined. Seriously, stop mixing the second you don’t see flour streaks!
Baking and Cooling the Classic red velvet Layers
Divide that gorgeous red batter evenly between your pans. Pop them in the oven and let them bake for 30 to 35 minutes. You’ll know they are done when a wooden pick comes out clean. It’s tempting, I know, but you have to resist digging in right away!
Let those beautiful classic red velvet layers cool in the pans for about 10 minutes. If you try to wrestle them out hot, they might stick or break—and trust me, nobody wants a broken cake when they are craving that moist red velvet cake recipe! After 10 minutes, flip them onto a wire rack to cool *completely*. You must wait until they are totally cool, or that gorgeous homemade frosting melts into a puddle!
Assembling the Fluffy red velvet cake
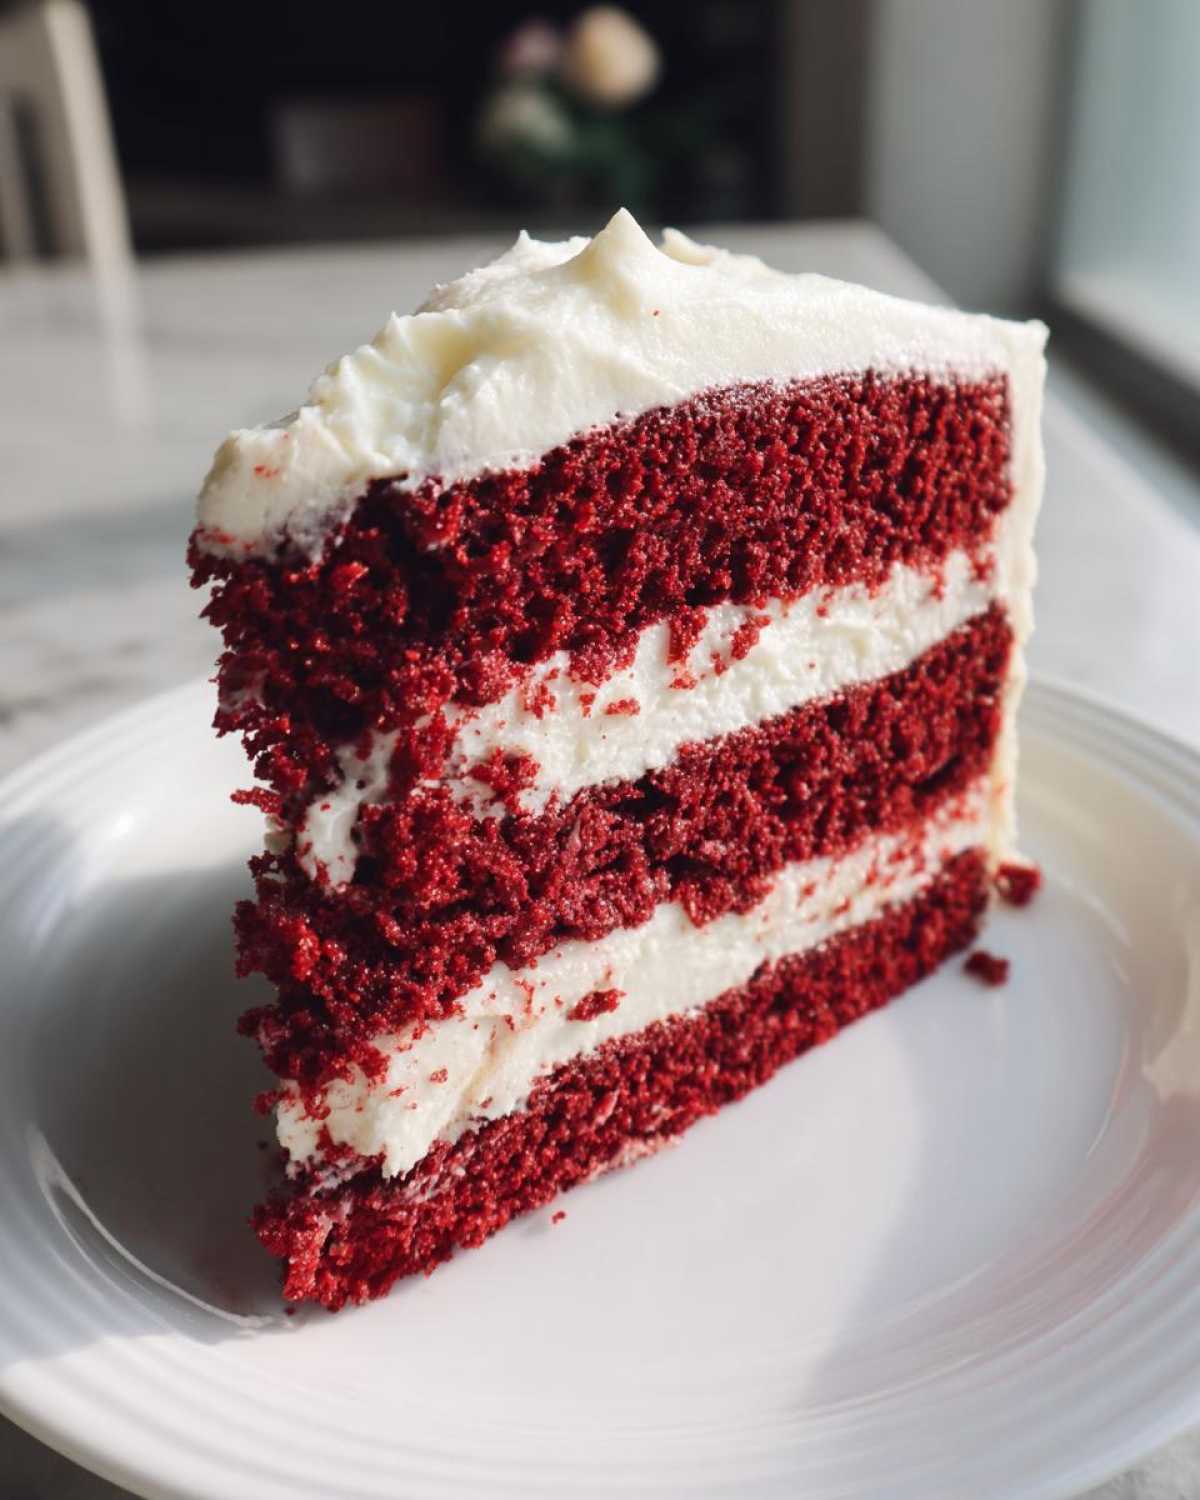
While the layers chill out, make that cream cheese frosting (recipe link tucked away if you need a reminder about how good that is, though I know you pulled all 4 cups of sugar for it!). Once everything is cool, it’s assembly time. Place your first layer down, spread a thick, generous layer of that creamy frosting—this is where the magic happens for that fluffy red velvet cake experience.
Stack the second layer carefully on top. Then, cover the whole thing, top and sides. I like to keep my frosting technique pretty simple on the sides; I just want that luscious homemade cream cheese frosting visible between the layers and crowning the top. If you’re looking for a different type of topping, maybe check out my Vanilla Buttercream sometime!
Tips for a Showstopper red velvet cake
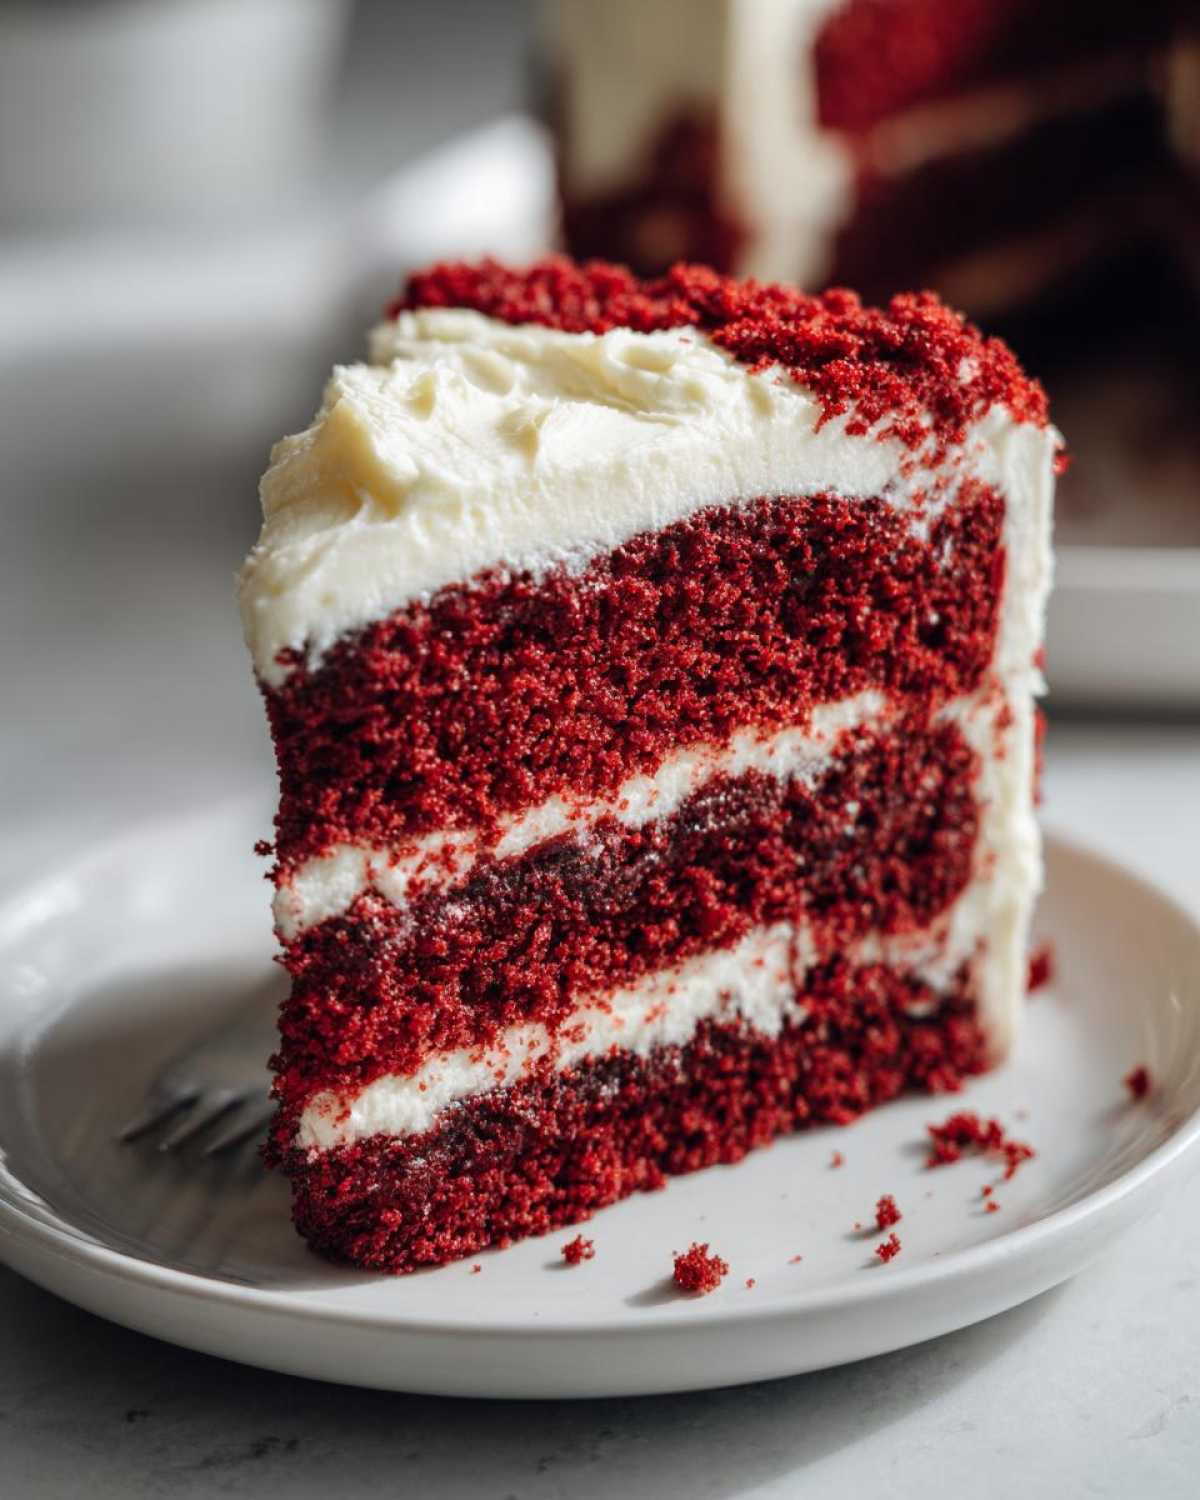
If you want your red velvet cake to really pop and deliver that perfect Southern flavor, you need to pay attention to a couple of details that elevate it from good to unforgettable. First, let’s talk color! The secret to that vibrant red cake coloring everyone loves is using a high-quality, concentrated red food coloring or a decent gel paste. That little one-ounce bottle needs to work hard!
Also, please, please use real buttermilk if you can get it. It brings the authentic slight tang that distinguishes a true Southern version from just a plain vanilla cake dyed red. If you can’t find it, the milk + vinegar trick is a lifesaver, but the actual buttermilk just adds something extra special to the texture.
If you’re looking for other baking adventures, I love experimenting with easy cut-out shapes using my sugar cookie recipe when I need a break from layering cakes!
Ingredient Notes and Substitutions for red velvet cake
Okay, let’s talk about ingredients for our red velvet cake because sometimes we don’t have exactly what the Southern grandmas used! The biggest question I always get is about buttermilk. If you look at the ingredient list and realize your fridge is empty, don’t panic!
You can easily make a substitute: just take one cup of regular whole milk and stir in one tablespoon of white vinegar. Let it sit on the counter for about five minutes until it starts to look slightly curdled, like a soured cream. That works just as well for activating that baking soda!
Another thing: color! To get that gorgeous, dramatic, vibrant red cake coloring that makes this dessert a showstopper, you really need to go for a concentrated food coloring or a gel paste instead of the standard, thin liquid drops. Trust me, using the good stuff ensures you don’t need a whole bottle of dye just to get a decent hue!
Serving Suggestions for Your red velvet cake
This amazing red velvet cake is truly the star of any party. I usually bust this recipe out for major birthdays or when the holidays roll around because it just feels so celebratory! Nothing beats slicing into those beautiful, moist layers topped with that tangy, luscious homemade cream cheese frosting.
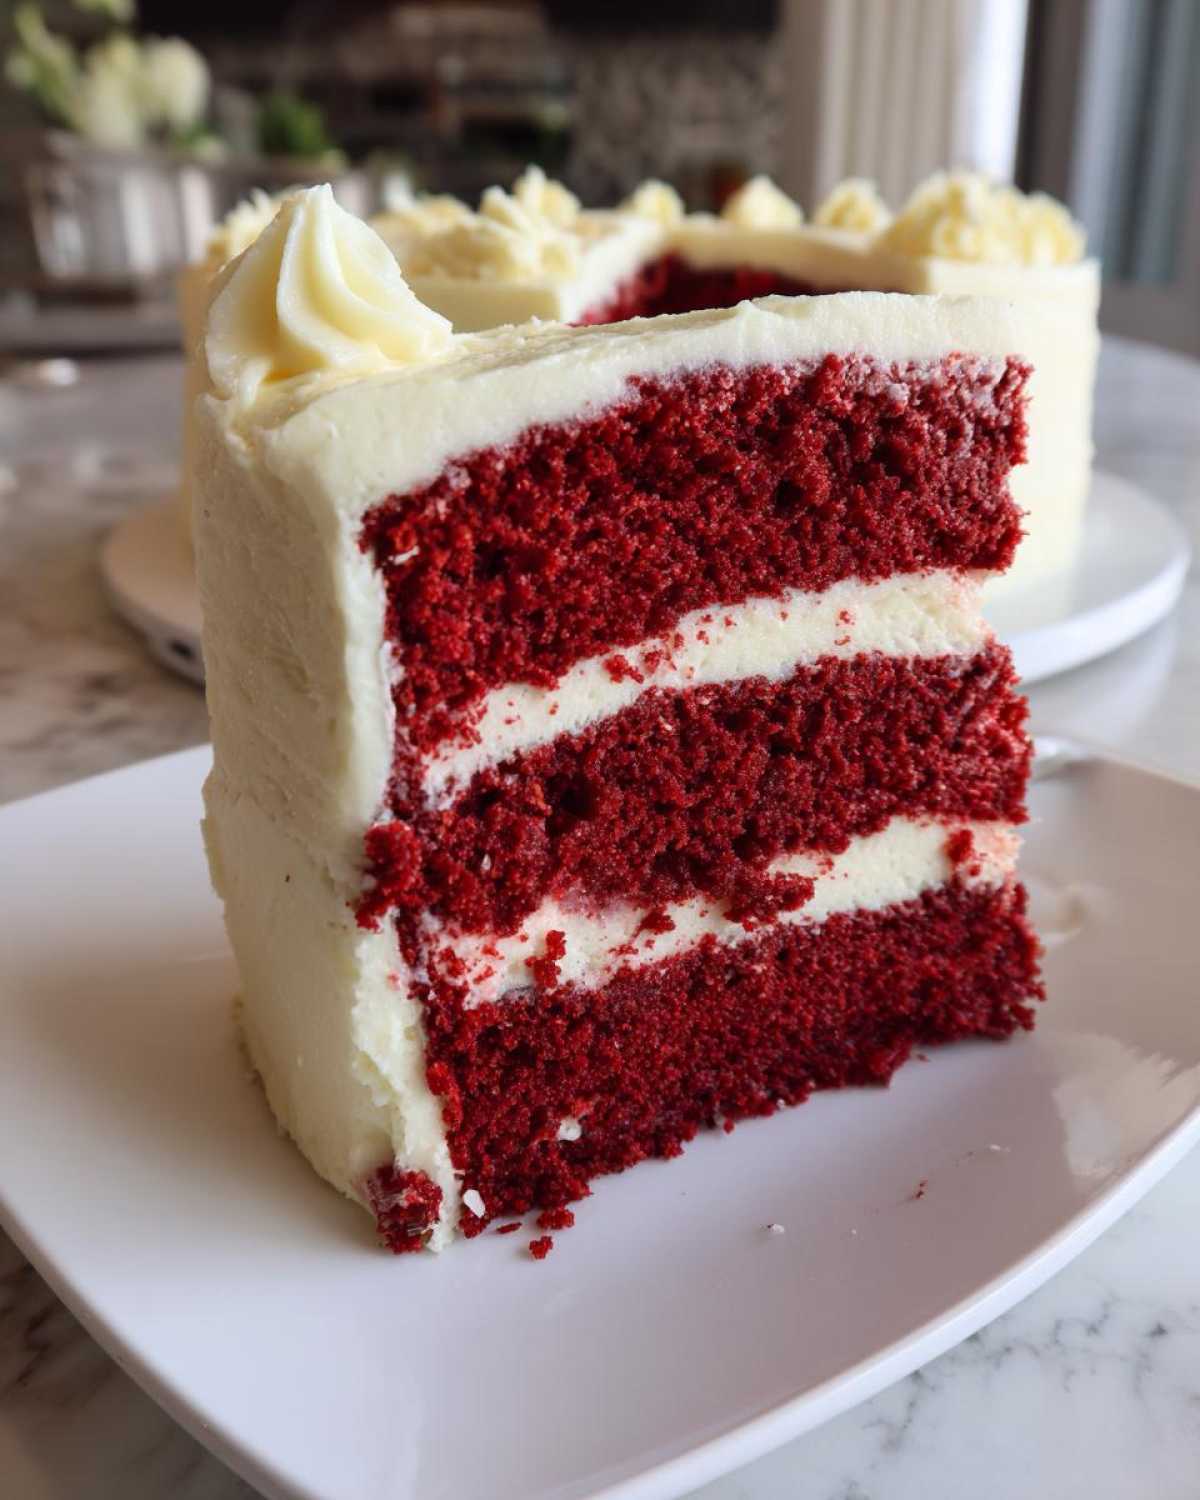
It’s rich, so you don’t need much else, but it pairs absolutely perfectly with a steamy cup of coffee or, if you want to go all out on the cozy factor, my recipe for creamy white hot chocolate. Honestly, once you have this cake, nobody is looking at the snacks!
Storage and Reheating Instructions
Since we are using that incredible, rich homemade cream cheese frosting, you absolutely have to stash leftovers in the fridge. Don’t leave this beauty sitting out on the counter overnight, or things get a little sketchy! Cover your leftover red velvet cake tightly with plastic wrap or pop it into an airtight container.
The key thing I always tell people is this: don’t serve it straight from the cold fridge! That chill makes the cake layers firm up and dulls the flavor. Take your slices out at least 30 minutes before you plan to eat them. Letting the cake come back to room temperature restores that perfect, tender crumb cake softness we worked so hard to achieve!
Frequently Asked Questions About This red velvet cake
I get so many questions once people start baking this stunning cake! It’s natural to wonder about tweaks or troubleshooting when you’re aiming for the absolute best red velvet cake. Here are the things I hear most often about keeping those beautiful classic red velvet layers perfect!
Can I make this a red velvet poke cake?
That’s a fun idea! This recipe is specifically designed to give you those high, beautiful layers that hold up under the weight of the homemade cream cheese frosting. If you want the “poke” style where the cake soaks up a gooey topping, you’ll need a recipe actually developed for that purpose. For this one, though, stick to the layers for the ultimate fluffy red velvet cake experience!
Why is my red velvet cake not red enough?
Oh, the color drama! This usually comes down to the type of food coloring you used. Remember I mentioned using a concentrated liquid or gel paste? If you just use standard grocery store drops, you end up using way too much, and it can actually mess with your beautiful moist red velvet cake recipe texture. Also, remember that the little bit of cocoa powder we use in a true Southern red velvet cake tends to mute the red slightly. That’s normal! Don’t be afraid to really bump up the color drops until you get that vibrant red cake coloring you’re dreaming of.
If all this talk about decadent layers has you craving something fudgier, maybe whip up a batch of my Red Velvet Brownies next time!
Share Your Experience Baking This red velvet cake
Now it’s your turn! I sincerely hope you loved baking this red velvet cake as much as I love sharing it with you all. If you made these layers, please come back and leave me a rating—it truly helps Mia and me out so much! I can’t wait to see your beautiful results shared over on the main Cookery Kings blog page. Happy baking!
PrintThe Best Authentic Southern Red Velvet Layer Cake with Homemade Cream Cheese Frosting
You can make this ultra-moist and fluffy Red Velvet Cake from scratch! This classic Southern recipe uses buttermilk and vinegar for a tender crumb, topped with luscious homemade cream cheese frosting. It is the perfect showstopper dessert for birthdays or holidays.
- Prep Time: 25 min
- Cook Time: 35 min
- Total Time: 60 min
- Yield: 12 servings
- Category: Dessert
- Method: Baking
- Cuisine: American
- Diet: Vegetarian
Ingredients
- 2 1/2 cups all-purpose flour
- 1 teaspoon baking soda
- 1 teaspoon salt
- 1 tablespoon unsweetened cocoa powder
- 1 cup unsalted butter, softened
- 1 1/2 cups granulated sugar
- 2 large eggs
- 1 teaspoon vanilla extract
- 1 cup buttermilk
- 1 teaspoon white vinegar
- 1/2 cup vegetable oil
- 1 bottle (1 ounce) red food coloring
- 16 ounces cream cheese, softened
- 1/2 cup unsalted butter, softened
- 1 teaspoon vanilla extract
- 1/4 teaspoon salt
- 4 cups powdered sugar
Instructions
- Preheat your oven to 350°F (175°C). Grease and flour two 9-inch round cake pans.
- In a medium bowl, whisk together the flour, baking soda, salt, and cocoa powder. Set this dry mixture aside.
- In a large bowl, beat the softened butter and granulated sugar with an electric mixer until light and fluffy, about 3 minutes.
- Beat in the eggs one at a time, mixing well after each addition. Mix in the vanilla extract.
- In a separate small bowl, combine the buttermilk, white vinegar, vegetable oil, and red food coloring. Mix until the color is uniform.
- Gradually add the dry ingredients to the wet ingredients, alternating with the buttermilk mixture, beginning and ending with the dry ingredients. Mix only until just combined. Do not overmix to keep your cake fluffy.
- Divide the batter evenly between the prepared cake pans.
- Bake for 30 to 35 minutes, or until a wooden pick inserted into the center comes out clean.
- Let the cakes cool in the pans for 10 minutes before inverting them onto a wire rack to cool completely.
- To make the frosting, beat the softened cream cheese and butter together until smooth. Add the vanilla extract and salt, mixing to combine.
- Gradually add the powdered sugar, beating on low speed until incorporated, then increase speed to medium-high and beat until the frosting is light and creamy.
- Once the cakes are completely cool, frost and stack the layers to create your classic red velvet layers.
Notes
- For the most vibrant red cake coloring, use a good quality, concentrated liquid red food coloring or gel paste.
- Buttermilk is key for the authentic Southern red velvet flavor and tender crumb. If you do not have buttermilk, mix 1 cup of whole milk with 1 tablespoon of white vinegar and let it sit for 5 minutes before using.
- This recipe makes a beautiful homemade cream cheese frosting that pairs perfectly with the cake’s slight tang.
Nutrition
- Serving Size: 1 slice
- Calories: 480
- Sugar: 55g
- Sodium: 350mg
- Fat: 28g
- Saturated Fat: 14g
- Unsaturated Fat: 14g
- Trans Fat: 0.5g
- Carbohydrates: 58g
- Fiber: 1g
- Protein: 5g
- Cholesterol: 75mg