

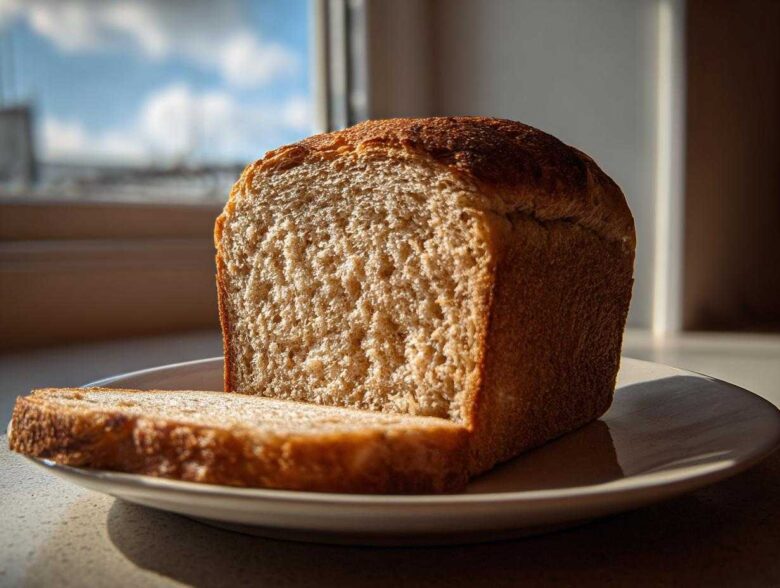
Seriously, finding good, soft **whole wheat bread** that actually tastes amazing and isn’t secretly dry by lunchtime is a myth, right? I spent years chasing that perfect, slightly sweet, tender crumb that lets me make real sandwiches without tearing the bottom slice. Well, I finally cracked the code! This recipe delivers the most incredible Soft Honey Whole Wheat Sandwich Bread you’ll ever put in your toaster. I’ve tested this specific whole wheat bread formula countless times over the last decade to make absolutely sure it rises high and stays fluffy—no bricks allowed in my kitchen, ever! If you want to know more about my baking journey, check out my story here.
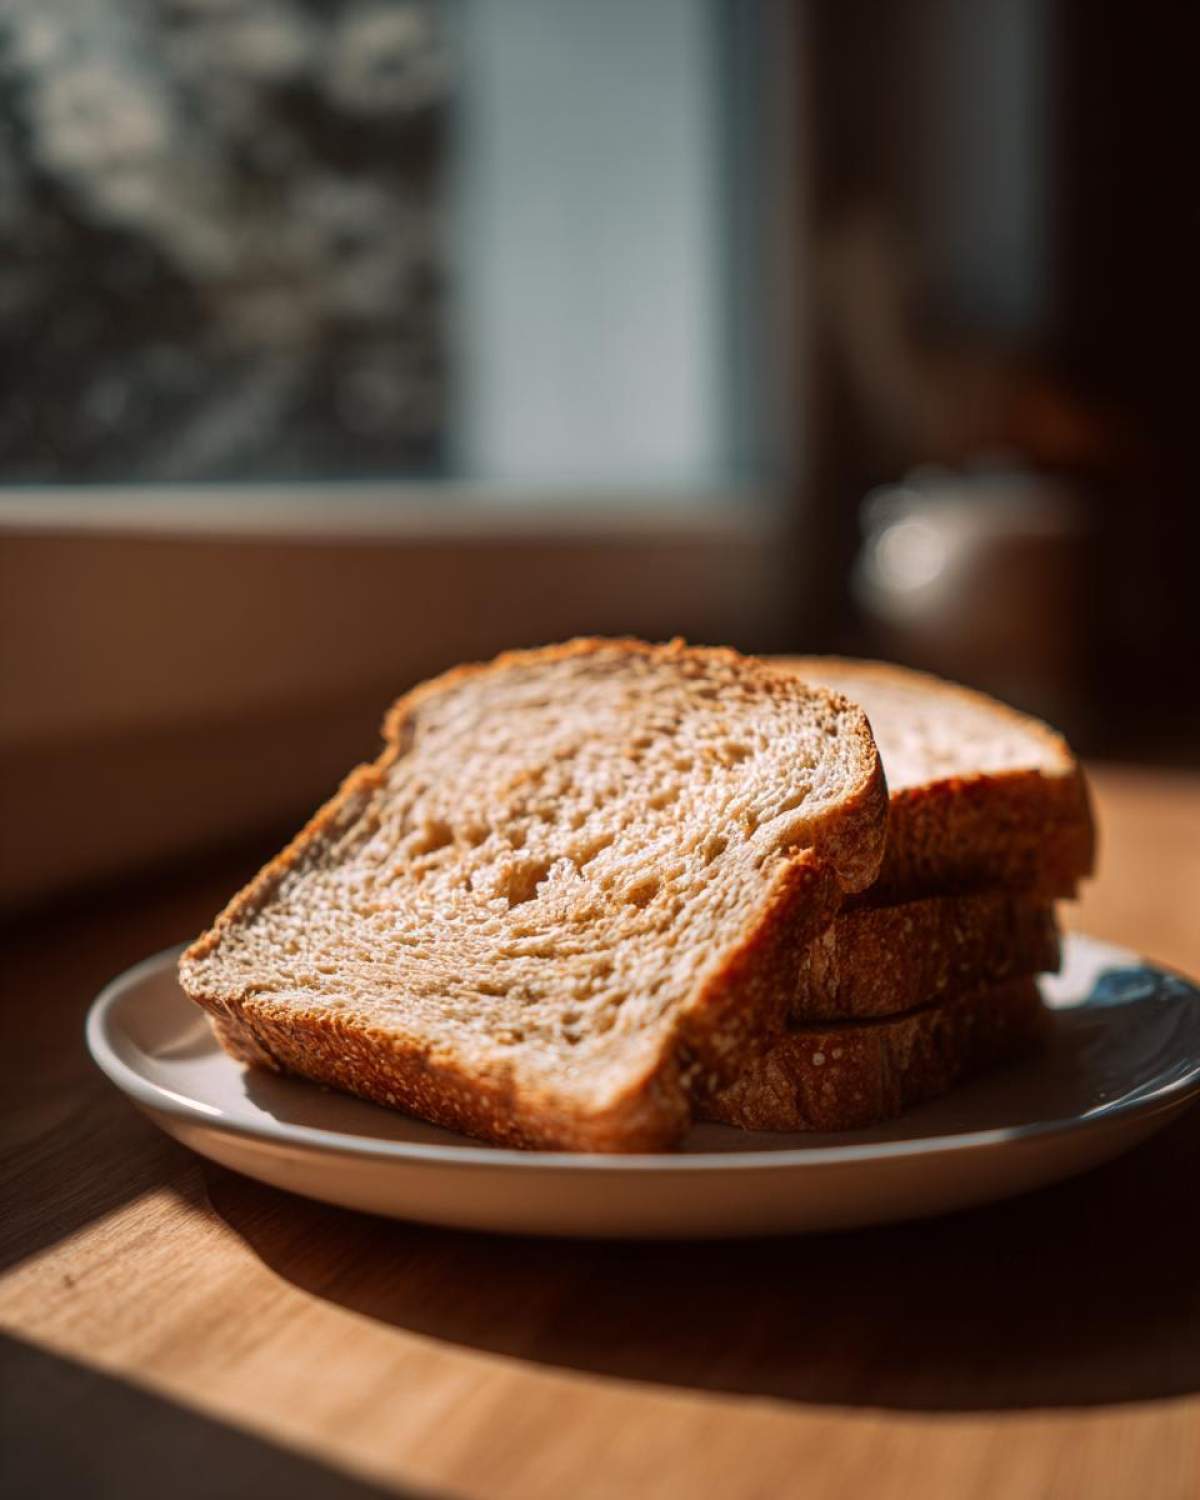
Why This Soft Whole Wheat Bread Recipe Works for Beginners
I know the thought of baking with whole wheat starter recipes can feel intimidating. Most versions turn out dense or crumbly, but trust me, this Easy Whole Wheat Bread Recipe is totally foolproof! It’s reliable enough for the absolute newest baker, but tasty enough that my seasoned bread-baking friends steal loaves from me. I wanted to make sure that anyone—yes, even you—could achieve beautiful results on the first try.
- It gives you an amazing rise every time, so you don’t end up with a sad, flat disc.
- It stays wonderfully soft for days, making it the Best Whole Wheat Sandwich Bread around.
- Super straightforward mixing process; no complicated scaling needed.
This recipe is my go-to recommendation for anyone starting out with Whole Wheat Bread for Beginners.
Achieving Fluffy Whole Wheat Bread Texture
The secret sauce for making this the Soft Whole Wheat Bread everyone raves about comes down to adding a little bit of luxury where whole grains usually skip out. We use honey, which isn’t just for sweetness; it’s a humectant, meaning it locks in moisture beautifully. Plus, using melted butter instead of oil adds richness and helps keep that interior crumb incredibly tender.
Now for my little cheat code: vital wheat gluten. It’s optional, yes, but for people chasing that light, airy texture, it’s a game-changer! It just gives the dough a little extra structure to hold onto all the air during the rise, guaranteeing a truly Fluffy Whole Wheat Bread loaf.
Gathering Ingredients for Your Honey Whole Wheat Bread
Okay, let’s talk about what you need to pull off this masterpiece of soft, wholesome goodness. Getting the ingredients right is truly the first step toward making a top-tier **whole wheat bread**. Whole grain flours can be a little fussier than white flour, so a little attention to detail here pays off huge later!
The most important thing on this list is your water temperature for waking up the yeast. It needs to be just right—between 105°F and 115°F. Too cold, and your yeast stays sleepy; too hot, and you’ve killed your little helpers dead! That’s why I always keep a digital thermometer handy, though you can test it with your wrist—it should feel comfortably warm, like bathwater, not scalding.
Once that yeast is happy and foamy, everything else is pretty straightforward, but remember: precision matters when you’re aiming for that perfect rise.
Ingredient Notes and Substitutions for Whole Wheat Bread
When we measure out that 4 cups of **whole wheat flour**, please, please don’t scoop directly from the bag with your measuring cup! That compacts the flour way too much, and you’ll end up with a drier dough. Spoon the flour lightly into your measuring cup and then level it off with a knife. That small step makes a world of difference between airy bread and something heavy.
Remember I mentioned vital wheat gluten earlier for extra fluffiness? If you skip it, don’t panic! It’s just an extra boost, but the bread will still be fantastic. You’ll just rely a little more on that kneading time to develop the gluten structure naturally.
For an even richer, moister crumb that just melts in your mouth, try following the note in my recipe: swap out half of the warm water for whole milk. The fat in the milk adds incredible tenderness. It also makes this the ‘Best Whole Wheat Sandwich Bread’ for picky eaters who think all homemade whole wheat is too hearty!
Step-by-Step Instructions for Making Whole Wheat Bread
This is where the magic really happens! Don’t get intimidated by the steps; we’re basically just layering flavors and textures over time. Making amazing **whole wheat bread** is more about following a rhythm than mastering a hard technique. We have two main rising sessions, and patience during those times is what gives you that soft, fluffy texture we all want.
Activating Yeast and Mixing the Whole Wheat Bread Dough
First things first: the yeast party! Pour your warm water—remember, 105°F to 115°F—into your mixing bowl and sprinkle the yeast right on top. Don’t stir it in right away! Just let it sit for about five minutes. When little foam mountains start popping up, that’s your sign that the yeast is alive and ready to get to work. This blooming step is non-negotiable; if it doesn’t foam up, your bread won’t rise, so toss it and start over with fresh yeast!
Once foamy, drop in that honey and the melted butter, along with the salt. Give that a quick whisk. Now, it’s time for the flour. Add the 4 cups of whole wheat flour and the optional vital wheat gluten all at once. Mix it with a strong spoon or a stand mixer fitted with the dough hook until you just can’t mix anymore. You’ll stop when you have what I call a “shaggy dough”—it looks messy and kind of sticky, but it’s all holding together in one mass. That’s exactly what we want before kneading starts.
Kneading and First Rise for the Best Whole Wheat Bread
Turn that shaggy mound out onto a lightly floured surface. Now, get ready to work those dough muscles! We need to knead this for a solid 6 to 8 minutes. You’re looking for the dough to transform from sticky and rough into something smooth, supple, and elastic. When you gently press a finger into it, it should slowly spring back. This develops the gluten structure that supports the whole loaf.
When it feels perfect, lightly grease a clean bowl with a slick of oil—just enough to keep it from sticking. Tuck your beautiful dough ball inside, turning it once to coat the top surface. Cover that bowl tightly with plastic wrap or a clean kitchen towel. Now, find it a warm, draft-free spot. Think the inside of an oven that’s turned off, or tucked behind a sunny window. Let it sit there for 1 to 1.5 hours. You’re waiting for it to totally double in size. That’s the first big success!
Shaping and Baking Your 100 Percent Whole Wheat Loaf
When the dough has puffed up beautifully, gently punch it down—don’t smash it, just deflate it slowly. Turn it onto a clean counter. Shape it gently into a tight log and place it seam-side down into your greased 9×5 inch loaf pan. Cover it loosely again, and let it have its second nap for about 30 to 45 minutes. This rise is shorter, and you’re looking for the dough to crest just about an inch over the rim of the pan. If it gets too high before the oven is ready, it might collapse during baking, so keep an eye on it!
While that second rise is happening, get your oven heated up to 375°F (190°C). Once it’s preheated and the dough is ready, pop that pan in. Bake for 30 to 35 minutes. You’ll know it’s done when the top is a gorgeous, even golden brown. If you have an instant-read thermometer, aim for an internal temperature of 200°F (93°C). This is crucial for a fully cooked but still moist **100 Percent Whole Wheat Loaf**. The second it comes out of the oven, don’t wait! Slide that loaf right out of the pan onto a wire rack to cool completely. If you leave it in the hot pan, that retained heat will steam the bottom crust and make it soggy, and we worked too hard for soggy bottoms!
For the terms and agreement stuff, you can always review my Terms and Conditions.
Tips for Success When Baking Whole Wheat Bread
Baking a truly great loaf of **whole wheat bread** comes down to anticipating the grain’s quirks. Whole wheat flour has sharp edges on the bran that tend to cut the gluten strands we work so hard to develop during kneading. If you want that Best Whole Wheat Sandwich Bread texture, you need to baby the dough a little during those first crucial stages.
First, use room temperature ingredients other than the warm water needed for the yeast. If your butter or milk (if you substituted it) is cold, it cools down the dough temperature quickly, which slows the yeast way down. Plan ahead and let everything sit on the counter for about an hour before you start mixing!
Another huge pitfall I see people fall into is mistrusting the rise. Whole wheat dough often looks less puffy than white dough, even when it’s perfectly proofed. Don’t just rely on sight; use that gentle poke test! If you poke the side lightly and the indentation springs back slowly, it is ready to bake, regardless of how it looks compared to an all-purpose flour dough.
Finally, let’s talk about the oven. Whole grains sometimes need a little more time on the bottom rack because the bottom crust needs to set before the top browns too much. If you notice your loaf is browning rapidly (getting too dark a crust) before the center is baked through, loosely tent a piece of aluminum foil over the top for the last 10 to 15 minutes of baking. This protects the color while letting the internal cooking finish perfectly.
And I cannot stress this enough: cooling is non-negotiable. If you cut into warm **homemade whole wheat bread**, you crush those delicate air pockets we created, and it will feel gummy. Seriously, wait until it’s nearly room temperature—that’s when you get that satisfying, soft slice every single time.
Storage and Reheating Instructions for Homemade Whole Wheat Bread
Part of the joy of Baking Wholesome Bread at Home is knowing you have fresh bread ready all week, but whole grain breads can sometimes go stale faster than white loaves if we don’t treat them right. The goal here is maximizing that Soft Whole Wheat Bread texture for as long as possible!
First rule: avoid the refrigerator unless you absolutely must. Cold temperatures actually speed up the staling process for bread, even if it seems counterintuitive! For daily use, room temperature storage is your best bet.
Wrap your completely cooled loaf tightly in plastic wrap first—this keeps air transferring away from the crumb—and then slip that wrapped loaf into a large, sealable plastic bag or even aluminum foil. Stored this way, this lovely loaf will stay wonderfully fresh for about 3 to 4 days. I’ve found that using a bread box really helps maintain a nice balance between a soft interior and a decent crust.
This recipe is fantastic for when you want to be proactive, too. It’s perfect for anyone looking to Make Ahead Whole Wheat Bread! If you know you won’t eat the whole loaf in four days, freezing is the way to go. Once the bread is 100% cooled down—I mean truly room temperature, no warm spots—slice it first. Yes, slice it *before* freezing. This way, you can just pull out two slices for toast instead of having to thaw the whole thing!
Wrap those pre-cut stacks tightly in a layer of plastic wrap, then cover that entire package with heavy-duty aluminum foil. Freeze it solid. When you want toast, just pop the slices straight from the freezer into the toaster. They’ll come out tasting practically fresh-baked! If you want to refresh a whole loaf, you can wrap it after thawing and place it in a 350°F oven for about 10 minutes. Don’t forget to check out my Cookie Policy for site updates!
Serving Suggestions for Your Rustic Whole Wheat Bread
So you’ve got this beautiful, slightly sweet, perfectly textured loaf of **whole wheat bread**. What now? While it makes the absolute best basic sandwich bread imaginable (the kind that holds up to heavy fillings without getting soggy, bless its strong gluten structure!), it’s such a versatile base for way more than just lunch meat and lettuce.
Since we put that lovely hint of honey in there, it pairs unbelievably well with creamy, rich toppings that balance out that wholesome grain flavor. Forget boring toast! Try slicing it thick, toasting it slightly, and slathering it with high-quality salted butter—the salt really lets the subtle sweetness of the honey shine through.
For breakfast or a satisfying snack, this bread sings alongside fruit preserves. I’m partial to pairing it with something slightly tart, like raspberry jam or perhaps a homemade apricot spread. The tang cuts through the richness of the bread and butter perfectly. It’s just a beautiful marriage of flavors!
If you’re looking for something savory, don’t underestimate a thick slice topped with good quality ricotta cheese, a drizzle of olive oil, maybe a tiny sprinkle of sea salt, and some fresh herbs like thyme or rosemary. It transforms into a fantastic appetizer base. This is definitely where the ‘Rustic Whole Wheat Bread’ shines brightest—it tastes earthy and sophisticated at the same time!
And seriously, don’t neglect dinner! Instead of boring white rolls, make some small squares of this dough and bake them separately as dinner rolls. Brush them with a bit of melted butter and honey right before serving. They disappear off the table first, trust me!
Frequently Asked Questions About Whole Wheat Bread
I get so many questions when people try this recipe for the first time, especially since whole grains behave a little differently than the all-purpose stuff we grew up on. Don’t you worry, though! We are aiming for perfect texture, not confusion!
Can I make this an Easy No Knead Whole Wheat Bread Recipe?
That’s a super popular question, especially when people are busy! You absolutely *can* convert this to a No Knead Whole Wheat Bread style, but you need to go in with different expectations about the final texture. Remember how I preached about kneading for 6 to 8 minutes? That step is what builds the strong gluten network required to hold up the bran in the whole wheat flour.
If you skip that kneading and just mix it until it’s shaggy (like Step 3), you’ll get a very rustic, almost crumbly texture. It won’t be that lovely, tight, soft sandwich loaf structure we are aiming for. Instead, you’ll end up with something much closer to a Crusty Whole Wheat Bread or a free-form artisan loaf. If you want that rustic style, skip the kneading, let it rise slowly in the fridge overnight (for like 12-18 hours), and bake it in a Dutch oven instead of a pan. It’s great, just different than the fluffy loaf we developed here!
Why is my whole wheat bread so dense this time?
Oh, the density trap! That usually points to one of two common hiccups we see often in Simple Whole Grain Baking. The first culprit is usually the yeast—if it wasn’t active enough, it didn’t produce enough gas to lift the heavy grain. Make sure you checked for that foam after 5 minutes!
The second major reason is under-rising. Because whole wheat flour is heavier, it needs extra time to proof than white flour. Did you let it double, then wait for that second rise to crest an inch over the pan rim? If you rush the rise, the yeast runs out of steam before the oven heat finishes the job, and BAM—squashed loaf. Patience really is the key ingredient here!
Can I make this recipe without honey?
You can totally skip the honey if you need to, but remember, it does more than just sweeten things up! Honey keeps the crumb moist for days. If you omit it, you need to replace the volume with something else wet, or the bread will stale faster.
Your best bet is to substitute the 1/3 cup of honey with 1/3 cup of packed brown sugar. It keeps that molasses flavor element that compliments the grain nicely. Or, if you want to go for a less sweet version, use maple syrup—just make sure it’s real maple syrup, not the pancake goo!
How do I get a darker, crustier exterior like an artisan bakery?
This recipe is built for soft sandwich bread, so if you want that crackly, artisan bite, we need to trick the oven! The dough needs steam during the first half of baking to keep the surface pliable so it can expand fully before the crust sets hard. A great trick for a crustier exterior is to brush the top of the dough lightly with water right before it goes into the oven (Step 8). You can also place a shallow pan on the bottom rack while preheating, and right before you slide your bread in, pour a cup of hot water in that pan to create a burst of steam. It makes a huge difference in achieving that beautiful, slightly crunchy exterior!
If you have any more questions about adapting things or troubleshooting, feel free to reach out via my contact page!
Nutritional Estimate for This Whole Wheat Bread
Now, I’m clearly not a registered dietitian, but I know a lot of you lovely bakers are looking for that reassurance that this **whole wheat bread** is actually good for you! Since we are using 100% whole wheat flour and honey, it’s packed with fiber and nutrients, which is just fantastic for daily morning toast or packing school lunches.
Bear in mind, this is just an estimate based on the main ingredients listed—your exact measurements and brands might shift these numbers a tiny bit. But it gives you a great baseline for what you are eating! If you want the full breakdown and all the legal fine print, you can always check out my official disclaimer page.
Here’s the breakdown per slice:
- Serving Size: 1 slice
- Calories: 140
- Fat: 3g (Mostly healthy, unsaturated fats!)
- Saturated Fat: 1.5g
- Carbohydrates: 26g
- Fiber: 4g (That’s the good stuff!)
- Sugar: 5g (Mostly from our natural honey!)
- Protein: 6g
- Sodium: 180mg
- Cholesterol: 5mg
See? You get a decent boost of protein and fiber while keeping the sugar and saturated fat nicely contained. That’s why I insist this is the best way to bake your own **healthy homemade bread**!
PrintSoft Honey Whole Wheat Sandwich Bread

Bake a soft, tender loaf of 100 percent whole wheat bread sweetened lightly with honey, perfect for daily sandwiches and toast.
- Prep Time: 20 min
- Cook Time: 35 min
- Total Time: 1 hour 50 min
- Yield: 1 loaf
- Category: Baking
- Method: Kneading and Baking
- Cuisine: American
- Diet: Vegetarian
Ingredients
- 1 1/2 cups warm water (105-115°F)
- 2 1/4 teaspoons active dry yeast
- 1/3 cup honey
- 1/4 cup unsalted butter, melted
- 1 1/2 teaspoons salt
- 4 cups whole wheat flour
- 1/4 cup vital wheat gluten (optional, for softer texture)
Instructions
- Combine the warm water and yeast in a large bowl. Let stand for 5 minutes until foamy.
- Stir in the honey, melted butter, and salt into the yeast mixture.
- Gradually add the whole wheat flour and vital wheat gluten (if using). Mix until a shaggy dough forms.
- Knead the dough on a lightly floured surface for 6 to 8 minutes until it becomes smooth and elastic.
- Place the dough in a lightly oiled bowl, turning to coat. Cover the bowl and let it rise in a warm place for 1 to 1.5 hours, or until doubled in size.
- Punch down the dough gently. Shape it into a loaf and place it in a greased 9×5 inch loaf pan.
- Cover the pan loosely and let the dough rise again for 30 to 45 minutes, or until it crests about 1 inch above the rim of the pan.
- Preheat your oven to 375°F (190°C).
- Bake for 30 to 35 minutes, or until the top is golden brown and the internal temperature reaches 200°F (93°C).
- Remove the bread from the pan immediately and cool completely on a wire rack before slicing.
Notes
- For a richer flavor, substitute half the water with whole milk.
- If you prefer a crustier loaf, brush the top with water before the second rise.
- This bread freezes well once completely cooled. Wrap tightly in plastic wrap and foil.
Nutrition
- Serving Size: 1 slice
- Calories: 140
- Sugar: 5
- Sodium: 180
- Fat: 3
- Saturated Fat: 1.5
- Unsaturated Fat: 1.5
- Trans Fat: 0
- Carbohydrates: 26
- Fiber: 4
- Protein: 6
- Cholesterol: 5