

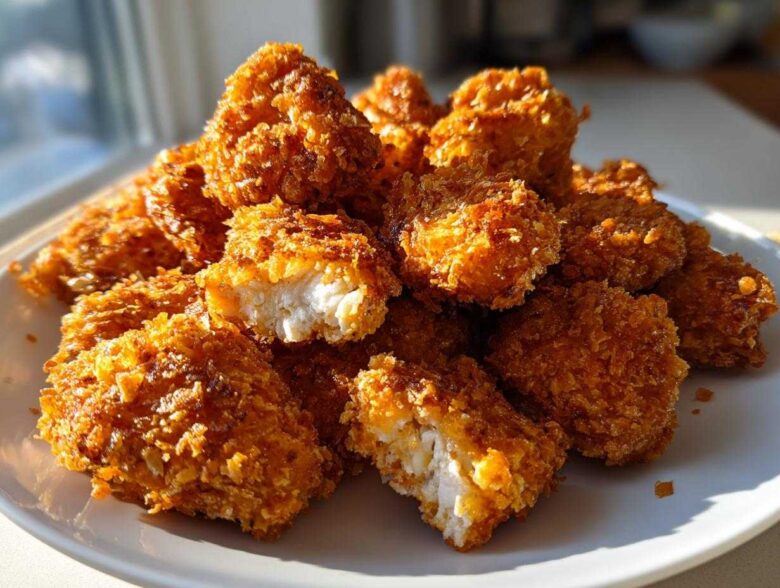
Listen, I know the struggle. You crave that perfect, auditory crunch when you bite into a chicken nugget—the kind that stays satisfyingly crisp *after* it cools down a bit, not the kind that goes soft halfway through the movie. For years, my nugget attempts were floppy disasters. I swear, I almost gave up! But I finally cracked the code on making **Crispy Chicken Nuggets Homemade Extra Crunchy** that even restaurant chains envy. It’s all about layering textures and having patience with the coating process. Trust me on this one; once you nail this breading technique, you’ll never look back. Forget soggy dinners!
Why You Will Make These Crispy Chicken Nuggets Homemade Extra Crunchy
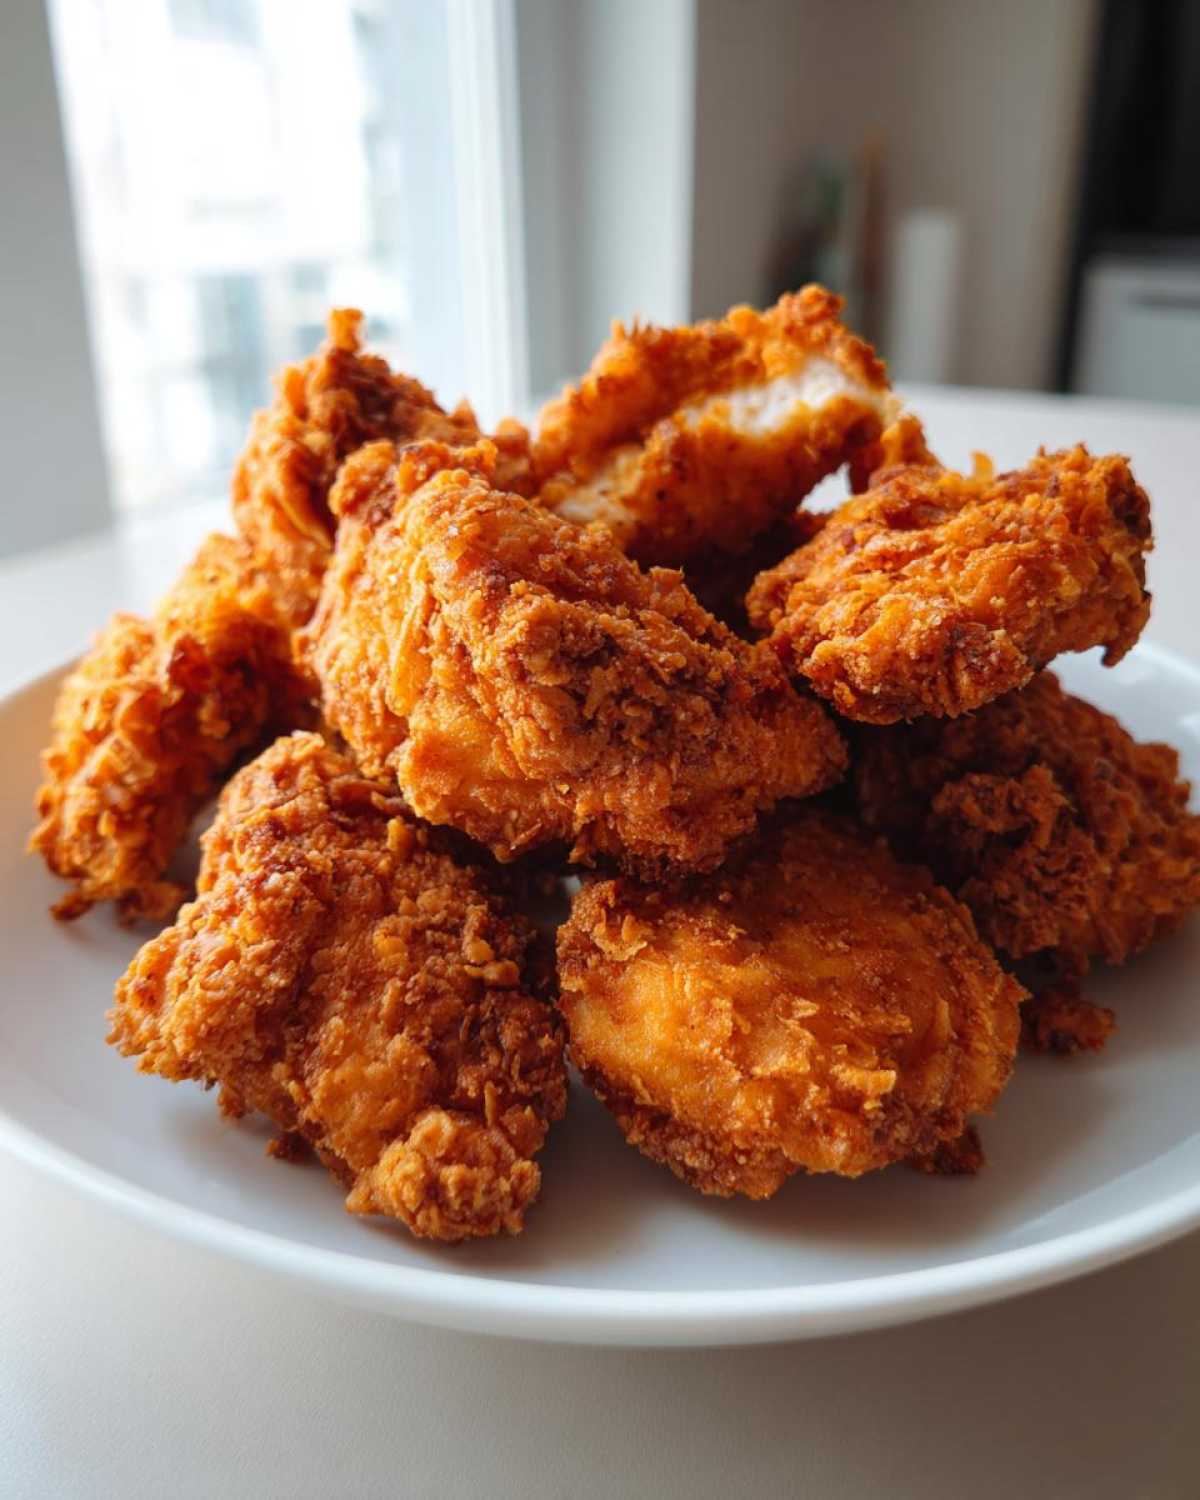
The main reason you’re going to love this recipe is simple: the texture is unbeatable. We’re talking about a homemade chicken nuggets recipe where the crunch lasts longer than the time it takes you to eat the first few! Plus, it’s surprisingly easy, coming together fast enough for a weeknight rescue meal.
- Lasting, shatteringly crisp exterior.
- Juicy, moist chicken on the inside—no dry bits!
- Flexible cooking options, whether you’re frying or using your air fryer like I showed you here.
Texture Guaranteed: The Best Breading for Crunch
This isn’t just any coating; this is the secret weapon for extra crunchy chicken nuggets. The combination of light, airy Panko breadcrumbs mixed right in with crushed cornflakes creates tiny pockets of crunchiness. Every bite yields that fantastic shatter. You press that coating on hard; you want maximum coverage!
Assembling Your Crispy Chicken Nuggets Homemade Extra Crunchy Ingredients
Okay, now for the fun part—gathering our crunchy arsenal! Getting the ingredients ready ahead of time is non-negotiable if you want that perfect texture. Lay everything out so you can move fast when we start dredging. You’ll need a solid pound and a half of boneless, skinless chicken breast; I usually just cut mine into rough 1-inch squares, nothing fancy needed.
The true star here, the game-changer for our **best crunchy chicken nuggets**, is the breading. You’ve got the usual suspects, but the Panko makes all the difference. Don’t skimp on the coating ingredients, because that’s where 90% of the crunch comes from!
- 1.5 lbs boneless, skinless chicken breast, cut into 1-inch pieces
- 1 cup all-purpose flour
- 1 teaspoon salt
- 1/2 teaspoon black pepper
- 1/2 teaspoon garlic powder (just a hint of savory!)
- 2 large eggs, beaten
- 1 tablespoon milk or water
- 2 cups Panko breadcrumbs (Make sure they’re Panko!)
- 1/2 cup crushed cornflakes (My little secret boost!)
- Vegetable oil, for frying (or spray if you’re air frying today).
Ingredient Notes and Substitutions for Your Coating
Listen up: Panko breadcrumbs are thinner and flakier than standard breadcrumbs. They don’t soak up oil the same way; they puff up and get extra crispy! If you only have regular breadcrumbs, I’m telling you now, you won’t get the same result—it’ll be softer.
If breasts are too much trouble, you can totally use tenderloins if they’re on sale, or even cut-up thighs for a slightly richer flavor, but keep the pieces uniform so they cook evenly. Just make sure you season that flour mixture nicely; it’s the first layer of flavor protection!
The Essential Steps for Crispy Chicken Nuggets Homemade Extra Crunchy
Alright, this is where the magic happens! Getting that unbelievably crunchy coating to actually stick is the secret to success. We’re setting up a clean system before we touch the chicken. Don’t rush the coating stages or the rest, or you end up with sad, naked nuggets scattered in your oil. Patience equals crunch, I promise!
Setting Up the Perfect Dredging Station
You need three shallow dishes lined up in order—we call this the dredging line! First dish gets your seasoned flour mix. Second dish is your egg wash—just beat those eggs with a splash of milk or water to help the flour stick better. The third dish is your golden ticket: the Panko and cornflakes combined. You have to press that chicken firmly into the final coating! Really jam it in there so you get a thick, uniform layer all around. That heavy coating is absolutely key for **how to make crunchy chicken nuggets**.
The Crucial Rest Period for Adhesion
Once they’re fully breaded, do *not* cook them immediately. Put them on a wire rack over a baking sheet and slide them into the fridge for at least 30 minutes. I usually aim for an hour if I can manage it. This chilling time lets the egg wash completely solidify and seals that Panko coating onto the meat. If you skip this rest, that beautiful crust will just flake right off into the hot oil, and we absolutely can’t have that!
Cooking Methods for Extra Crunchy Chicken Nuggets
Now we get to the payoff! How you cook these determines how much crunch we lock in. While I’ve given you options, remember that oil is the ultimate texture creator for that classic crunch. But hey, if you’re trying to keep things lighter, the air fryer is seriously good now, provided you follow my coating rule: pressing that crust on tight! Remember you need to be careful with hot oil, you can check out some safety tips regarding that here.
Mastering the Deep Fried Chicken Nuggets Recipe Technique
If you want the absolute best, most authentic crunch, you have to fry these puppies. The biggest mistake people make is having oil that’s not hot enough. We need that peanut or vegetable oil swimming at a steady 350°F (175°C). If that heat drops because you dumped too many nuggets in at once, the coating gets greasy and pulls away. Work in small batches! Throw them in, let them sizzle happily for about three to four minutes until they’re beautifully golden brown, then pull them out and let them drain on paper towels over a wire rack. This keeps the bottoms from steaming!
Achieving Perfection with Air Fryer Crispy Chicken Nuggets
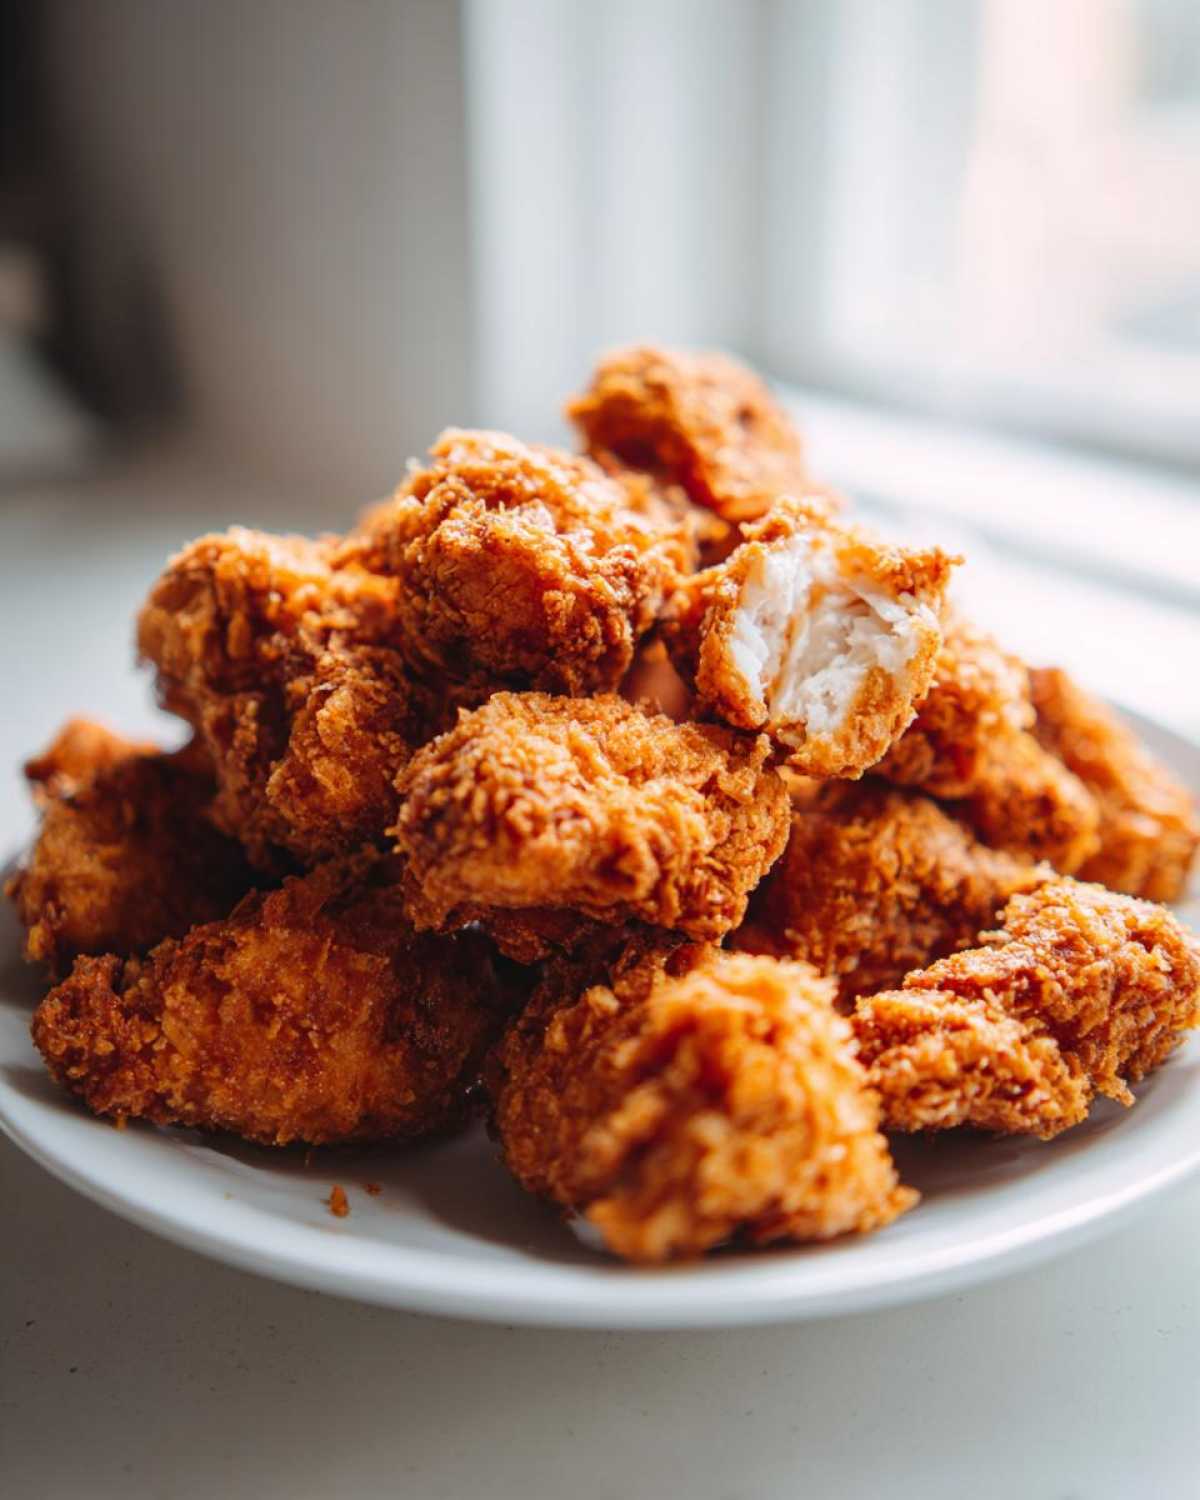
Don’t worry if you aren’t feeling the deep fryer today. For the **air fryer crispy chicken nuggets**, you still need that great coating, but the prep changes slightly. Make sure they are lightly misted—and I mean *lightly*—with cooking spray. This helps them brown up instead of just drying out. Pop them into a single layer in the basket, set your air fryer to 380°F (195°C), and plan on about 10 to 12 minutes total, flipping them halfway through. Give them a peek when they hit the 8-minute mark; every machine runs a little differently!
Expert Tips for an Extra Crunchy Coating for Chicken
Okay, we’ve got the basic steps down for the **best breading for crunch**, but if you want to go absolutely over the top—the really memorable, satisfying kind of crunch—you need these final tricks up your sleeve. Seriously, these small adjustments turn a great nugget into legendary territory. For the ultimate shatter, I highly recommend trying the double-dip, especially if you’re trying to nail that classic deep-fried texture.
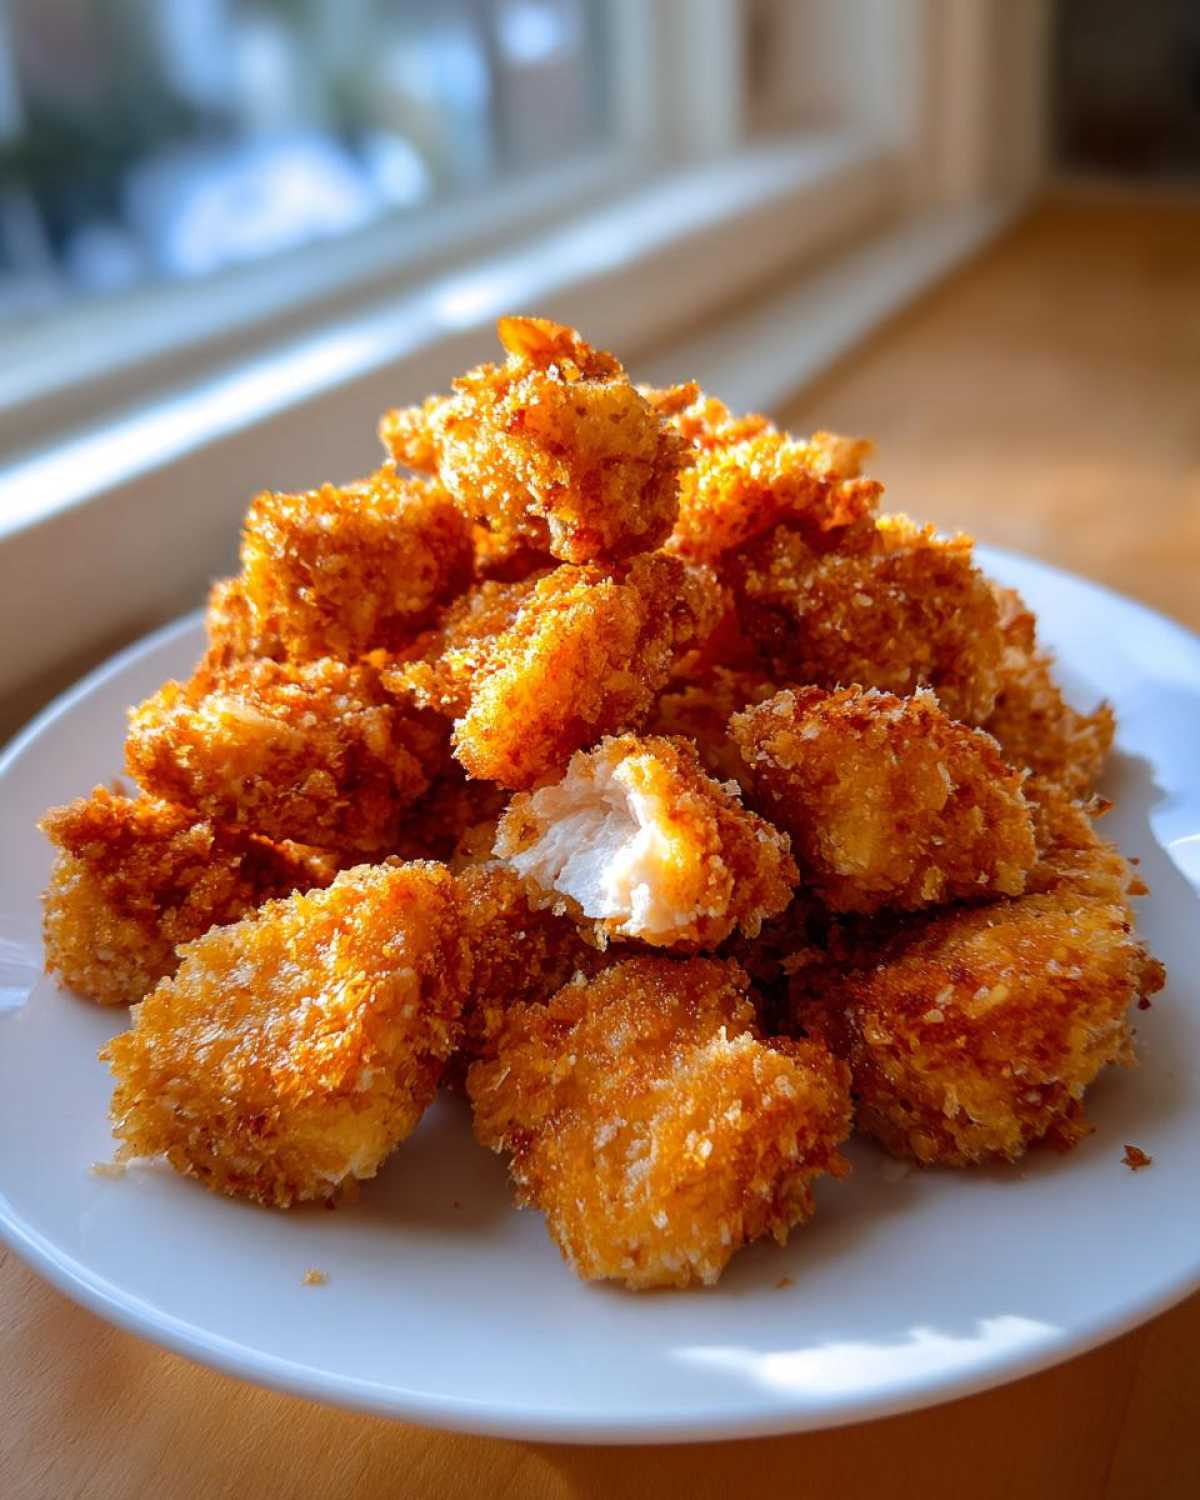
Here’s how you do it: after you press the nugget into the Panko mixture the first time, give it one quick dunk *back* into that egg wash, and then immediately press it back into the crumbs again hard. This creates a thicker, craggier shell that traps moisture beautifully and maximizes crispiness. You can see how that technique is essential for my Panko chicken nuggets recipe.
Also, don’t forget that flour base! Make sure your flour dredge isn’t just flour; sneak in a little extra garlic powder, maybe a tiny pinch of onion powder, or even a dash of paprika right into that first dry coat. A well-seasoned flour layer ensures every single part of the nugget is delicious, right down to the crust!
Serving Suggestions for Your Homemade Chicken Nuggets Recipe
Honestly, these **Crispy Chicken Nuggets Homemade Extra Crunchy** are so good, they don’t even need anything fancy. But since we made them a **kid friendly chicken nuggets recipe**, we have to have dips, right?
I usually keep it classic: honey mustard is my absolute go-to, or a simple ketchup mixed with a little BBQ. If you’re serving these up as a slightly more grown-up snack, try a spicy aioli. They are great alongside some crisp sweet potato fries or just a little side of crunchy carrot sticks. Keep the sides simple so that amazing crunch can truly shine!
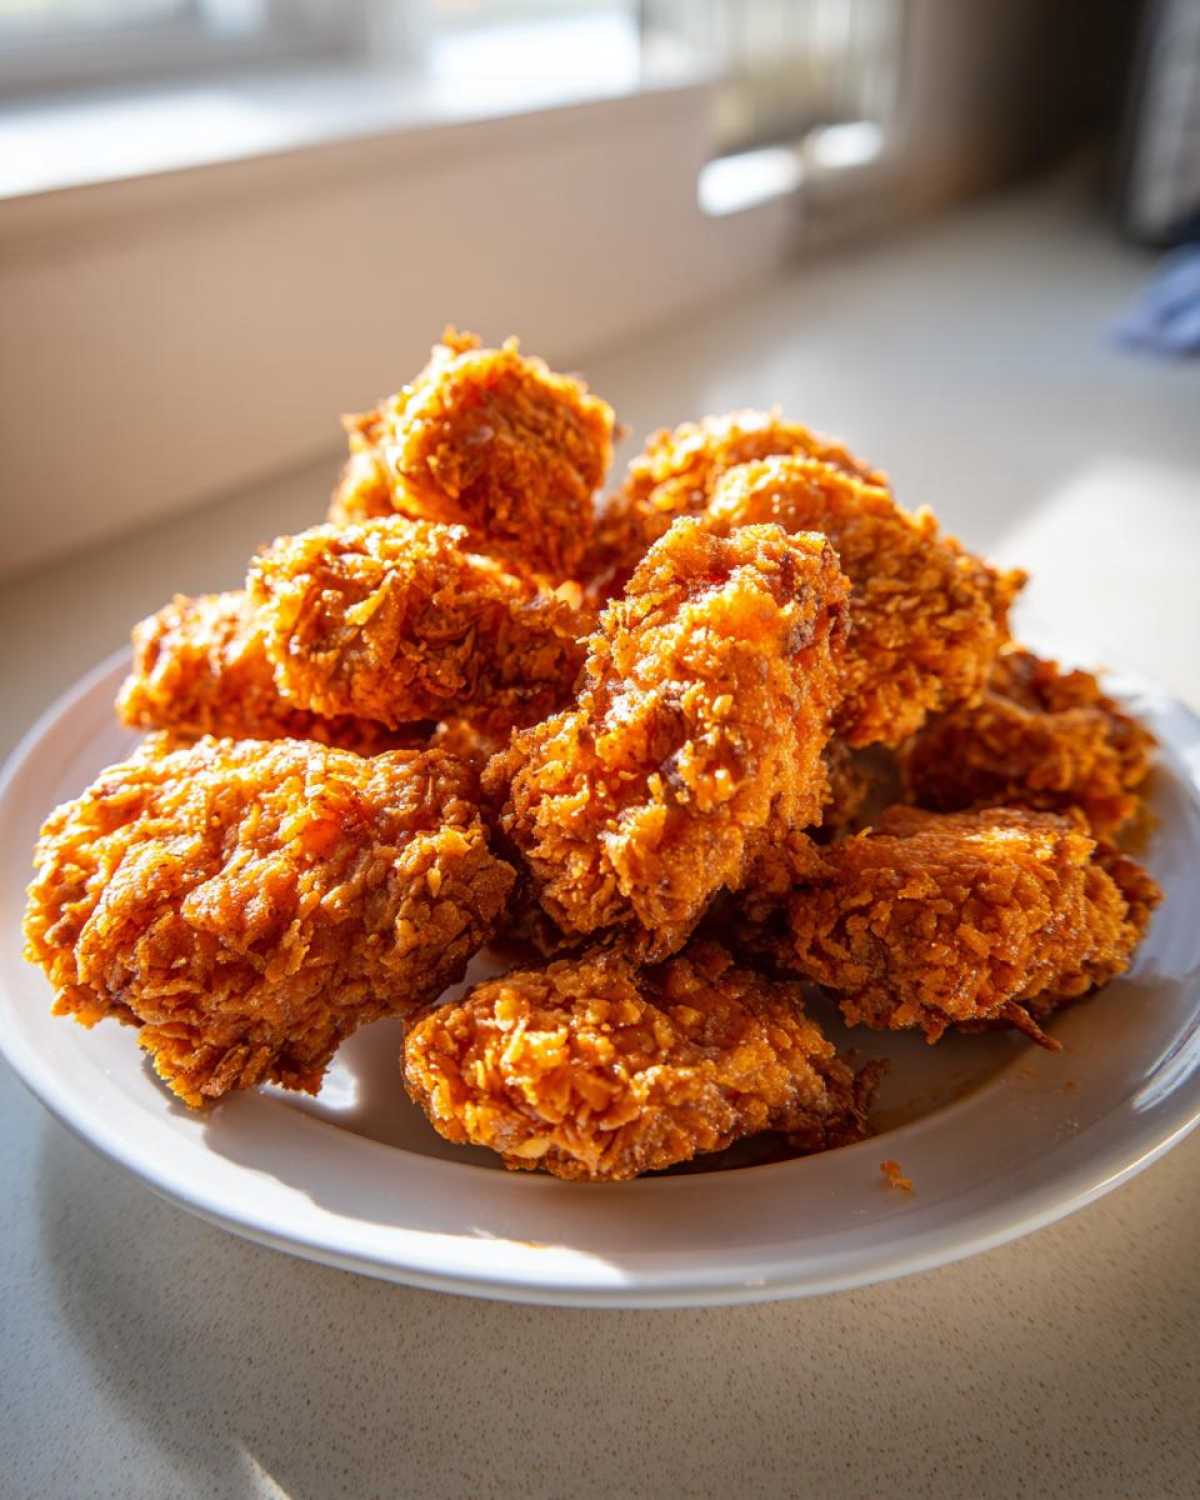
Storage and Reheating Instructions for Lasting Crispiness
So, you actually have leftovers? Amazing! This means you did a great job making these **Crispy Chicken Nuggets Homemade Extra Crunchy**. Now, we need to treat them right so their crunch survives the fridge. Don’t just toss them into a sealed container—that traps steam, and steam is the enemy of crunch! Immediately after they cool down just a tiny bit, spread them on a plate, uncovered, for about 15 minutes.
After that brief rest, move them to an airtight container. But here’s the golden rule for reheating: ditch the microwave! The microwave turns them instantly soggy. You want that crispness back? Use your oven or air fryer set hot—around 400°F—for just 5 to 7 minutes. That blast of dry heat will revive that perfect crust we worked so hard to create!
Frequently Asked Questions About Making Crunchy Nuggets
I know you might have a few lingering questions, especially concerning texture—that’s the most important part, right? Dealing with **homemade chicken nuggets recipe** questions is part of the fun here. I’ve collected the things folks ask me most to ensure you end up with the **best crunchy chicken nuggets** imaginable.
Can I make these nuggets ahead of time?
You absolutely can prep them ahead, which is a lifesaver! I recommend doing the entire coating process, including that crucial chilling rest period, and then storing the raw, coated nuggets in the freezer. Don’t cook them until you’re ready! If you freeze them solid, just add an extra couple of minutes to your air fryer or frying time. Never thaw them first—cook straight from frozen for the best result.
What is the difference between using Panko and regular breadcrumbs for crunch?
Oh, this is vital! Regular breadcrumbs are fine, almost like a powder, meaning they flatten against the chicken and absorb moisture. Panko, on the other hand, are large, porous flakes. They don’t soak up as much oil; instead, they stand up and create these airy, jagged peaks that result in that superior, lasting crunch. If you want that **extra crunchy coating for chicken**, Panko is non-negotiable!
How can I ensure my nuggets stay moist inside while being extra crunchy outside?
This is all about temperature control, my friend! If your oil is too cool—say, only 325°F—the coating has too long to sit in the fat, and it soaks it up, making it heavy and soggy, even if the inside stays moist. You need that oil blazing hot at 350°F or your air fryer hot enough to cook fast. This flash-cooking action locks in the chicken juices before the outside has time to turn soft. It’s a quick battle in the heat!
Nutritional Estimates for Homemade Chicken Nuggets
If you’re counting macros or just curious about what’s in these beautiful, crunchy little guys, here are the estimated numbers! Keep in mind that these figures are based on standard serving sizes and definitely reflect the deep-fried method. If you used the air fryer, you can expect the fat and calorie counts to drop significantly—which is always a nice bonus when you’re trying to keep things lighter!
For the exact breakdown based on our prep, here is what we are looking at. I always double-check these things against reliable government sources, just like the folks over at the FDA recommend for general guidelines in food prep.
- Serving Size: 4 nuggets
- Calories: 280
- Sugar: 1g
- Sodium: 350mg
- Fat: 15g
- Saturated Fat: 3g
- Unsaturated Fat: 12g
- Trans Fat: 0g
- Carbohydrates: 15g
- Fiber: 1g
- Protein: 22g
- Cholesterol: 75mg
So, while they are definitely decadent and fried, you are getting a huge hit of protein! Remember, these are just estimates, so if you change up your oil or use boneless chicken thighs instead of breast, things shift a little. But they are still worth every single crunchy bite!
PrintExtra Crunchy Homemade Chicken Nuggets
Follow this recipe to make homemade chicken nuggets with an exceptionally crispy and long-lasting crunchy coating.
- Prep Time: 20 min
- Cook Time: 15 min
- Total Time: 35 min
- Yield: 4 servings
- Category: Main Course
- Method: Frying or Air Frying
- Cuisine: American
- Diet: Low Fat
Ingredients
- 1.5 lbs boneless, skinless chicken breast, cut into 1-inch pieces
- 1 cup all-purpose flour
- 1 teaspoon salt
- 1/2 teaspoon black pepper
- 1/2 teaspoon garlic powder
- 2 large eggs, beaten
- 1 tablespoon milk or water
- 2 cups Panko breadcrumbs
- 1/2 cup crushed cornflakes (optional, for extra crunch)
- Vegetable oil, for frying (or cooking spray for baking/air frying)
Instructions
- Prepare the chicken: Place the chicken pieces in a bowl. Season lightly with salt and pepper.
- Set up the dredging station: Prepare three shallow dishes. In the first, mix the flour, salt, pepper, and garlic powder. In the second, whisk the eggs and milk/water together. In the third, combine the Panko breadcrumbs and crushed cornflakes, if using.
- Coat the chicken: Take one piece of chicken and dredge it thoroughly in the flour mixture, shaking off excess. Dip it completely into the egg wash. Finally, press the chicken firmly into the Panko mixture to ensure a thick, even coating. Repeat for all pieces.
- Rest the nuggets: Place the coated nuggets on a wire rack set over a baking sheet. Refrigerate for at least 30 minutes. This step helps the coating adhere during cooking.
- Cook the nuggets (Deep Fry Method): Heat 2 inches of oil in a deep, heavy-bottomed pot to 350°F (175°C). Carefully lower a few nuggets at a time into the hot oil, ensuring not to overcrowd the pot. Fry for 3 to 4 minutes, turning occasionally, until golden brown and cooked through (internal temperature of 165°F). Remove and drain on a wire rack lined with paper towels.
- Cook the nuggets (Air Fry Method): Preheat your air fryer to 380°F (195°C). Lightly spray the coated nuggets with cooking spray. Cook in a single layer for 10 to 12 minutes, flipping halfway through, until golden and crisp.
- Serve immediately for the best crunch.
Notes
- For the absolute crispiest texture, use the double-dip method: After the first coating in Panko, dip the nugget back into the egg wash briefly, then coat again in the Panko mixture.
- Ensure your frying oil temperature is correct; if it is too low, the coating will absorb too much oil and become soggy.
- If baking, use a wire rack placed on a baking sheet to allow air circulation around the bottom of the nugget.
Nutrition
- Serving Size: 4 nuggets
- Calories: 280
- Sugar: 1
- Sodium: 350
- Fat: 15
- Saturated Fat: 3
- Unsaturated Fat: 12
- Trans Fat: 0
- Carbohydrates: 15
- Fiber: 1
- Protein: 22
- Cholesterol: 75