

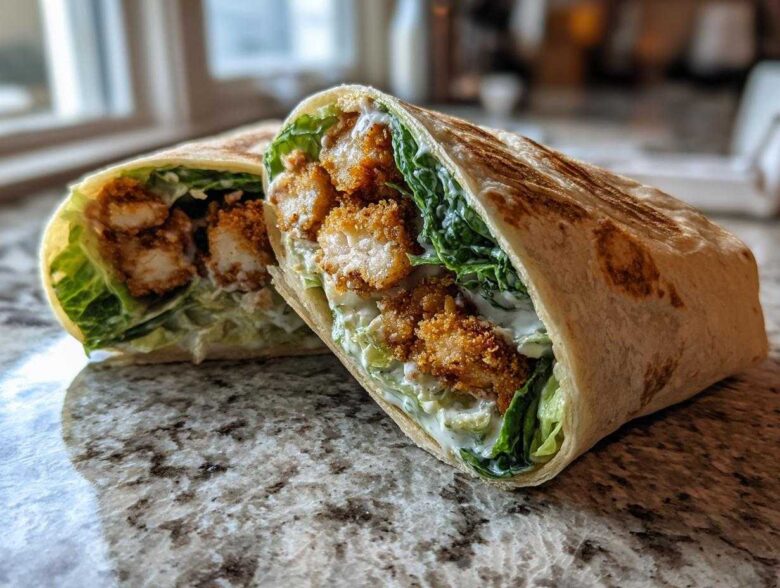
Oh my gosh, if you are tired of sad desk lunches that leave you hungry an hour later, you HAVE to try this. Forget lukewarm takeout! Today, we are mastering the ultimate comfort food mashup: the Crispy Chicken Caesar Wrap with Parmesan. I spent way too many afternoons trying to perfectly replicate that restaurant crunch at home, and trust me, I cracked the code.
The secret isn’t just the chicken; it’s getting that coating right so it stays shatteringly crisp even when layered with creamy dressing. This isn’t just any wrap; it’s texture heaven, full of bright lettuce, zingy dressing, and salty Parmesan that just sings.
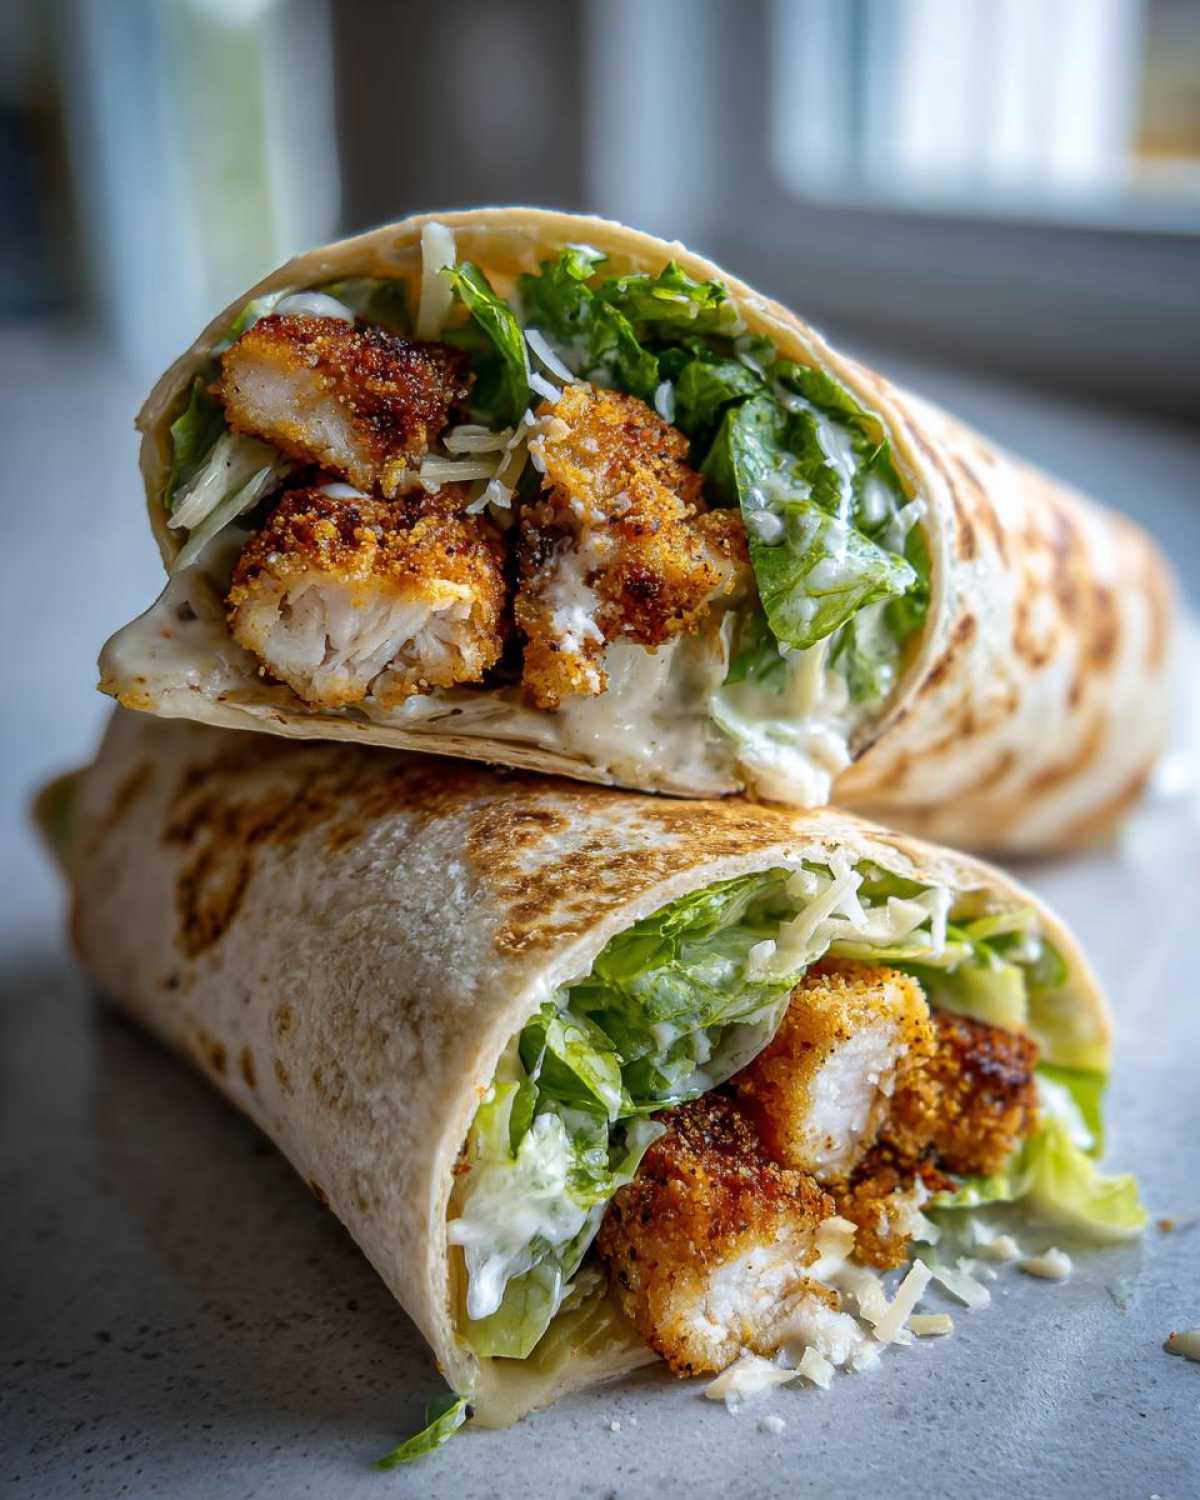
Why This Crispy Chicken Caesar Wrap with Parmesan Recipe Works (Easy Lunch Wraps)
Look, I get it. Lunch needs to be fast, but fast usually means soggy and sad. Not here! This recipe guarantees you get that intense, satisfying crunch every single time, which is why I keep coming back to this version. We focus on the essentials to make a Crispy Chicken Caesar Wrap with Parmesan that holds up!
Here is why I think this is your new go-to lunch solution:
- Unmatched Crunch: We combine Panko with real Parmesan in the dredging station. It’s a game-changer for texture that stays crispy longer.
- Superior Dressing Flavor: Ditching that bottle stuff for our homemade Caesar means way more tang and cheesy depth.
- Speedy Prep: You can have this fantastic meal on the table in about 30 minutes flat. Perfect for a quick weeknight dinner, too!
Essential Components for Your Crispy Chicken Caesar Wrap with Parmesan
Okay, listen up! The reason you can’t stop thinking about this Crispy Chicken Caesar Wrap with Parmesan is because every single element has a job to do. We aren’t just throwing things in a tortilla, honey. We’re building a balanced masterpiece designed for maximum crunch and flavor payoff. Get your ingredients together before you even think about turning on the stove!
For the Crispy Parmesan Chicken
This is where the magic starts. You need those chicken breasts cut into strips—don’t use thin cutlets, or they’ll cook too fast! For the coating, you absolutely must use Panko breadcrumbs. They are lighter and absorb less oil than standard crumbs, giving you that airy, crisp shell.
You’ll need the basics: flour, a well-beaten egg, and Panko mixed with 1/4 cup of finely grated Parmesan to form our perfect crust. We are pan-frying these strips in a little olive oil until they hit that glorious golden-brown color.
For the Homemade Caesar Dressing (Parmesan Focus)
You simply cannot achieve the true flavor of a Restaurant Style Caesar Wrap without a proper dressing. My recipe relies heavily on good quality Parmesan here—it melts into the creamy base wonderfully! Don’t skip the lemon juice; that acidity cuts through the richness of the crispy chicken.
The star ingredients here are mayonnaise, Dijon, garlic, Worcestershire sauce, lemon juice, and yes, a good helping of finely grated Parmesan cheese. Whisk it until it looks like luxurious, tangy silk.
For Assembling the Crispy Chicken Caesar Wrap with Parmesan
The wrapping structure is crucial! We need sturdy but pliable tortillas. I specify the 10-inch size because anything smaller ends up exploding when you load it up. You also need crispy romaine lettuce, chopped—no floppy butter lettuce here, we need crunch all the way through!
Finally, the finishing touch: extra shaved or grated Parmesan cheese sprinkled right over the chicken before rolling. This doubles down on that savory, salty element that makes this wrap addictive.
Achieving the Perfect Crispy Chicken for Your Wrap Recipe
This is the absolute make-or-break moment for your Crispy Chicken Wrap Recipe. If you get this part wrong, you end up with chewy chicken wrapped in soggy breading, and that’s just a tragedy! We need that signature golden armor on the chicken strips before they even think about hitting the hot oil.
First, get your dredging station set up exactly as I described earlier. It’s a quick assembly line: flour, then egg, then the Parmesan-Panko mix. Make sure your chicken strips are patted very dry first—moisture is the enemy of crispy coatings!
The technique is everything here. Dredge the strip in the flour, shaking off any clumps resting on the surface. Then, dip it right into the egg. Now comes my essential tip for that super-adherent crunch: when you press that strip into the Parmesan-Panko mixture, really press hard! You need to manually create texture there so it doesn’t just fall off when you fry it. Really mold that coating on!
Heat your olive oil in that skillet over medium-high heat. We want it hot enough to sizzle immediately. Cook those beauties for about three to four minutes per side. If you want to see my secret for keeping the chicken juicy while getting it cooked through, check out my quick marinade trick! Once they are deeply golden brown, pull them out and let them sit on paper towels to drain off any excess fat. That’s how you build the best texture for this wrap.
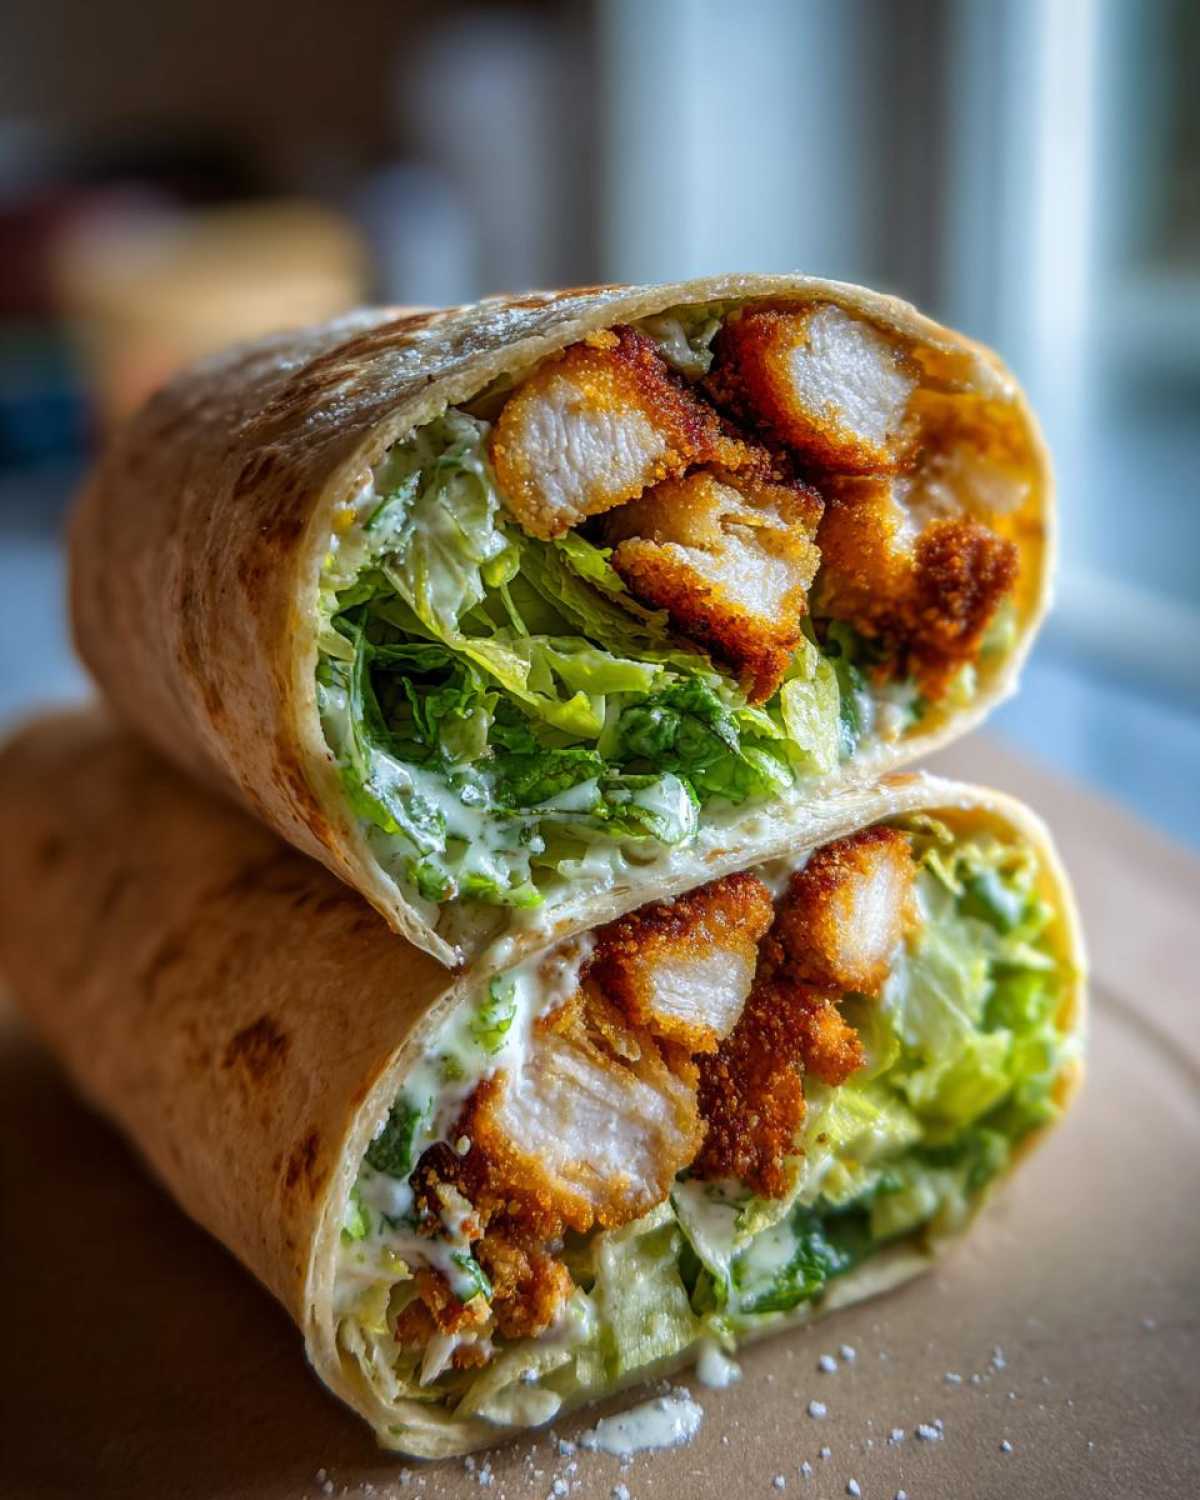
Step-by-Step Instructions for the Ultimate Crispy Chicken Caesar Wrap with Parmesan
Alright, now that we have our phenomenal crusty chicken ready and our dressing whisked into submission, it’s time for the grand finale assembly. This is where we turn ingredients into the legendary Crispy Chicken Caesar Wrap with Parmesan you’ve been waiting for. Remember, the order you layer things matters if you don’t want a wrap that explodes halfway through eating!
Making the Homemade Caesar Dressing
This part is fast! In a small bowl, just whisk together your mayonnaise, Dijon, minced garlic, Worcestershire sauce, lemon juice, and that quarter cup of Parmesan until it’s completely smooth and emulsified. Taste it! You might need a little more salt or pepper. Isn’t that homemade stuff just night and day better?
Cooking the Chicken Strips Safely
Don’t rush this! Make sure your large skillet is over medium-high heat. You want that olive oil shimmering before the chicken goes in. Lay the coated strips down carefully—don’t crowd the pan, cook them in batches if you have to! Cook them for about three to four minutes on each side.
This is important for safety, especially if you’re serving these to family: make sure the internal temperature of the chicken hits 165°F. They should be deeply golden brown and totally cooked through. Pull them out and let them rest on that paper towel-lined plate you set aside.
How to Make Perfect Wraps: Assembly and Folding Technique
This is the secret to maintaining structural integrity, which leads to exactly How to Make Perfect Wraps that don’t leak! Lay your large 10-inch tortilla completely flat on your cutting board. You need a dedicated space for this.
Start by spreading a liberal amount of that creamy Caesar dressing right down the center third of the tortilla. Don’t go too close to the edges; we need room to fold! Next, layer on a generous handful of that chopped, crisp romaine lettuce. Pile your warm, crispy chicken strips right on top of the lettuce layer.
Now, generously sprinkle over that extra shaved or grated Parmesan—don’t be shy with the cheese!
Here’s the folding technique: First, fold both side edges inward over the filling, about an inch or two on each side. This creates walls so nothing spills out the ends. Next, reach under the bottom edge of the tortilla, pull it up tightly over the filling, and continue rolling upwards until the wrap seals itself shut. If you roll it tight against the counter as you go, you’ll get that beautifully compact result great kitchens aim for.
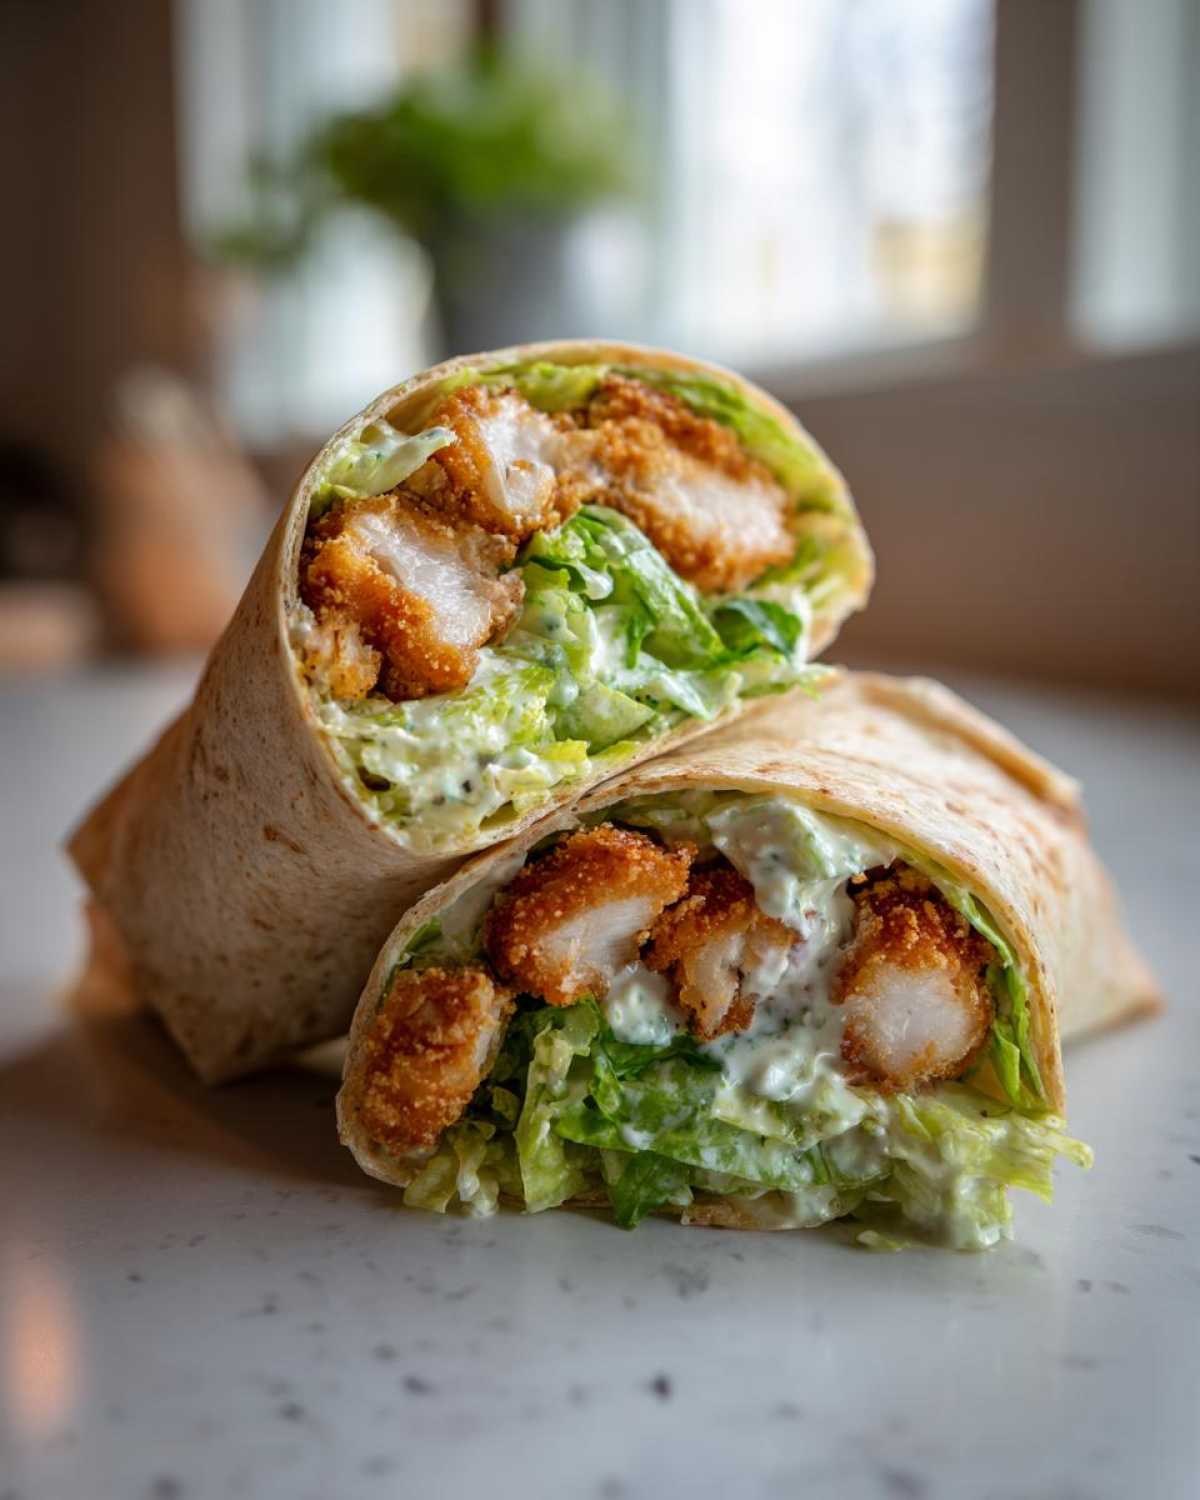
Ingredient Notes and Substitutions for Your Parmesan Chicken Wrap
Sometimes life throws you curveballs, right? Maybe you’re totally out of chicken breasts, or perhaps you just need this Crispy Chicken Caesar Wrap with Parmesan on the table in literally ten minutes flat. Don’t panic! While this recipe shines with freshly breaded chicken, there are always ways to pivot without losing that essential cheesy flavor.
If you need to substitute the Panko, regular dry breadcrumbs work, but you have to compensate. Use slightly less, and maybe press a little harder during the dredging, because they just don’t give you the same airy crispness. Also, remember what I said about the dressing? Fresh lemon juice is non-negotiable for that bright Caesar tang that cuts through the richness of the chicken and Parmesan.
Selecting the Best Tortilla for Wrapping
This is such a huge structural point that readers often miss! If you use those small, stiff flour tortillas, you are setting yourself up for disaster. You need a large, 10-inch tortilla that is soft and pliable. I’ve found that if tortillas sit on the counter too long, they start to lose flexibility and will crack the second you try to roll them tightly.
To ensure you get the perfect roll and adhere to the advice for the Best Tortilla for Wrapping, warm them up first! Seriously, 15 seconds in the microwave or 30 seconds per side in a completely dry skillet over medium heat makes all the difference. They become stretchy and forgiving. You’ll thank me when your wrap doesn’t spill the lettuce everywhere!
Tips for Success: Creating a Crunchy Chicken Wrap
Honestly, once you master the breading, you’re golden, but I have a few extra little secrets that take this Crunchy Chicken Wrap from ‘great’ to ‘I need to make this every Tuesday.’ These aren’t huge steps, but they make a difference when you’re aiming for that restaurant-quality texture and flavor!
My number one rule, especially if you are making these for dinner instead of a quick lunch, is temperature control. Crispy food hates sitting around turning soggy! You want your chicken warm when it hits that cool lettuce and dressing. Try keeping the cooked strips in a low oven—say, 200°F—on a wire rack while you finish up the remaining batches. A wire rack is key because it lets air circulate underneath so the bottom doesn’t steam itself!
Speaking of texture, remember back when we talked about adding crushed croutons? Do it! That extra little pop of baked bread mixed in with the Parmesan is magic. It mimics the crunch you get from a big pile of salad, but zipped up right inside your wrap. If you happen to be making my easy garlic butter recipe simultaneously, a tiny brush of that melted butter over the breaded strips right before they hit the warm skillet gives them an even deeper golden color and a richness that’s unbelievable.
Also, don’t overdress the lettuce! It’s tempting to drench everything in that gorgeous creamy Caesar, but too much moisture seeps into the wrap itself. Dress the lettuce lightly right before assembly, and let the dressing on the tortilla act as the primary binder. Trust me, this keeps the structure tight from the first bite to the last!
Storage and Reheating Instructions for Crispy Chicken Caesar Wrap with Parmesan
Now, I always tell people that when you’re making something this delicious at home, you should generally forget the label, but sometimes it’s good to know the numbers! Please remember that these figures are my best estimations based on the ingredients I use in my kitchen with specific brands. If you swap out the mayonnaise for Greek yogurt or use a thinner tortilla, your numbers will look different!
This section covers the nutritional breakdown for one single, fully assembled Crispy Chicken Caesar Wrap with Parmesan, serving size is one wrap:
- Calories: About 550
- Total Fat: Roughly 30g (don’t worry, a good chunk of that is healthy fat from the olive oil and dressing ingredients!)
- Saturated Fat: About 8g
- Carbohydrates: Around 45g
- Dietary Fiber: 3g
- Protein: A hearty 32g—this is what keeps you full until dinner!
- Sugar: Very low, only about 4g
- Sodium: Remember, between the salted chicken coating and the Parmesan cheese, this comes in around 850mg.
This is certainly a satisfying, balanced meal when you need something quick and filling. It hits all the right notes for flavor and texture without being overly heavy, provided you stick close to the suggested ingredient amounts!
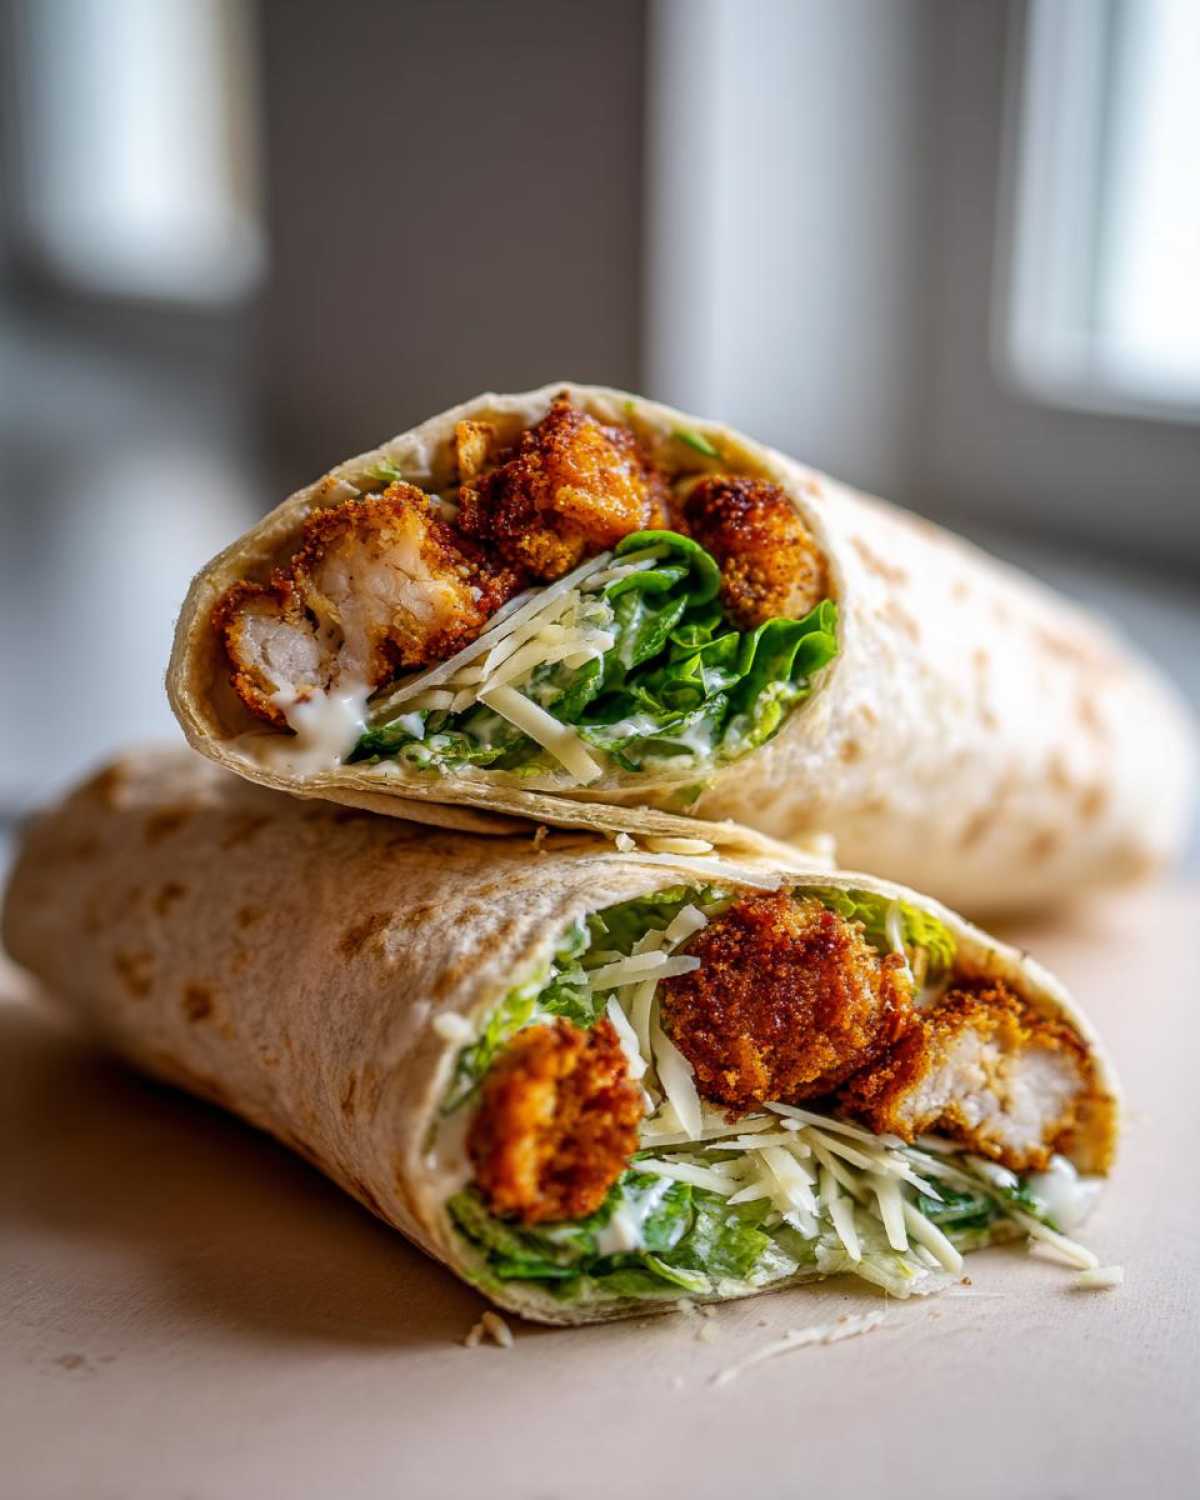
Frequently Asked Questions About This Caesar Salad Wrap
I know you probably have a few things running through your head as you decide when to make these gorgeous wraps. It’s smart to ask questions before diving in! I’ve pulled together the top things people always ask me about this recipe. Having the right answers guarantees your Caesar Salad Wrap success!
Can I use an air fryer for the chicken instead of pan-frying?
Absolutely! If you have an air fryer, it’s a fantastic way to get that crunch with significantly less oil. This works perfectly for our Air Fryer Crispy Chicken for Wraps goal. After you’ve breaded your chicken strips exactly as described, spray them really well with cooking spray—don’t skip the spray! Arrange them in a single layer in your air fryer basket. You will generally cook them at 380°F (195°C) for about 10 to 14 minutes, flipping them halfway through. They should turn delightfully golden brown and crisp right up!
What makes this a ‘Restaurant Style Caesar Wrap’?
It all comes down to two main things that most quick versions skip: the quality of the dressing and the coating on the chicken. Our rich, tangy, homemade Caesar brings that deep flavor you get when you pay extra at a nice spot. Plus, the double-texture coating—the Panko mixed with that actual grated Parmesan—gives you a crispiness that bottled or frozen chicken just can’t replicate. It truly elevates this beyond a basic Savory Parmesan Recipe mashup.
Is this recipe a good Parmesan Chicken Sandwich alternative?
Oh, totally! If you woke up craving a Parmesan Chicken Sandwich alternative but you only have tortillas on hand, this is your answer. The flavor profile is exactly the same—that salty, rich Parmesan crust against the cool, sharp lettuce and creamy dressing. The only difference is the vessel! If you want to turn this into a true sandwich, just swap that large tortilla for two sturdy slices of sourdough or a soft hoagie roll. The core crispy chicken technique stays exactly the same!
If you’re looking for more quick and impressive meals, you can always browse my dinner category for inspiration later in the week!
Estimated Nutrition for Your Crispy Chicken Caesar Wrap with Parmesan
Now, I always tell people that when you’re making something this delicious at home, you should generally forget the label, but sometimes it’s good to know the numbers! Please remember that these figures are my best estimations based on the ingredients I use in my kitchen with specific brands. If you swap out the mayonnaise for Greek yogurt or use a thinner tortilla, your numbers will look different!
This section covers the nutritional breakdown for one single, fully assembled Crispy Chicken Caesar Wrap with Parmesan, serving size is one wrap:
- Calories: About 550
- Total Fat: Roughly 30g (don’t worry, a good chunk of that is healthy fat from the olive oil and dressing ingredients!)
- Saturated Fat: About 8g
- Carbohydrates: Around 45g
- Dietary Fiber: 3g
- Protein: A hearty 32g—this is what keeps you full until dinner!
- Sugar: Very low, only about 4g
- Sodium: Remember, between the salted chicken coating and the Parmesan cheese, this comes in around 850mg.
This is certainly a satisfying, balanced meal when you need something quick and filling. It hits all the right notes for flavor and texture without being overly heavy, provided you stick close to the suggested ingredient amounts!
PrintCrispy Chicken Caesar Wrap with Parmesan

A recipe for a satisfying wrap featuring crispy chicken, fresh romaine, and a homemade Parmesan Caesar dressing, all rolled in a large tortilla.
- Prep Time: 15 min
- Cook Time: 15 min
- Total Time: 30 min
- Yield: 4 servings
- Category: Lunch
- Method: Pan Frying
- Cuisine: American
- Diet: Vegetarian
Ingredients
- 2 boneless, skinless chicken breasts, cut into strips
- 1 tablespoon olive oil
- 1/2 cup all-purpose flour
- 1 large egg, beaten
- 1 cup panko breadcrumbs
- 1/4 cup grated Parmesan cheese, for coating
- Salt and black pepper to taste
- 4 large flour tortillas (10-inch size recommended)
- 4 cups chopped romaine lettuce
- 1/2 cup shaved or grated Parmesan cheese, for filling
- 1/2 cup Caesar Dressing (recipe below)
Instructions
- Prepare the chicken: Season the chicken strips lightly with salt and pepper. Set up a dredging station: one plate with flour, one bowl with beaten egg, and one plate with panko breadcrumbs mixed with the 1/4 cup grated Parmesan cheese.
- Dredge each chicken strip first in flour, shaking off excess. Dip into the egg, letting excess drip off. Finally, press firmly into the Parmesan-panko mixture to coat completely.
- Cook the chicken: Heat the olive oil in a large skillet over medium-high heat. Cook the coated chicken strips for 3-4 minutes per side until golden brown and cooked through (internal temperature reaches 165°F). Remove and set aside on a paper towel-lined plate.
- Prepare the dressing: Whisk together the dressing ingredients (see notes for dressing components) until smooth.
- Assemble the wraps: Lay a tortilla flat. Spread about 2 tablespoons of Caesar dressing down the center. Layer with chopped romaine lettuce, a portion of the crispy chicken strips, and a sprinkle of the remaining shaved Parmesan cheese.
- Fold the wrap: Fold the sides of the tortilla inward over the filling. Then, tightly roll the bottom edge up and over the filling, continuing to roll upward until the wrap is sealed. Slice in half if desired and serve immediately.
Notes
- For the Caesar Dressing: Combine 1/2 cup mayonnaise, 2 tablespoons fresh lemon juice, 1 teaspoon Dijon mustard, 1 clove minced garlic, 1 teaspoon Worcestershire sauce, 1/4 cup grated Parmesan cheese, and salt and pepper to taste. Whisk until fully combined.
- Use a large, pliable tortilla for easier rolling. Warm the tortillas briefly in a dry skillet or microwave to increase pliability before filling.
- For extra crunch, you can add 1/4 cup of crushed croutons to the filling mixture.
Nutrition
- Serving Size: 1 wrap
- Calories: 550
- Sugar: 4
- Sodium: 850
- Fat: 30
- Saturated Fat: 8
- Unsaturated Fat: 22
- Trans Fat: 0
- Carbohydrates: 45
- Fiber: 3
- Protein: 32
- Cholesterol: 110