

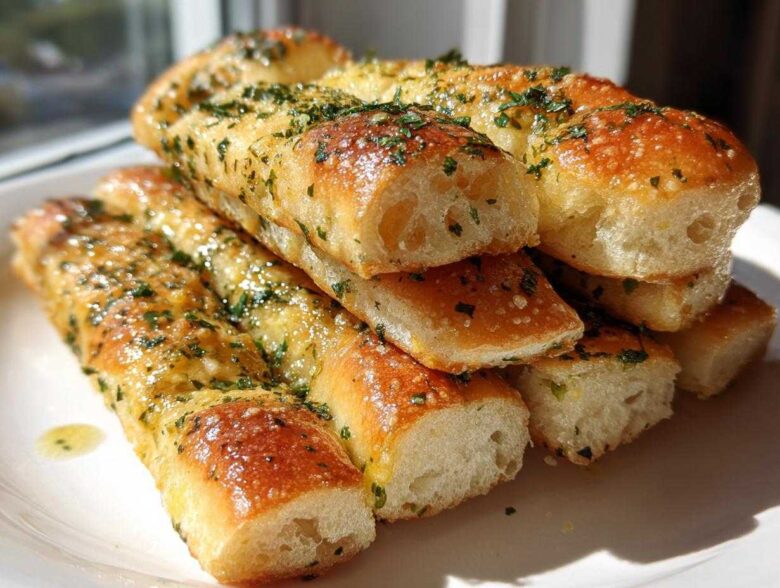
Oh my gosh, you know those nights, right? Where you’re craving something so specific—that warm, fluffy, unbelievably garlicky treat you only get when you go out for Italian dinner? I swear, I used to spend so much money just getting a basket of those restaurant favorites! Well, Chloe and I finally cracked the code, and I’m so excited to share my absolute pride and joy: the ultimate Copycat Olive Garden Breadsticks Recipe. We worked on this for what felt like ages after one particularly bad pizza night where we just decided we couldn’t wait for takeout anymore.
Trust me when I say these homemade breadsticks are everything you dream about: soft, buttery, and drenched in that garlic seasoning you can smell from across the room. We actually managed to create breadsticks that taste even better than the original, and honestly, it feels like a small domestic victory every time I pull them out of the oven. They truly are the best!
Why These Are the Best Homemade Breadsticks You Will Ever Make
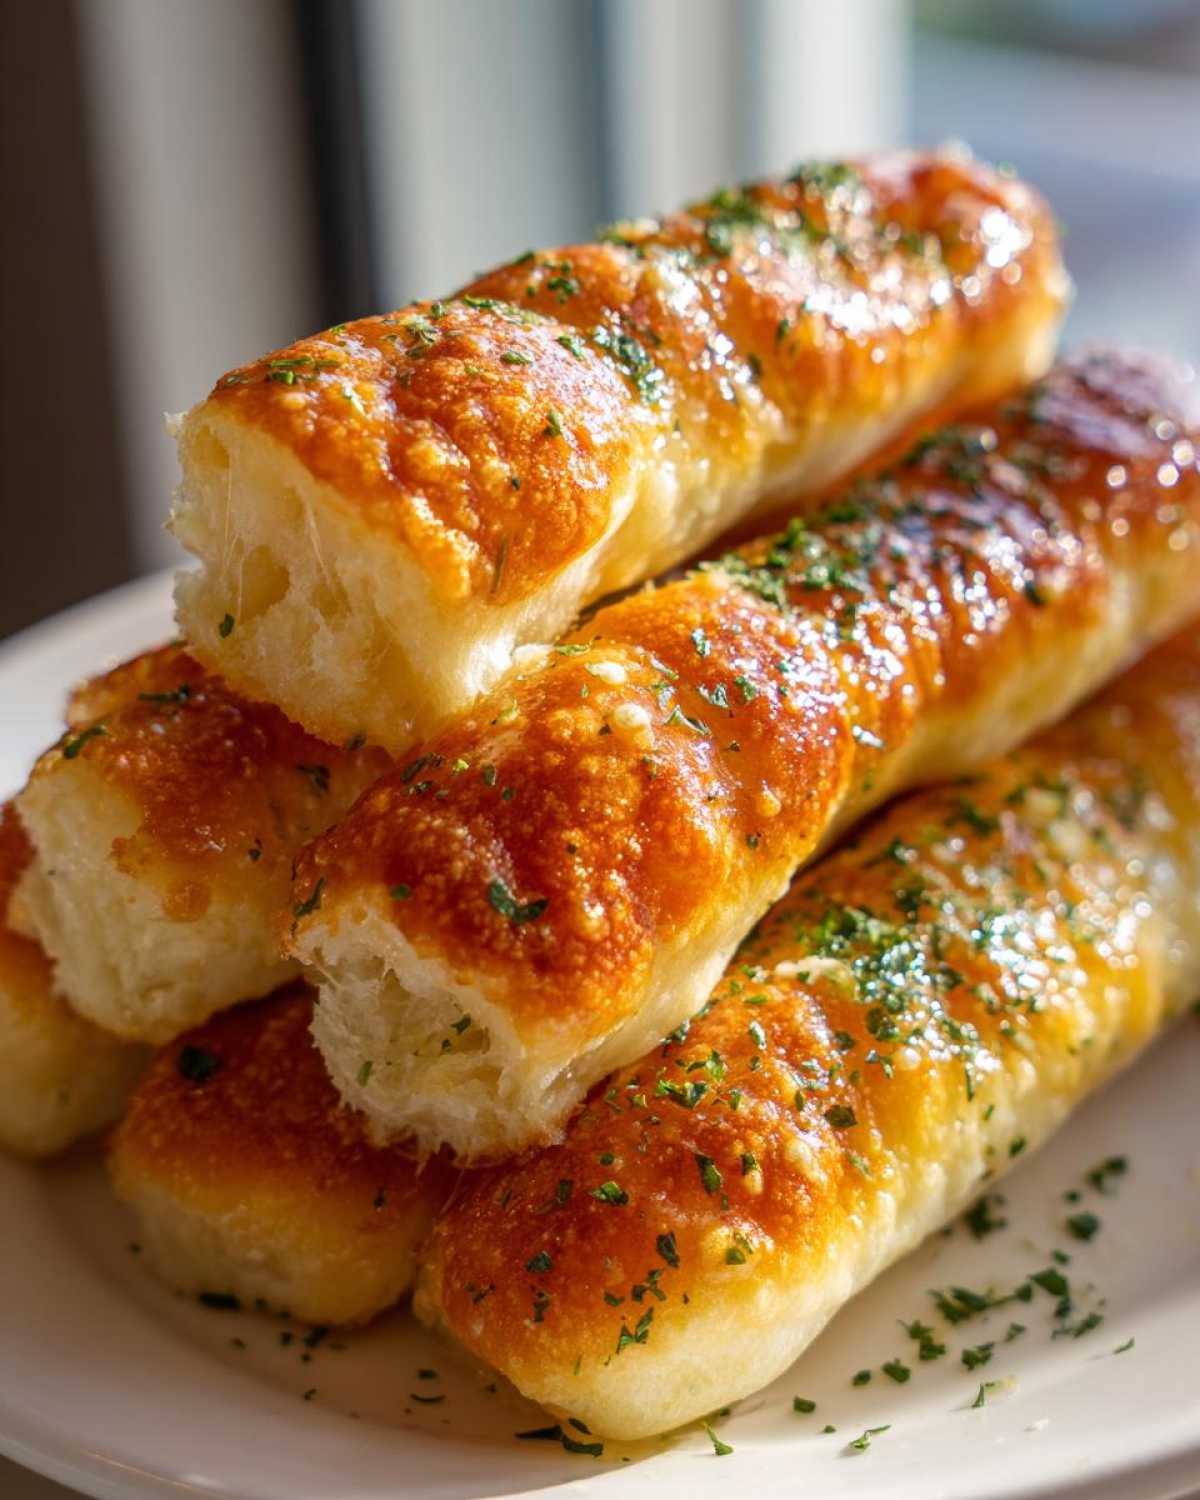
Okay, stop scrolling for a second, because this isn’t just another breadstick recipe. I’m promising you something truly special here! We nailed the textures and flavors so you get that restaurant perfection right on your dinner table. If you’re looking for Soft Buttery Breadsticks that melt in your mouth, you’ve found them.
If that wasn’t enough to convince you, this is a Quick Breadsticks Recipe, too! We cut down on rising time without sacrificing fluffiness. Here’s exactly why I think this version is my go-to:
- They capture that signature salty, garlicky coating perfectly.
- They stay incredibly soft for hours after baking.
- The whole process gets you from pantry to plate surprisingly fast for real yeast bread!
The Secret to Fluffy Breadsticks
The fluffiness comes down to two main things we learned early on. First, we make sure that yeast is bubbling happy thanks to perfectly warm water—no cold water allowed! Second, you have to knead until the dough feels smooth and happy. That kneading builds the structure, which traps all those beautiful gases created by the yeast. That’s your ticket to super fluffy breadsticks!
Gathering Your Ingredients for Copycat Olive Garden Breadsticks
Okay, time to pull out our mixing bowls! It’s so important that we get the components right here, especially if you want that restaurant vibe. I’ve broken down everything you need into two manageable groups—the dough part, which is the fun, messy bit, and the topping, which is pure magic.
When measuring, please be precise with your yeast and water temperature, okay? It really makes the difference between a good dough and a great one! This recipe relies on that initial activation being perfect.
For the Soft Buttery Breadsticks Dough
This is the base layer for glorious, fluffy breadsticks. Remember, water temperature is key for the yeast!
- 1 1/2 cups warm water, and I mean perfectly warm water (110°F)—not hot, or you’ll kill the yeast!
- 2 1/4 teaspoons active dry yeast—that’s usually one standard packet.
- 2 tablespoons granulated sugar to feed the yeast.
- 4 cups all-purpose flour, plus definitely have extra on hand for dusting later.
- 1 teaspoon salt for flavor in the dough itself.
- 2 tablespoons unsalted butter, melted, to keep this dough tender while baking.
For the Garlic Butter Topping
This is what takes these from plain dough sticks to the stars of the show! Measure these toppings exactly; that ratio of garlic to parsley is where the delicious aroma comes from.
- 1/2 cup unsalted butter, melted down and ready for dipping duty.
- 2 teaspoons garlic powder—yes, two teaspoons! Don’t skimp here.
- 1 teaspoon dried parsley for that lovely green fleck and herbaceous flavor.
- 1/2 teaspoon salt to make all those flavors pop right off the hot breadsticks.
Step-by-Step Instructions for Perfect Garlic Breadsticks Recipe
Alright, deep breath! Making these Garlic Breadsticks Recipe items is super straightforward, but we have to follow the steps in order to make sure we get that signature soft texture. Don’t panic about the rising times; they are mostly hands-off, which gives you time to put on some music and relax. I promise, the smell brewing in your kitchen while these bake is totally worth the wait!
Activating the Yeast and Mixing the Breadsticks Dough
We kick things off by waking up the yeast. Mix that warm water, the yeast, and the sugar right in your big bowl. You absolutely have to wait about five to ten minutes here. If you don’t see foam—like a bubbly little bath on top—your yeast is probably dead, and we need to start over! Once it’s foamy, dump in the flour and that teaspoon of salt from the dough measurements. Mix everything just until it looks shaggy and all that dry flour is incorporated. Don’t try to make it smooth yet!
Kneading and Allowing the Breadsticks Dough to Rise
Now comes the elbow grease, but only for a little bit! Turn that shaggy mess onto a floured surface and knead it for five to seven minutes. You’re looking for smooth and elastic—like actual dough, not sticky goop. Pop that smooth ball into an oiled bowl, cover it up, and let it chill out somewhere warm for an hour to an hour and a half. Mia always sticks hers in the oven when it’s off but the light is on; that little bit of heat helps things double up faster!
Shaping, Second Rise, and Baking Your Breadsticks
When the dough has doubled, gently press the air out (that’s called punching down, but be gentle!). Divide the dough into 12 equal bits. Now, roll each piece into a long rope, maybe 10 to 12 inches long. Lay them on parchment paper and let them sit, covered, for just 20 minutes—that’s the short second rise. While they rest, crank that oven up to 400°F (200°C). Before they bake, brush the tops lightly with those 2 tablespoons of melted butter we melted earlier. Bake them for about 12 to 15 minutes until they look beautifully golden brown.
The Final Glaze for Restaurant-Quality Breadsticks
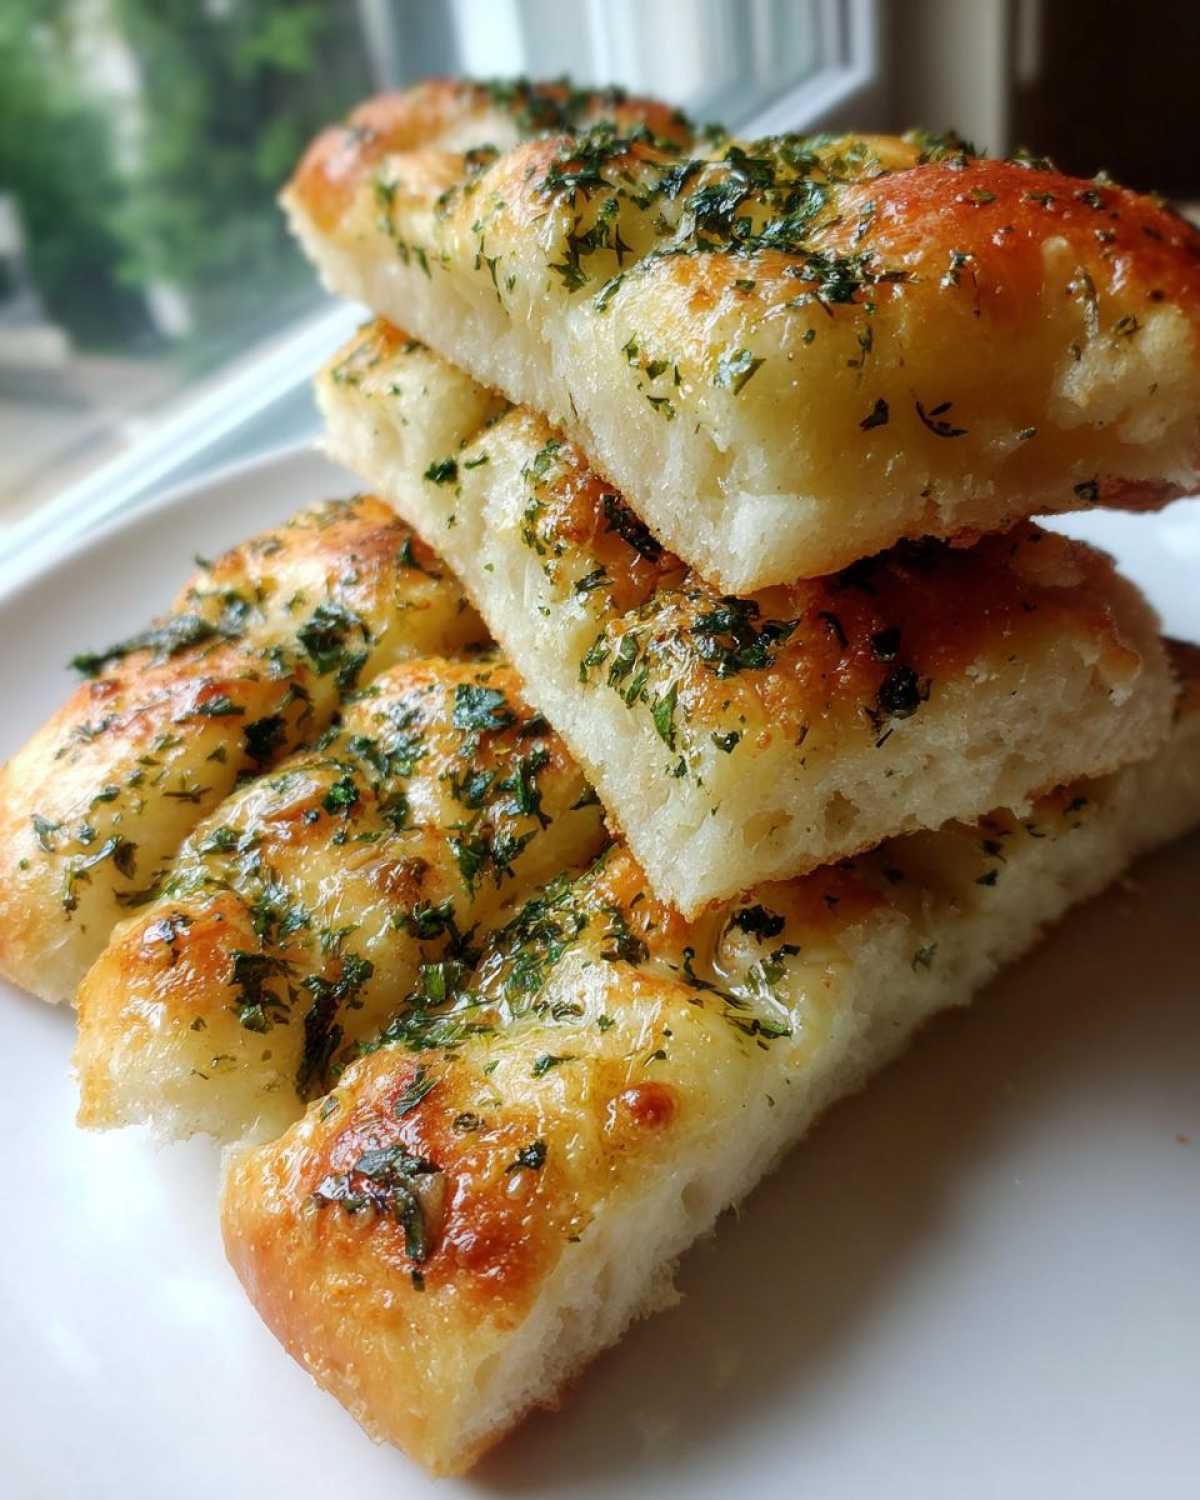
While they are baking, quickly mix up that topping mixture. Take the 1/2 cup of melted butter and whisk in the garlic powder, parsley, and salt. The second those breadsticks get out of the oven—and I mean immediately—you need to brush them lavishly with that garlic butter. If you wait, the butter won’t soak in properly. This garlicky bath is the whole point of the Olive Garden Breadsticks Copycat experience, so don’t hesitate!
Tips for Making Easy Breadsticks
I know you want these Easy Breadsticks on your table faster, and while yeast needs its time to shine, we do have a few tricks up our sleeve to keep things moving and ensure great results! Troubleshooting is just part of the fun of baking, right? Whether it’s adding a little extra flavor or swapping out ingredients, these pointers will make sure your breadsticks turn out perfectly delicious every single time.
If you ever need more baking inspiration, Chloe and I keep all our little kitchen experiments documented over at the Cookery Kings blog!
Transforming Your Breadsticks into Cheesy Breadsticks
This is my absolute favorite adaptation, especially when we have leftover pasta! The notes mentioned it, but I want to shout it out: you can turn these into amazing Cheesy Breadsticks with zero extra effort. As soon as you pull those hot breadsticks out of the oven and you brush them with the garlic butter? Immediately, sprinkle them generously with grated Parmesan cheese. The heat makes the cheese stick beautifully and creates those salty, slightly sharp little crunchy spots. Seriously, try it!
Using Instant Yeast in Your Yeast Breadsticks
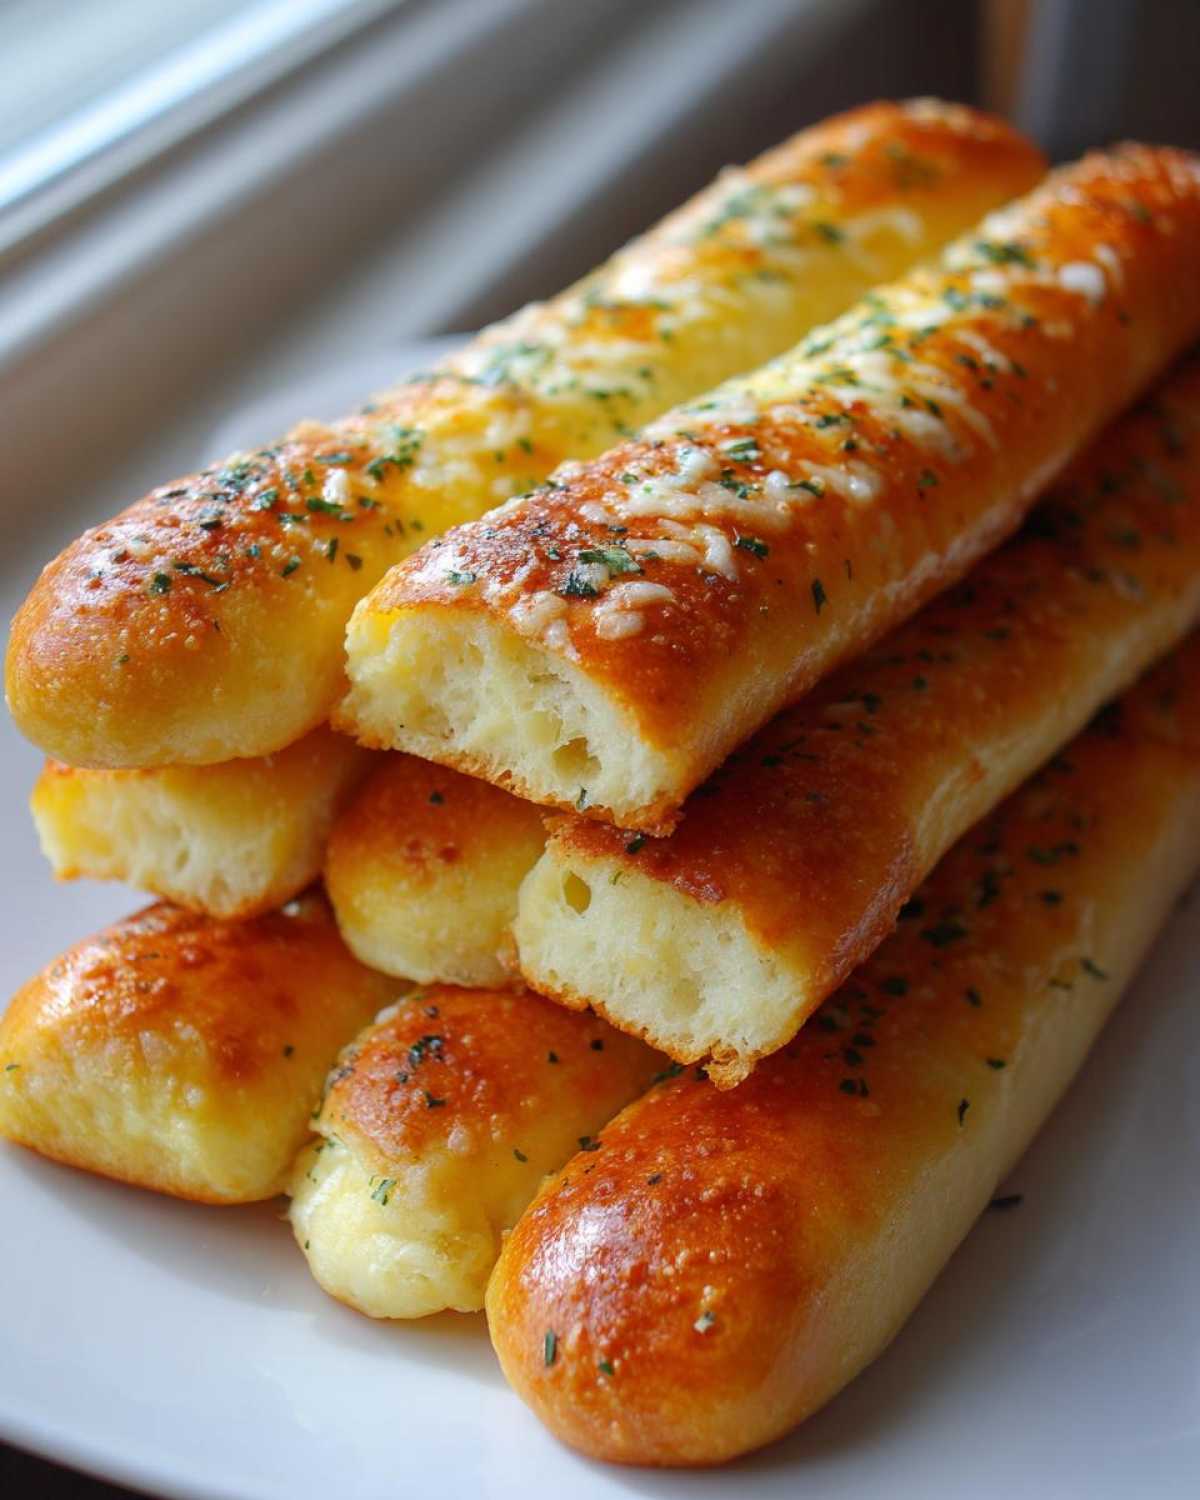
Sometimes you’re feeling rushed and don’t have time to wait for the yeast to foam like we talked about. If you grab instant yeast instead of active dry, you are in luck! You can skip Step One entirely! Just dump the instant yeast right in with your flour and salt, mix it up dry, and then proceed with adding your water and sugar. It mixes right in and starts working while you’re kneading. So simple for making these Yeast Breadsticks faster!
Serving Suggestions for Your Appetizer Breadsticks
Look, these aren’t just for dipping in sauce, although that’s certainly encouraged! These Appetizer Breadsticks are so fluffy they work as a fantastic side dish for almost any dinner. We always have them standing by when we make soup, especially something rich like a creamy Zuppa Toscana. They are also the perfect counterpoint to a heavy pasta dish, soaking up extra sauce like nobody’s business. If you whip up a homemade cream sauce, you definitely need these on the side!
We always make a double batch for game days because everyone hovers near the basket before the main meal is even ready!
Storage and Reheating Instructions for Leftover Breadsticks
Okay, first of all, how do you even have leftovers? Because these things usually disappear in about ten minutes flat at our house! But hypothetically, if you manage to save a few of these Soft Buttery Breadsticks, you need to know how to keep that fluff intact. Do NOT just wrap them in plastic wrap and leave them on the counter; they get sad and chewy really fast.
The best way to store them is to let them come fully down to room temperature first. Then, you want to wrap them tightly in aluminum foil. This traps the remaining moisture inside. They should be fine sitting on the counter like this for a day, but if you made a huge batch, you can stick the foil-wrapped bundles in the fridge for up to three days.
Now, reheating! The microwave is your enemy here. Microwaves heat water molecules too fast and they end up tasting tough. You want the oven method! Pop the breadsticks directly onto a wire rack or a lined baking sheet. Heat them in a 350°F (175°C) oven for about 5 to 7 minutes. This gentle heat warms them through and lets the butter evaporate just slightly, bringing back that soft, fresh-out-of-the-oven texture we’re aiming for. If you didn’t save your garlic butter, just brush them with a tiny bit of regular melted butter before reheating!
Estimated Nutritional Data for These Breadsticks
I always feel like I need a disclaimer here because, well, we’re baking magic, not running a chemistry lab! These numbers show you what you’re looking at per breadstick, assuming you get exactly 12 servings from the whole batch. Remember, this is just an estimate, and if you use different flour or pour on way more garlic butter than Mia tells you to (which I totally encourage, by the way!), the final count sneaks up on you!
We use the base recipe here without any extra cheese additions, so keep that in mind if you’re tracking everything super closely.
- Serving Size: 1 breadstick
- Calories: 210
- Fat: 9g
- Saturated Fat: 5g
- Carbohydrates: 30g
- Sugar: 2g
- Protein: 5g
- Sodium: 350mg
See? Not too bad for something that tastes like a vacation to an Italian restaurant! The fat content comes mostly from that glorious butter, which is non-negotiable for that signature taste. Just try not to eat all 12 in one sitting, okay? That’s probably what I’d do if Chloe wasn’t looking over my shoulder!
Frequently Asked Questions About Our Copycat Breadsticks
I figured you might have a few little questions floating around after attempting to recreate restaurant magic at home! That’s totally normal. When I first started baking these, I had a million questions myself. Honestly, these Homemade Breadsticks are pretty forgiving, but a few tips can make sure you nail that perfect texture every time. Don’t be shy; we’ve all been there!
We want to make sure you get fantastic results, whether you are making these as a quick appetizer or prepping them for a big family pasta night. Need help with timing or variations? Read on!
How can I make these breadsticks in under an hour?
That 1-hour goal is ambitious with yeast, but we can get close! The main time sink is the first rise. To speed things up, make absolutely sure your water is warm—around 110°F is perfect—and find the absolute warmest spot in your house. If it’s chilly, use that turned-off oven trick with the light on, or Chloe sometimes sticks the bowl near the radiator! Also, if you use instant yeast, you skip the 10-minute resting period, which saves a little time right at the start. Just remember, rushing the dough too much can mean less flavor, so aim for 90 minutes total if you can manage it!
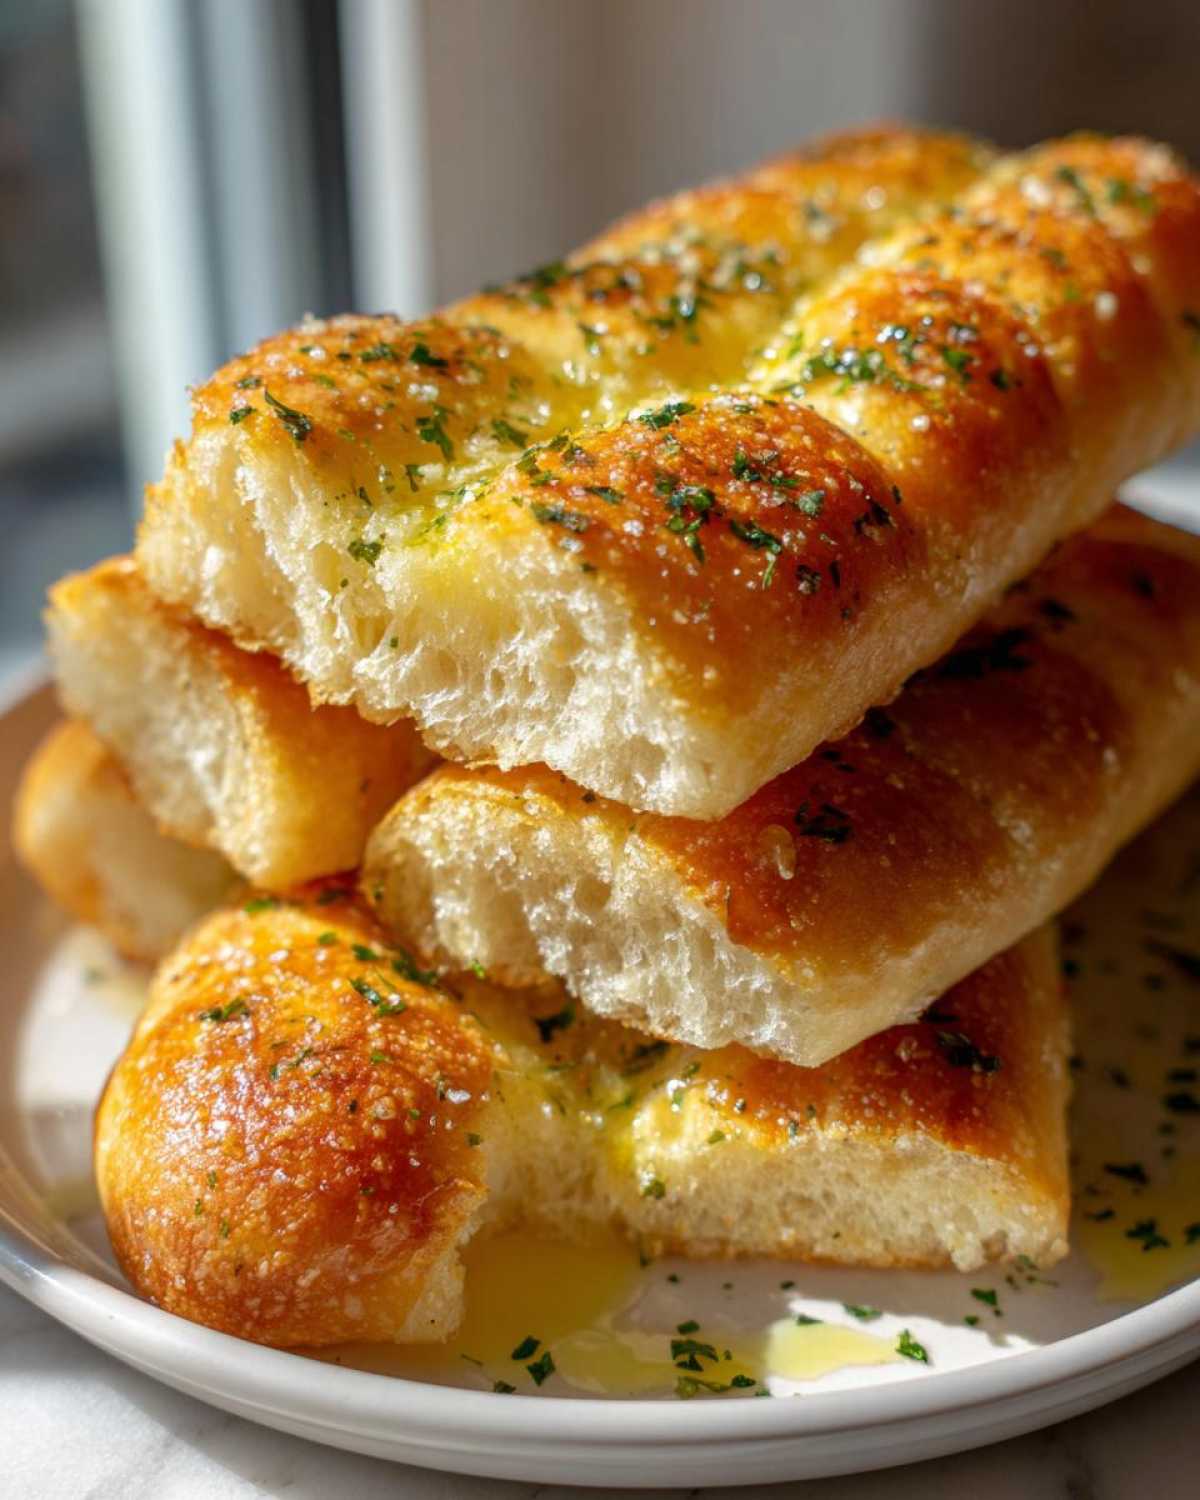
Are these breadsticks suitable as a Dinner Side Breadsticks option?
Absolutely, 100%! These are the ultimate Dinner Side Breadsticks. They are designed to be sturdy enough to handle dipping. They pair perfectly alongside any saucy pasta dish—marinara, creamy Alfredo, you name it. They basically disappear when served next to a big bowl of soup, too. Any time you need something bready, warm, and savory on the table, pull out this dough recipe!
If you are looking for more basic baking advice, check out my thoughts on using different flours over here for whole wheat baking, just so you know what the substitution risks are for the dough structure!
Share Your Homemade Breadsticks Experience
Okay, now that you’ve got the secret recipe locked down, I absolutely need to hear about it! Did they taste just like the restaurant? Did Chloe try to sneak an extra one while you were glazing them? Let me know!
We put so much love and a silly amount of testing into making these the Best Homemade Breadsticks ever, and seeing them turn out golden and fluffy for you is honestly the best part of running this whole blog. If you tried them out, please leave a rating below—a simple 5-star review goes a long way in helping other cooks who are scared to tackle yeast bread!
If you took a photo of your glorious basket of buttery goodness, tag us on social media! I just love seeing your creations. And hey, if you want to see how we cook up other restaurant favorites, check out some of the inspiration that led us to this recipe in the first place, like this great recipe from our friends over at Bite Matrix—they’ve got great tips, too!
If you have any lingering questions or a disaster story you need to confess (we all have them!), slide right into our inbox; you can reach us anytime via our Contact Page. Happy dipping, everyone!
PrintCopycat Olive Garden Breadsticks: Soft, Buttery, and Garlicky Homemade Recipe
You can make soft, buttery breadsticks just like Olive Garden at home! This easy copycat recipe uses simple ingredients to create fluffy, garlic-brushed breadsticks perfect as an appetizer or dinner side.
- Prep Time: 25 min
- Cook Time: 15 min
- Total Time: 1 hour 40 min
- Yield: 12 breadsticks
- Category: Appetizer
- Method: Baking
- Cuisine: American
- Diet: Vegetarian
Ingredients
- 1 1/2 cups warm water (110°F)
- 2 1/4 teaspoons active dry yeast
- 2 tablespoons granulated sugar
- 4 cups all-purpose flour, plus more for dusting
- 1 teaspoon salt
- 2 tablespoons unsalted butter, melted
- For the Garlic Butter Topping:
- 1/2 cup unsalted butter, melted
- 2 teaspoons garlic powder
- 1 teaspoon dried parsley
- 1/2 teaspoon salt
Instructions
- Activate the yeast: In a large bowl, combine the warm water, yeast, and sugar. Let this mixture sit for 5 to 10 minutes until it becomes foamy. This shows your yeast is active.
- Mix the dough: Add the flour and 1 teaspoon of salt to the yeast mixture. Mix until a shaggy dough forms.
- Knead: Turn the dough out onto a lightly floured surface. Knead for about 5 to 7 minutes until the dough is smooth and elastic.
- First Rise: Place the dough in a lightly oiled bowl, turning to coat. Cover the bowl with plastic wrap or a clean towel and let it rise in a warm spot for 1 to 1.5 hours, or until doubled in size.
- Shape the breadsticks: Gently punch down the risen dough. Divide the dough into 12 equal pieces. Roll each piece into a long, thin rope, about 10 to 12 inches long. Place the shaped breadsticks on a baking sheet lined with parchment paper, leaving a little space between them.
- Second Rise: Cover the shaped breadsticks loosely and let them rest for 20 minutes. While they rest, preheat your oven to 400°F (200°C).
- Bake: Brush the tops of the breadsticks lightly with the 2 tablespoons of melted butter. Bake for 12 to 15 minutes, or until they are golden brown.
- Prepare the topping: While the breadsticks bake, combine the 1/2 cup melted butter, garlic powder, dried parsley, and 1/2 teaspoon salt in a small bowl. Mix well.
- Glaze: As soon as the breadsticks come out of the oven, brush them generously with the garlic butter topping. Serve warm.
Notes
- If you want cheesy breadsticks, sprinkle grated Parmesan cheese over the garlic butter topping immediately after brushing them out of the oven.
- For a quicker rise, place the dough in an oven that is turned off but has the light on.
- You can use instant yeast if you prefer; skip the waiting time and mix it directly with the dry ingredients before adding the water.
Nutrition
- Serving Size: 1 breadstick
- Calories: 210
- Sugar: 2
- Sodium: 350
- Fat: 9
- Saturated Fat: 5
- Unsaturated Fat: 4
- Trans Fat: 0
- Carbohydrates: 30
- Fiber: 1
- Protein: 5
- Cholesterol: 20